협업
예술
뷰티 및 웰니스
공예
문화 및 역사
엔터테인먼트
환경
음식 및 음료
역공학
과학
스포츠
기술
웨어러블
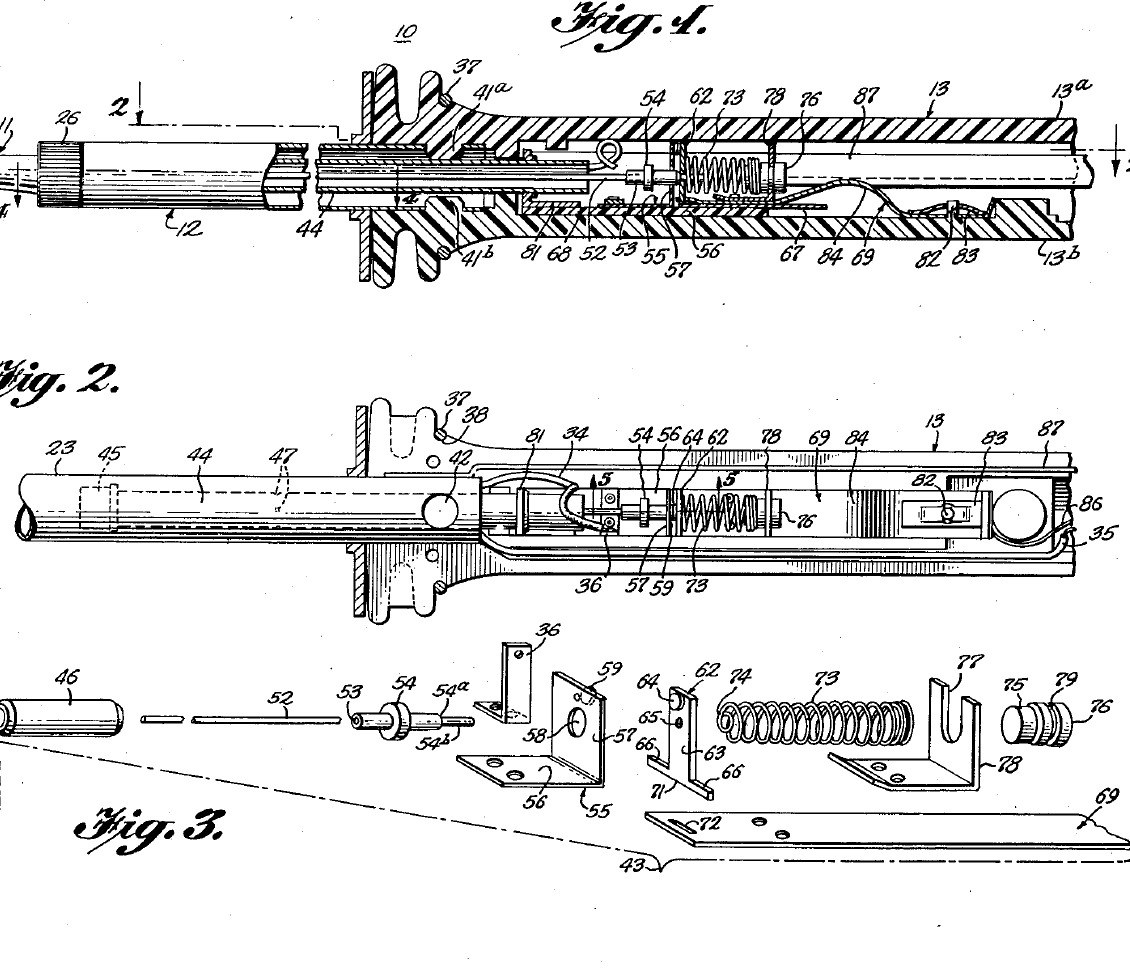


Soldering Iron: Temperature Controlled by a Curie-Point Tip and a Magnet Switch (Weller, US 3,188,448, 1965)
A soldering iron that holds its own tip temperature. At the back of the copper tip sits a slug of nickel-iron alloy that stops being magnetic above a set temperature (its Curie point). A small Alnico magnet behind it is pulled forward while the slug is cool, closing a switch that feeds the heater; once the tip is hot the slug lets go, a steel bushing pulls the magnet back and the switch opens. Swap tips to choose 600, 700 or 800 °F.
Result: a 55-watt temperature-controlled iron idling near 700 °F instead of running ever hotter.
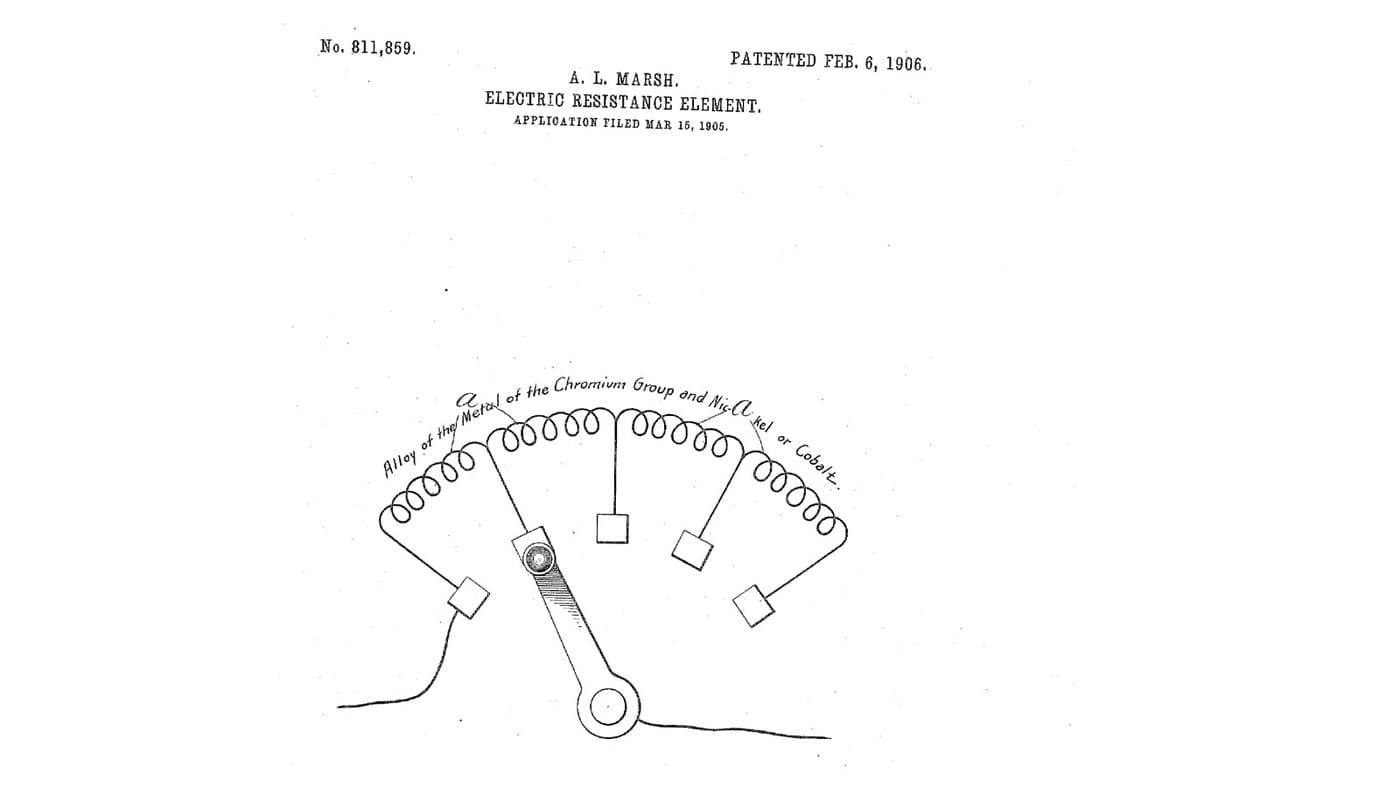
Source: C. E. Weller, US 3,188,448 (1965). Unknown: the plating baths, the heater wire and insulation, most sizes. Picture: the patent drawing.
고급
Unknown
안내
1
1
Make the tip and control slug
Make the tip and control slug
Turn the tip from tellurium copper: a cylindrical body, a taper and a chisel end (any shape suits the work). Plate it first with iron, which keeps the copper out of the molten solder, then with nickel, which shuts out the air. Bore its rear end and fit tightly into it the shank of a slug of thermomagnetic nickel-iron alloy, such as 48 % nickel, 3 % molybdenum and the rest iron, or about 43 % nickel and the rest iron. The alloy sets the control point: make tips for 600, 700 and 800 °F. Not given: the plating baths, sizes.
이 단계의 재료:
 텔루륨 구리 봉1 tip
 감온 자성 니켈-철 합금1 control slug
필요한 도구:
 금속 선반
 전기 도금 세트
 알 수 없는 치수
2
2
Wind the heater barrel
Wind the heater barrel
Make the barrel of two stainless steel tubes: an inner spool the tip slides into snugly, and an outer cover tube joined to it at the front, with a thread and screw cap to hold the tip. In the space between them wind the heater from one length of resistance wire: an inner layer, then an outer layer wound the opposite way so their fields cancel, with insulating sheet inside, between and outside the layers. Silver-solder heat-resistant leads to its ends. Ours: nichrome wire. Not given: the insulating sheet, the turns.
이 단계의 재료:
 스테인리스강 관2 spool and cover tube
 니크롬선1 heater
 알 수 없는 절연 재료1 three sheet layers
 알 수 없는 금속1 leads
 은땜납1 as needed
필요한 도구:
 프로판 토치금속 선반
3
3
Build the magnet switch
Build the magnet switch
In a stainless steel sleeve about 2.4 in long, close the front with a non-magnetic thermal bushing. Behind it slides a cylindrical Alnico V magnet, then a non-magnetic spacer about 0.032 in thick, then a cold-drawn steel bushing about 0.50 in long held by dents in the sleeve; the magnet's stroke is about 0.015 in. A push rod runs from the magnet through the bushing to an insulator. On a melamine plate, hinge a moving contact between a thin conducting strip and a holding strip, facing a flexible contact; a spring of fourteen coils of 0.010 in music wire, 0.210 in across, presses the moving contact toward the flexible one. Rivet the spring bracket to the holding strip. Not given: the contact metals.
이 단계의 재료:
스테인리스강 관1 sleeve 알니코 자석1 개
 연강 환봉1 magnetic bushing, push rod알 수 없는 금속1 thermal bushing, spacer, contacts, strips, brackets
 알 수 없는 재료1 insulator
 멜라민 판1 base plate
 스프링강 선1 0.010 in music wire spring
필요한 도구:
금속 선반 리벳 공구 한 벌
 둥근 코 펜치
4
4
Assemble the handle and use
Assemble the handle and use
Mould the handle in two plastic halves with a socket at the front whose bosses lock the cover tube. Lay in the switch unit, held only by the bowed tail of its holding strip on an anchor pin with a speed nut, so it floats and its thermal bushing presses on the tip's slug. Wire the heater, the switch and a ground lead from the cover tube to the cord. Rivet the halves near the butt and fit a split ring near the front. In use, below the control point the slug pulls the magnet forward and the spring closes the contacts; above it the steel bushing pulls the magnet back and the push rod opens them. At idle the heater runs only about 30 to 40 % of the time. Not given: the plastic.
이 단계의 재료:
알 수 없는 재료1 handle halves알 수 없는 금속1 rivet, split ring, speed nut 플러그 달린 코드1 개
필요한 도구:
 사출 성형기리벳 공구 한 벌
재료
13- 1 tip플레이스홀더
- 1 control slug플레이스홀더
- 1 sleeve플레이스홀더
- 1 heater플레이스홀더
- 1 three sheet layers플레이스홀더
- 1 rivet, split ring, speed nut플레이스홀더
- 1 as needed플레이스홀더
- 1 개플레이스홀더
- 1 magnetic bushing, push rod플레이스홀더
- 1 handle halves플레이스홀더
- 1 base plate플레이스홀더
- 1 0.010 in music wire spring플레이스홀더
- 1 개플레이스홀더
연결된 블루프린트 재료

이 블루프린트로 만드는 것

CC0 퍼블릭 도메인
이 블루프린트는 CC0로 공개되었습니다. 어떤 목적으로든 자유롭게 복사, 수정, 배포 및 사용할 수 있습니다.
제품 구매를 통해 메이커를 지원하세요. 판매자가 설정한 메이커 커미션 을 받거나, 이 블루프린트의 새로운 반복을 만들어 연결로 포함시킬 수 있습니다.