예술
뷰티 및 웰니스
공예
문화 및 역사
엔터테인먼트
환경
음식 및 음료
역공학
과학
스포츠
기술
웨어러블
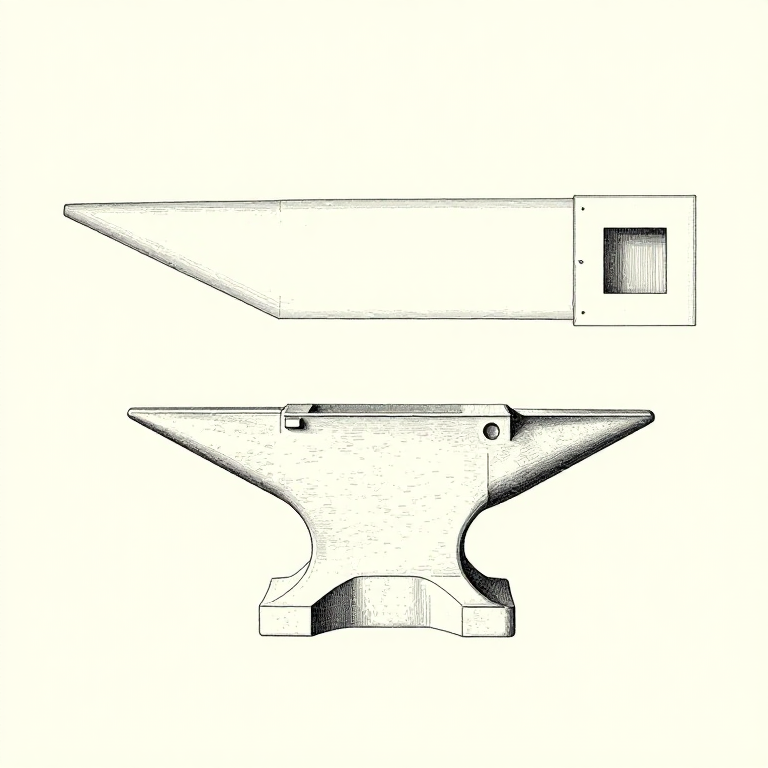


The Anvil Is a Tool, Not a Table: Face, Horn, Step and Holes
An anvil looks like a lump to hit things on. Every part of it is a different tool, and a smith who knows them works faster than one who uses only the flat top.
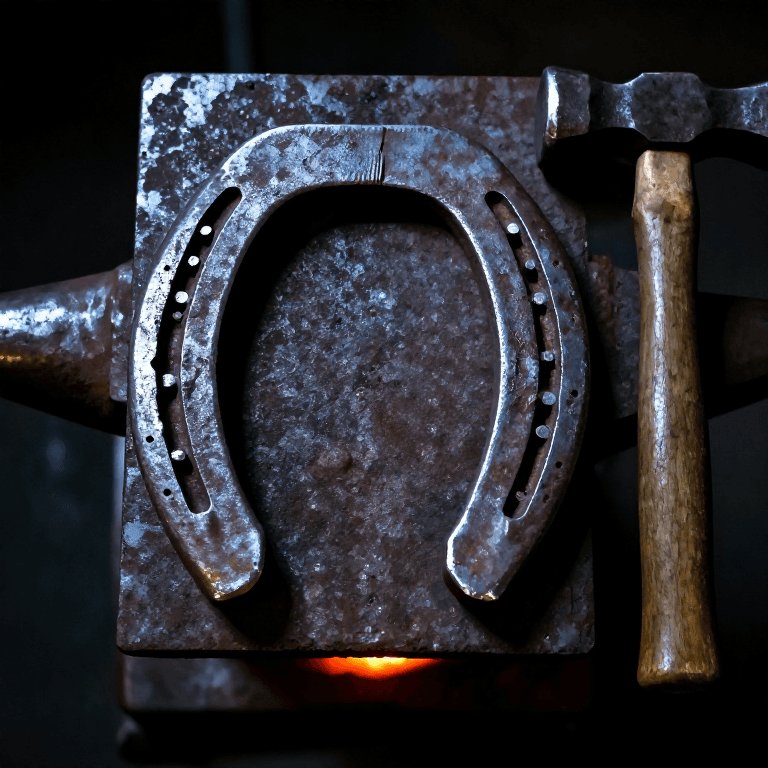
The FACE is flat and hard, for general work. The HORN is a cone, for bending curves of any radius. The STEP is soft, for cutting against. The HARDY HOLE takes bottom tools; the PRITCHEL HOLE lets a punch pass through.
None of this is obvious from looking, and none of it was covered anywhere on Youblob. It is the first thing to learn after the blow itself.
초급
2 hours
안내
1
1
The face: hard, flat, and not for cutting
The face: hard, flat, and not for cutting
The top surface is hardened steel, and it should stay flat and unmarked because every mark in it prints into every piece you forge afterwards.
So never cut on the face with a chisel, never hit it directly with a hammer, and never hammer cold steel hard on it. A missed blow that lands on bare anvil does no harm; a chisel driven through hot steel into the face leaves a permanent notch.
The EDGES matter too. A sharp edge is for making crisp shoulders, but it also creates a stress point that can crack the work — so most of an anvil's edges are deliberately radiused, with maybe one sharp section kept for when you need it.
이 단계의 재료:
 연강 봉1 개
필요한 도구:
 모루
모루 대장간 망치
 확대 루페
확대 루페2
2
The horn: every radius you will ever need
The horn: every radius you will ever need
The horn is a cone, so moving along it gives a continuously variable radius. Bend near the tip for a tight curve and near the base for a gentle one.
It is also for drawing out over its curve, which moves metal faster than a flat face because the contact patch is smaller and the pressure higher — the same reason a fuller works.
Work on the near side of the horn, not the top, for most bending. Laying the bar across the horn and striking down bends it; drawing it around the side gives control over where the curve starts, which is what makes a scroll even rather than lumpy.
이 단계의 재료:
연강 봉1 개필요한 도구:
모루대장간 망치 대장간 집게
3
3
The step, the hardy hole and the pritchel hole
The step, the hardy hole and the pritchel hole
The STEP — the flat shelf between the horn and the face — is usually soft, unhardened metal. That is deliberate: it is where you cut, so a chisel that goes right through damages a surface that does not matter.
The HARDY HOLE is square and takes the shanks of bottom tools — the hot cut hardy, bending forks, swages, bottom fullers. Drop a tool in and the anvil becomes a different machine. The square shape stops the tool rotating under a blow.
The PRITCHEL HOLE is round and smaller, and it exists so a punch can be driven right through the work without hitting the anvil face underneath. It is also handy for bending small scrolls. The punching rung uses both.
이 단계의 재료:
연강 봉1 개필요한 도구:
모루 모루용 절단 정
 열간 펀치확대 루페
4
4
Height, mount and ring
Height, mount and ring
Set the face at about knuckle height when you stand relaxed with your arm hanging down. Too high and you cannot get over the work; too low and you bend your back all day. The same rule as setting a vice for filing.
Mount it solidly on a heavy stand or a stump, bedded down so it cannot move. A loose anvil absorbs the blow instead of returning it, and you feel it immediately — the hammer dies on impact rather than bouncing.
A well-mounted anvil rings loudly, which is a good sign and a hearing hazard. Chain or magnets damp the ring without affecting the rebound, and are worth fitting. An anvil that thuds dully instead of ringing is either badly mounted or cracked.
필요한 도구:
모루대장간 망치 자
자관련 블루프린트
이 블루프린트들은 지식을 공유합니다 — 기술, 재료 또는 원리
CC0 퍼블릭 도메인
이 블루프린트는 CC0로 공개되었습니다. 어떤 목적으로든 자유롭게 복사, 수정, 배포 및 사용할 수 있습니다.
제품 구매를 통해 메이커를 지원하세요. 판매자가 설정한 메이커 커미션 을 받거나, 이 블루프린트의 새로운 반복을 만들어 연결로 포함시킬 수 있습니다.