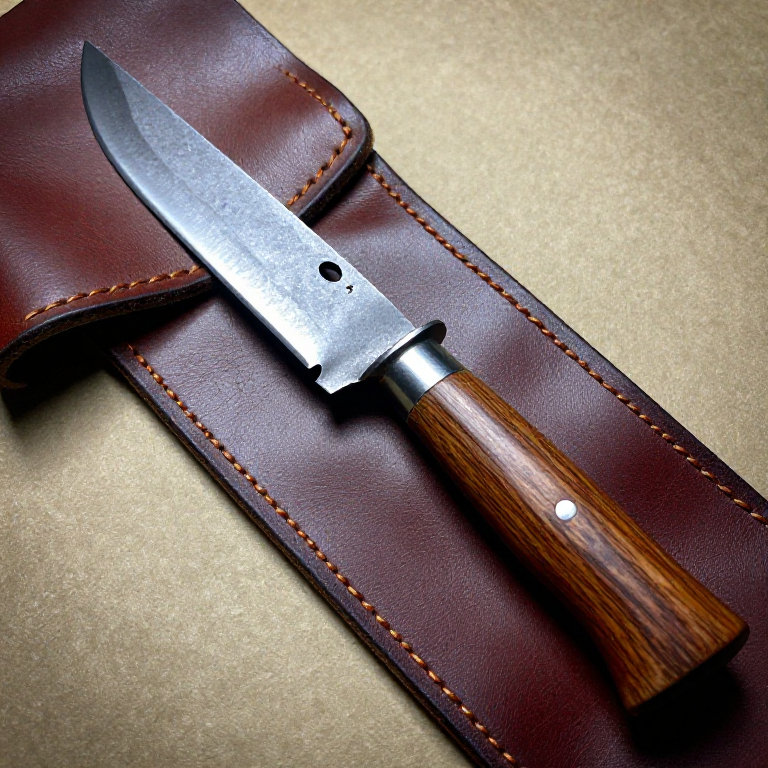
Forging an Iron Knife from a Wrought Iron Bar — The Smith's First Project
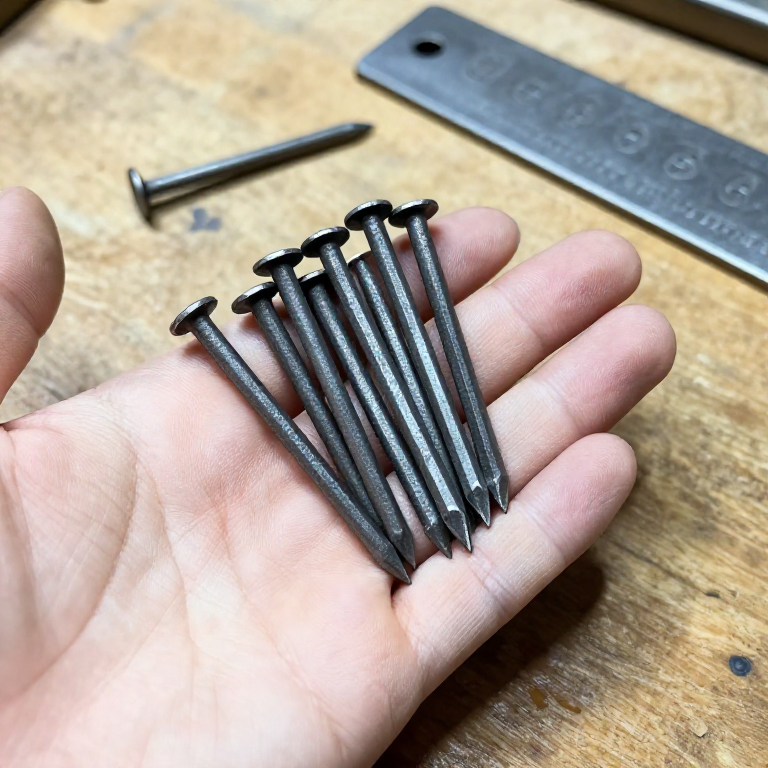
The iron knife is traditionally the first object a blacksmith apprentice learns to forge. It teaches every fundamental operation: drawing out (lengthening the metal), tapering (creating a point), bevelling (forming the cutting edge), and finishing (grinding and hafting). An experienced smith can forge a knife in under an hour; a beginner should expect a full day of practice.
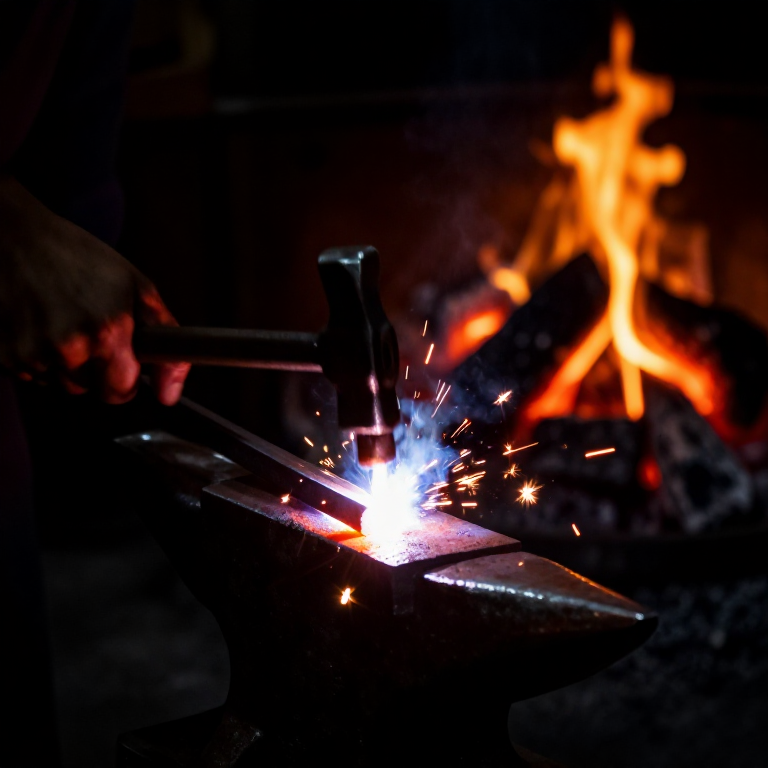
Unlike bronze tools which are cast into shape, iron tools are forged — beaten into shape from a solid bar using only heat, hammer, and anvil. The wrought iron bar is heated to bright orange in a charcoal forge, then hammered on an anvil to draw it into a blade shape. The tang (the part that goes into the handle) is formed by drawing the opposite end to a narrow taper.
The blade is then ground, and the edge can be hardened by case-carburising (packing in charcoal and heating) to add a thin layer of steel to the surface. This gives a wrought iron blade the best of both worlds: a tough, shock-absorbing body with a hard, sharp edge.
안내
Select and cut the bar stock
Select and cut the bar stock
Heat the tang end to forging temperature
Heat the tang end to forging temperature
이 단계의 재료:
 Charcoal3 kg
Draw out the tang
Draw out the tang
필요한 도구:
 Forge Hammer (Cross-Peen)
 Forge Tongs
 Hearth (Forge Fire)
Define the shoulder
Define the shoulder
Taper the blade to a point
Taper the blade to a point
Set the bevel
Set the bevel
Straighten and true the blade
Straighten and true the blade
Normalise the blade
Normalise the blade
Grind the edge
Grind the edge
이 단계의 재료:
 Sandstone (Abrasive)1 개
 Whetstone1 개
Haft with a wooden handle
Haft with a wooden handle
필요 도구
3- 플레이스홀더
- 플레이스홀더
연결된 블루프린트 재료
관련 블루프린트
이 블루프린트들은 지식을 공유합니다 — 기술, 재료 또는 원리
Related blueprints
Other builds that share materials, tools, or techniques with this one.


CC0 퍼블릭 도메인
이 블루프린트는 CC0로 공개되었습니다. 어떤 목적으로든 자유롭게 복사, 수정, 배포 및 사용할 수 있습니다.
제품 구매를 통해 메이커를 지원하세요. 판매자가 설정한 메이커 커미션 을 받거나, 이 블루프린트의 새로운 반복을 만들어 연결로 포함시킬 수 있습니다.