예술
뷰티 및 웰니스
공예
문화 및 역사
엔터테인먼트
환경
음식 및 음료
역공학
과학
스포츠
기술
웨어러블
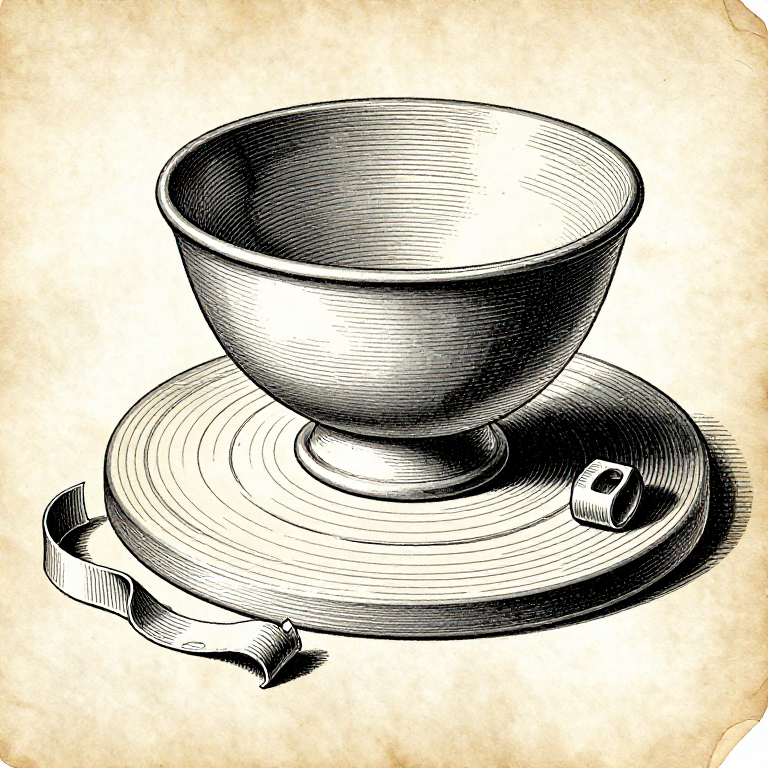


Trimming at Leather-Hard: The Timing Is the Whole Job
Trimming is cutting away the surplus clay under a pot to give it a foot and its finished profile. It is the step that turns a thrown cylinder into a piece that has been designed rather than merely made.
And it has a window. Too wet and the tool drags and smears and the pot distorts under the pressure of being held; too dry and the tool chatters, tears and skates, and the shavings come off as dust rather than ribbons.
The test is the shaving. Clay at the right state comes off in long continuous curls that hold together. Anything else — mush, dust, or short broken chips — is the clay telling you to wait or to stop.
중급
3 hours
안내
1
1
Find the window by touch, not by the clock
Find the window by touch, not by the clock
Leather-hard clay feels cool but not cold, takes a fingernail mark without the nail sinking in, and will not take a fingerprint. It holds its own weight upside down without deforming.
How long that takes depends on the clay, the thickness, the humidity and the draught, so an hour in one workshop is a day in another. The state is the thing; the time is a consequence.
If a pot has gone past the window, wrap it in a damp cloth inside plastic overnight and the moisture will redistribute back. That works once or twice; a pot cycled repeatedly picks up water unevenly and warps.
이 단계의 재료:
 점토2 kg
필요한 도구:
 도예 도구 세트
 스펀지
스펀지2
2
Centre it upside down, and hold it without squeezing
Centre it upside down, and hold it without squeezing
Put the pot upside down on the wheel head and centre it the same way you centre clay — spin it and tap the high side gently inward until it runs true. A pot trimmed off centre gets a foot that is off centre, and that is visible for ever.
Hold it down with three small coils of soft clay pressed against the outside, or on a chuck, rather than by clamping it. Squeezing a leather-hard pot to hold it will distort a shape that then dries oval.
Check with a knuckle against the spinning pot exactly as when centring. Touch finds the wobble that the eye will not, and this is the last chance to fix it.
이 단계의 재료:
점토1 kg필요한 도구:
 도공 물레도예 도구 세트
 나무 도자 긁개
3
3
Cut with the tool at the right angle, and go in stages
Cut with the tool at the right angle, and go in stages
Present the trimming tool so its edge shears the clay rather than scraping it. Held at a scraping angle it chatters, and chatter marks are extremely difficult to remove without losing the shape.
Take thin cuts. A tool buried deep grabs, the pot jumps off centre, and a cut that deep cannot be undone. Several light passes reach the same place with no risk.
Trim the foot last. Establish the outside profile first, then the inside of the foot ring, then the final wall thickness — checking as you go, because the one thing trimming cannot do is put clay back.
이 단계의 재료:
점토1 kg필요한 도구:
도예 도구 세트 디지털 캘리퍼스 6인치도공 물레
4
4
How thick to leave it, and how to tell
How thick to leave it, and how to tell
Tap the base lightly with a fingernail while trimming. A dull thud means there is plenty of clay; a bright ringing note means it is getting thin, and a change in pitch as you move across means it is uneven.
That is a real measurement and it works because the base is a small drum whose pitch rises as it thins. Potters do it constantly and it is the fastest feedback available.
Aim to leave the base about the same thickness as the walls. Thicker and the pot is heavy and dries unevenly — the crack from the previous rung; thinner and it will go through, which is the one mistake that cannot be corrected at all.
이 단계의 재료:
점토1 kg필요한 도구:
도예 도구 세트디지털 캘리퍼스 6인치관련 블루프린트
이 블루프린트들은 지식을 공유합니다 — 기술, 재료 또는 원리
CC0 퍼블릭 도메인
이 블루프린트는 CC0로 공개되었습니다. 어떤 목적으로든 자유롭게 복사, 수정, 배포 및 사용할 수 있습니다.
제품 구매를 통해 메이커를 지원하세요. 판매자가 설정한 메이커 커미션 을 받거나, 이 블루프린트의 새로운 반복을 만들어 연결로 포함시킬 수 있습니다.