협업
예술
뷰티 및 웰니스
공예
문화 및 역사
엔터테인먼트
환경
음식 및 음료
역공학
과학
스포츠
기술
웨어러블
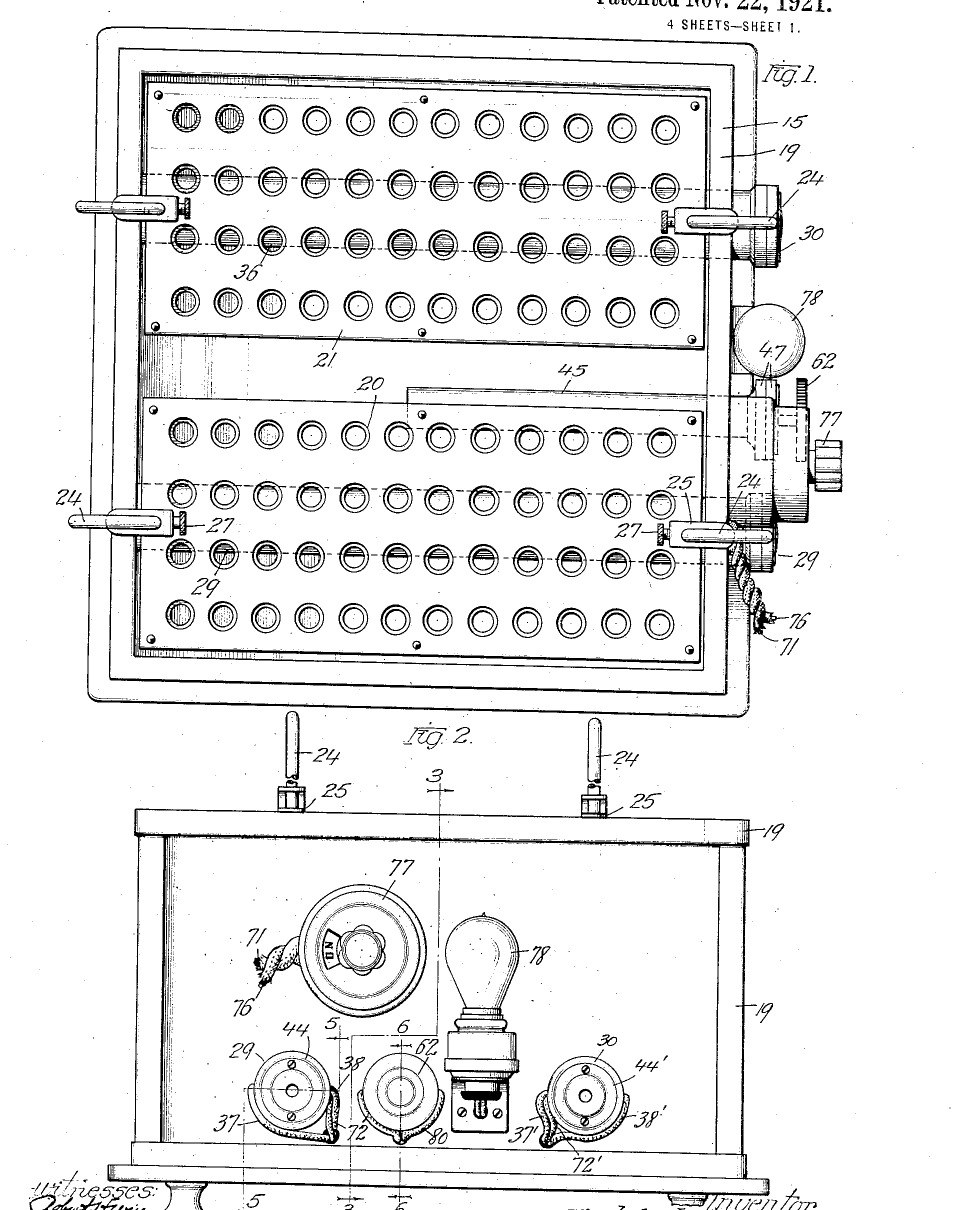


Water Bath: Copper Tank with Plug-In Heaters and an Air-Tube Thermostat (Lidberg, US 1,397,766, 1921)
An electric constant-temperature water bath for laboratory and bacteriological work. A copper tank sits in an insulated fibre-board box; two heater tubes and a thermostat tube are soldered through its wall so the heating coils and the switch plug in from outside. A switch adds extra coils to heat the water up quickly; then the thermostat alone holds the set temperature. Perforated trays on adjustable rods hold the tubes or flasks at the depth you choose.
Result: a thermostatic water bath that holds its water at a set temperature.
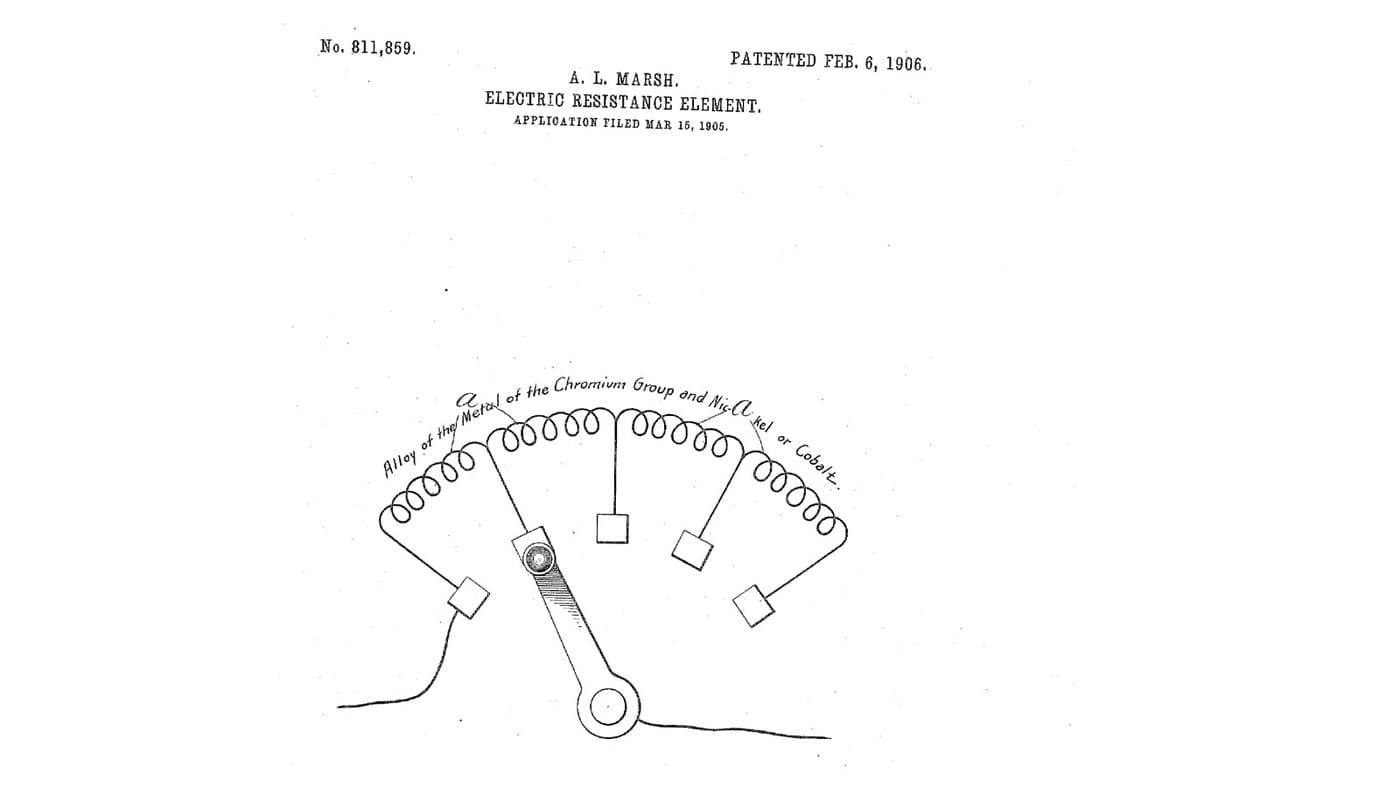
Source: T. Lidberg (Chicago Surgical & Electrical Co.), US 1,397,766 (1921). Unknown: sizes, the temperature range, the heater wire. Picture: the patent drawing.
중급
Unknown
안내
1
1
Build the insulated tank
Build the insulated tank
Make a rectangular box of fibrous board on four short legs and line it with hair felt or cloth. Set a sheet copper tank inside, its walls a little taller than the box and turned over the top edge as a bead. Make perforated trays of several shelves, each with an upright rod hooked at the top for lifting, and on each rod a sliding clip with a set screw whose end rests on the tank edge, to set how deep the tray hangs. Not given: sizes.
이 단계의 재료:
 알 수 없는 재료1 fibrous board box, legs
 알 수 없는 천1 hair felt or cloth lining
 구리판1 tank
 타공 스크린판1 trays
 알 수 없는 금속1 rods, clips
 기계 나사1 개
필요한 도구:
 판금 가위
 인두
 알 수 없는 치수
2
2
Fit the heater tubes
Fit the heater tubes
Solder two watertight tubes across the tank, each closed at its inner end and open outside the wall, and a third for the thermostat. For each heater, wind two coils on a rod held in the tube by an insulating disk and an end head; join one end of each coil to the rod and the others to plates on the head, and cover the terminals with a cap plate. Slide each heater into its tube. Ours: nichrome wire. Not given: the coil ratings.
이 단계의 재료:
 동관3 heater and thermostat tubes
 주석-납 땜납1 as needed
 니크롬선1 four coils알 수 없는 금속2 rods, plates, caps
 알 수 없는 절연 재료1 disks, heads
필요한 도구:
인두 쇠톱(핵소)
3
3
Make the air-tube thermostat
Make the air-tube thermostat
In the closed thermostat tube, mount on an insulating disk a strip carrying a thermostatic bar with a contact at its free end. Facing it, pivot an adjustable bar with its own contact on a bracket in the tube's insulating head, held by a spring against an adjusting screw with a knob outside: turning it sets the temperature at which the contacts open. Bridge the contacts with a condenser to stop sparking. The air in the tube takes the bath's temperature and bends the bar. Ours: a bimetallic strip.
이 단계의 재료:
 바이메탈 판1 thermostatic bar알 수 없는 금속1 strip, bar, bracket, contacts, screw알 수 없는 절연 재료1 disk, head
 압축 스프링 세트1 개
 커패시터 키트1 spark condenser
필요한 도구:
 드라이버 세트
4
4
Wire and use it
Wire and use it
Wire one coil of each heater through the thermostat, and the other coil of each through a hand switch, with a lamp across the supply to show when current flows. To start, close the switch so all four coils heat the water up. Once it is at temperature, open the switch: the thermostat then switches its two coils on and off to hold the bath steady. Lower the trays of tubes or flasks to the depth wanted.
이 단계의 재료:
 토글 스위치1 개
 전구 소켓1 개
 전구1 개
 플러그 달린 코드1 개
필요한 도구:
드라이버 세트재료
17- 1 fibrous board box, legs플레이스홀더
- 1 hair felt or cloth lining플레이스홀더
- 1 tank플레이스홀더
- 1 trays플레이스홀더
- 1 strip, bar, bracket, contacts, screw플레이스홀더
- 1 개플레이스홀더
- 3 heater and thermostat tubes플레이스홀더
- 1 as needed플레이스홀더
- 1 four coils플레이스홀더
- 1 disk, head플레이스홀더
- 1 thermostatic bar플레이스홀더
- 1 개플레이스홀더
- 1 spark condenser플레이스홀더
- 플레이스홀더
- 1 개플레이스홀더
- 1 개플레이스홀더
- 1 개플레이스홀더

이 블루프린트로 만드는 것
CC0 퍼블릭 도메인
이 블루프린트는 CC0로 공개되었습니다. 어떤 목적으로든 자유롭게 복사, 수정, 배포 및 사용할 수 있습니다.
제품 구매를 통해 메이커를 지원하세요. 판매자가 설정한 메이커 커미션 을 받거나, 이 블루프린트의 새로운 반복을 만들어 연결로 포함시킬 수 있습니다.