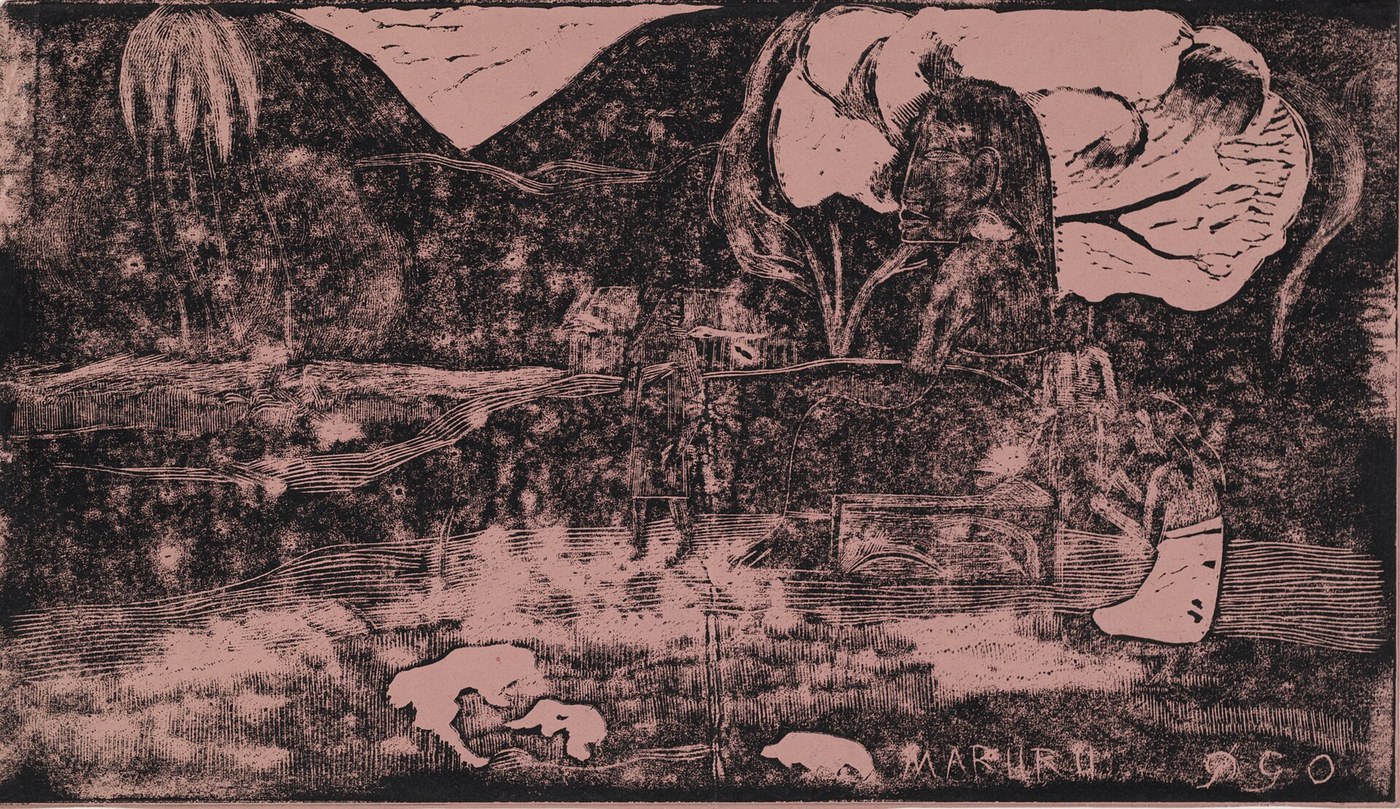


Woodcut
안내
Draw in reverse, and think in shoulders
Draw in reverse, and think in shoulders
Two mental inversions, and both catch people out.
- Draw your design, then trace it and flip it — the block must carry a mirror image.
- Shade everything that will print BLACK.
- Recognise that a printed line is a ridge you leave standing, with a cut on each side.
이 단계의 재료:
 흑연 연필 세트1 세트
Cut with the grain in mind
Cut with the grain in mind
A woodcut uses a plank cut along the grain, and the grain fights you.
- Outline every shape first with a fine V-tool, cutting just outside your drawn line.
- Clear the open areas with a wider gouge.
- Always cut AWAY from your body and keep the free hand behind the blade.
이 단계의 재료:
 피나무 조각용 목재1 block
 조각용 나무망치1 개
Ink the surface only
Ink the surface only
A roller charges the raised areas and must not reach the floor of the cuts.
- Roll ink out thinly on a flat slab until it hisses slightly.
- Charge a soft roller and roll across the block in several directions.
- Inspect at a low angle — the cut areas must stay clean.
이 단계의 재료:
 판화 잉크1 tube
Print with a baren and pull a proof
Print with a baren and pull a proof
Hand pressure, worked evenly, then judge and re-cut.
- Lay paper on the inked block and hold it still.
- Burnish the back with a baren in small circles, working over the whole area.
- Peel a corner to check before lifting; pull the proof and study it.
이 단계의 재료:
 바렌(문지름 패드)1 개
History and context
History and context
Woodblock printing on textiles is ancient, and printing on paper is established in China by the Tang dynasty — the Diamond Sutra of 868 is a dated, printed, illustrated book. Europe takes it up in the early fifteenth century for playing cards and devotional images, before Gutenberg.
The technical reason woodcut dominated book illustration is relief height. Type is relief; a woodcut is relief; both can be locked into the same forme and printed together in one pull. Copper engraving is intaglio, needs a completely different press and a separate pass, and therefore appears as separate plates bound in — more expensive, and usually reserved for prestige books.
Wood engraving is a different craft with a confusingly similar name. Thomas Bewick perfected it in the late eighteenth century by working on the END grain of boxwood with an engraver's burin rather than the plank grain with a knife. End grain has no direction to tear, so it takes extremely fine lines and holds up for enormous print runs — which made the illustrated newspapers and magazines of the nineteenth century possible.
Japanese ukiyo-e took the medium furthest as colour printing, with a separate block for each colour and registration marks — the kentō — cut into every block so the sheets align. Hokusai's wave is a woodcut, printed from several blocks in careful register, and it is worth knowing that the carver and the printer were usually different people from the artist.

CC0 퍼블릭 도메인
이 블루프린트는 CC0로 공개되었습니다. 어떤 목적으로든 자유롭게 복사, 수정, 배포 및 사용할 수 있습니다.
제품 구매를 통해 메이커를 지원하세요. 판매자가 설정한 메이커 커미션 을 받거나, 이 블루프린트의 새로운 반복을 만들어 연결로 포함시킬 수 있습니다.