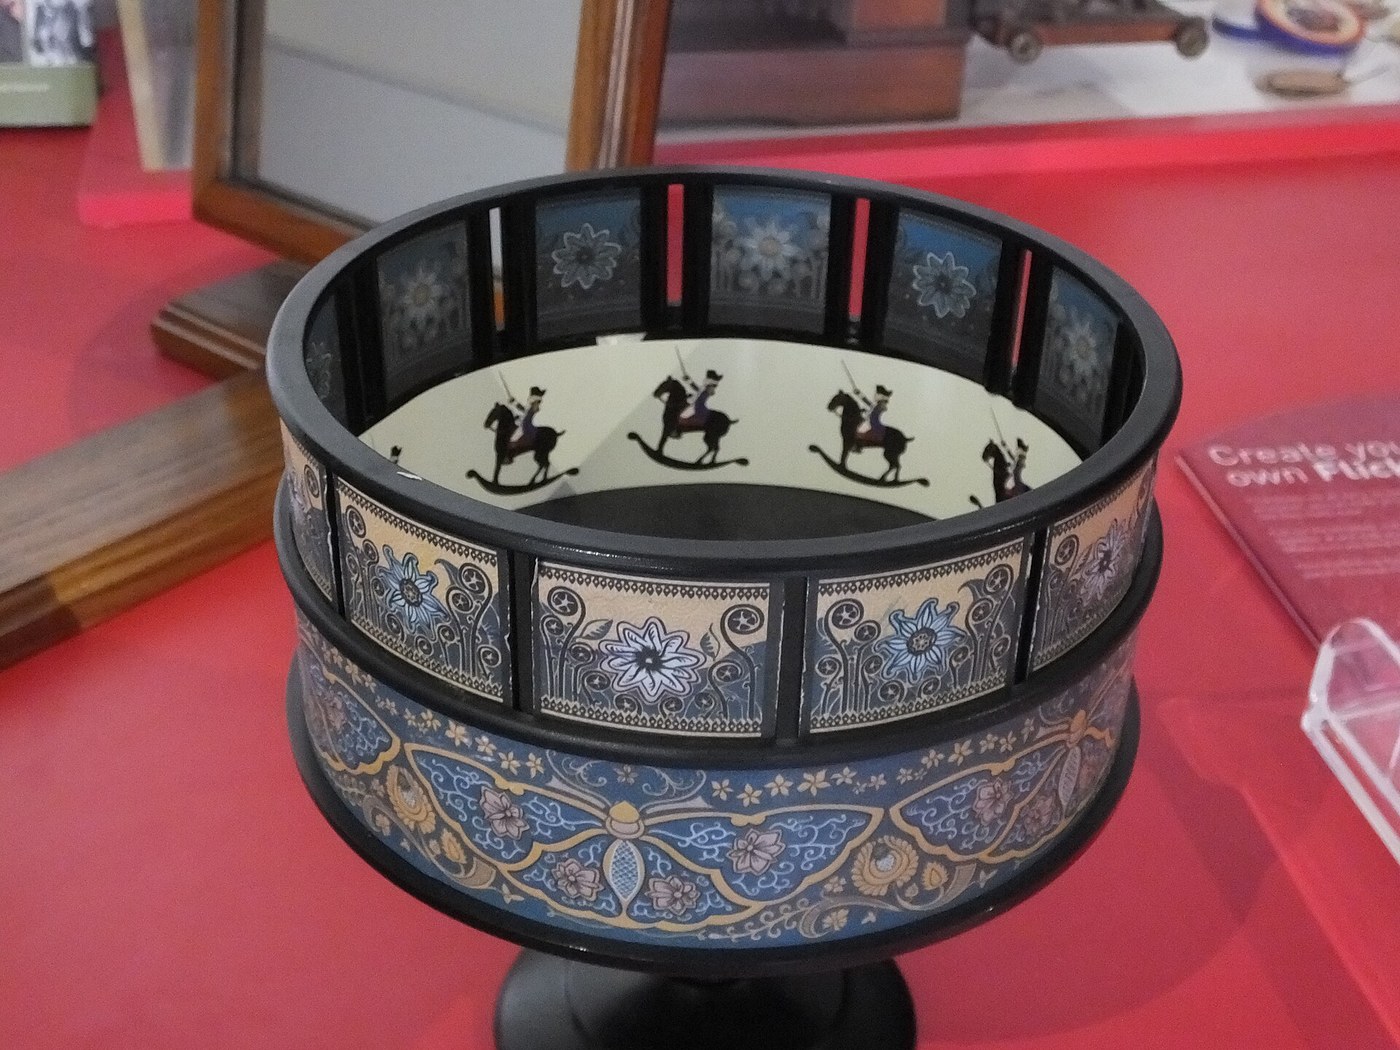


Zoetrope
A thaumatrope alternates two pictures. A zoetrope runs a whole sequence — and it solves the problem that stops a simple spinning strip from working at all: if you just spin a ring of drawings, you see a smear.
The fix is a shutter. Cut a slit above every picture and the eye gets a series of brief, separate glimpses instead of a continuous blur. Each slit passes your eye at the moment the picture behind it is in the same place the last one was, so the images stack up in one spot and the figure moves.
That is the whole invention, and the arithmetic behind it is worth doing yourself: as many slits as pictures. Change that ratio deliberately and you can make the figure drift forward or backward round the drum — the same effect that makes wagon wheels appear to spin backward on film.
안내
Cut a card strip 950 mm long
Cut a card strip 950 mm long
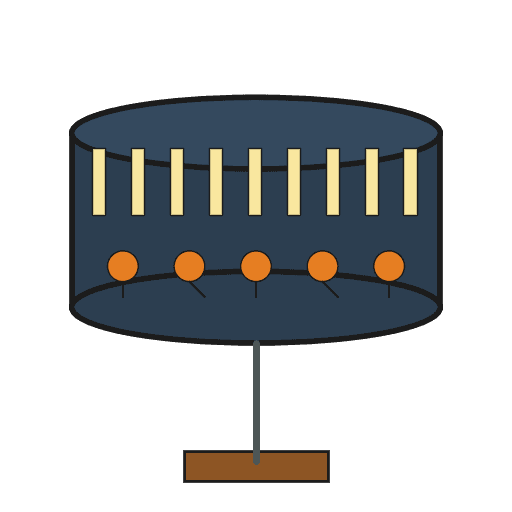
Cut a strip of heavy card 950 x 200 mm. Rolled into a cylinder that gives a drum about 300 mm across — big enough for drawings you can actually see.
이 단계의 재료:
 카드지2 장
필요한 도구:
 자
자Divide the strip into 12 equal parts
Divide the strip into 12 equal parts
Mark 12 divisions of 79 mm along the strip. Twelve is a good working number — enough frames for smooth motion, few enough to draw in an afternoon.
Cut one slit per division
Cut one slit per division
Cut a slit 3 mm wide and 50 mm tall at each of the 12 marks, in the upper half of the strip. Narrow slits give a sharper image and a darker one; wide slits are bright and smeared.
필요한 도구:
 공예용 칼
공예용 칼 자가 복원 커팅 매트
Form the drum and join the ends
Form the drum and join the ends
Roll the strip into a cylinder with the slits at the top and join the overlap. Keep it round — an oval drum changes the viewing distance as it spins and the image breathes in and out.
Cut a base disc and fix the drum to it
Cut a base disc and fix the drum to it
Cut a disc to match the drum diameter and glue the cylinder onto its rim. The base carries the drum and the bearing.
이 단계의 재료:
 PVA 목공용 접착제10 ml
Fit a free-running spindle
Fit a free-running spindle
Fit a dowel through the centre of the base into a block, or drop the base onto a lazy-Susan bearing. It must spin freely for several seconds after one push — friction is what limits your usable speed range.
이 단계의 재료:
 목재 다월봉1 개
Balance the drum
Balance the drum
Spin it and watch for wobble; shim the base until it runs true. A wobbling drum shifts the slits vertically and the image jumps.
Draw a 12-frame sequence on a paper strip
Draw a 12-frame sequence on a paper strip
Cut a paper strip to sit inside the drum below the slits and divide it into the same 12 spaces. Draw one phase of a cycle in each — a bouncing ball is the easiest first sequence.
이 단계의 재료:
 수채화 용지1 장
Make the motion loop
Make the motion loop
Make frame 12 lead back into frame 1. The drum has no beginning, so any sequence that does not close shows a visible jolt once per revolution.
Load the strip and look through the slits
Load the strip and look through the slits
Drop the strip inside against the wall, spin the drum and look through the slits at the far side. Look through, never over — the whole effect depends on the slit acting as a shutter.
Measure the frame rate
Measure the frame rate
Time ten revolutions with a stopwatch and divide. Twelve slits per turn means images per second is twelve times revolutions per second — find the speed at which the motion looks smooth and write the number down.
필요한 도구:
 스톱워치
스톱워치Slow it down to find the flicker threshold
Slow it down to find the flicker threshold
Let it slow until the motion breaks into separate flashes and note that rate too. Between those two numbers is the working range of every projected moving image ever made.
Break the ratio on purpose
Break the ratio on purpose
Now load a strip with 11 or 13 drawings into the 12-slit drum. The figure creeps slowly round the drum instead of staying put, because each glimpse arrives slightly out of register with the last. That is stroboscopic drift — the same effect as backward-turning wheels in film.
Test what the slit width costs you
Test what the slit width costs you
Make a second drum with 6 mm slits and compare. Wider slits let in more light and more movement during the exposure, so the picture is brighter and blurrier. Every shutter since has traded the same two things against each other.
History & Context
History & Context
Horner, 1833. The Bristol mathematician William George Horner devised the slitted drum and called it the Daedalum. His version put the viewing slits between the pictures rather than on a band above them, which meant the images could not simply be swapped for a new strip. It sold almost not at all.
The name and the success came thirty years later. Peter Desvignes patented and demonstrated a version in Britain in 1860. In the United States William Ensign Lincoln — a Brown University undergraduate, about eighteen years old — devised the definitive form with the slits on a band above the pictures, so strips became interchangeable. He assigned it to the toy makers Milton Bradley and was granted his patent in April 1867. It became a mass-market toy on both sides of the Atlantic almost immediately. The invention that mattered commercially was not the drum, it was the replaceable strip.
The Chinese claim, honestly stated. The inventor Ding Huan is recorded in second-century China as having made a device in which painted vanes turned on rising heat from a lamp. It is often presented as the first zoetrope. It is not clear from the sources whether it produced any illusion of animation at all, or simply spun physical figures around — and the honest position is that we do not know. Rotating lamp-driven figures are a real Chinese tradition; a working animation device in 180 AD is a much larger claim than the evidence supports.
Where it leads. The zoetrope is the phenakistoscope's descendant and the praxinoscope's ancestor — Émile Reynaud replaced the slits with a ring of mirrors in 1877, recovering the light the slits threw away. The line runs directly to the film projector, which is a zoetrope with a lamp behind the strip and a shutter in place of the slit.
연결된 블루프린트 재료
이 블루프린트로 만드는 것
CC0 퍼블릭 도메인
이 블루프린트는 CC0로 공개되었습니다. 어떤 목적으로든 자유롭게 복사, 수정, 배포 및 사용할 수 있습니다.
제품 구매를 통해 메이커를 지원하세요. 판매자가 설정한 메이커 커미션 을 받거나, 이 블루프린트의 새로운 반복을 만들어 연결로 포함시킬 수 있습니다.