
Dyeing with Walnut Hulls — Ancient Brown Dye
คำแนะนำ
Collect Walnut Hulls
Collect Walnut Hulls
Collect fresh green or blackened walnut hulls — approximately 500 g for every 100 g of fibre to dye
วัสดุสำหรับขั้นตอนนี้:
 Walnut Hulls (Green/Black)500 grams
เครื่องมือที่ต้องใช้:
 Leather Gloves
Break Open Hulls
Break Open Hulls
Break or crush the hulls into smaller pieces to expose more surface area — wear gloves, juglone stains skin brown
เครื่องมือที่ต้องใช้:
 Hammerstone
Fill Dye Pot
Fill Dye Pot
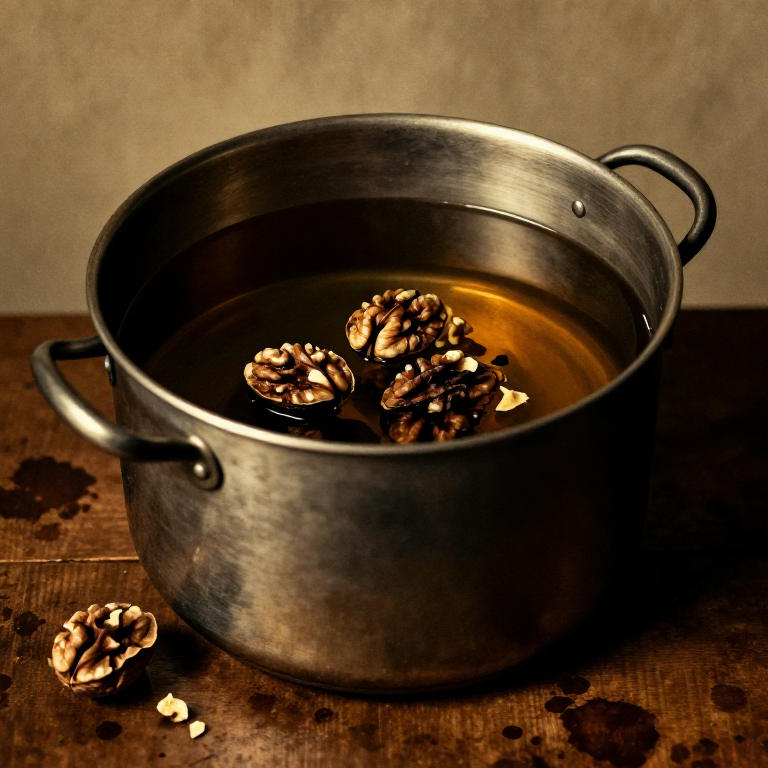
Place the crushed hulls in a large pot and cover with cold water — use enough to fully submerge the fibre later
วัสดุสำหรับขั้นตอนนี้:
 Water10 ลิตร
เครื่องมือที่ต้องใช้:
 Stock Pot
Soak Overnight
Soak Overnight
Let the hulls soak in cold water for 12-24 hours — the water will turn dark brown as juglone leaches out
Simmer the Bath
Simmer the Bath
Heat the dye bath slowly to a gentle simmer (80-90°C) and hold for 1 hour to extract maximum colour
วัสดุสำหรับขั้นตอนนี้:
 Firewood1 มัด
Strain Out Hulls
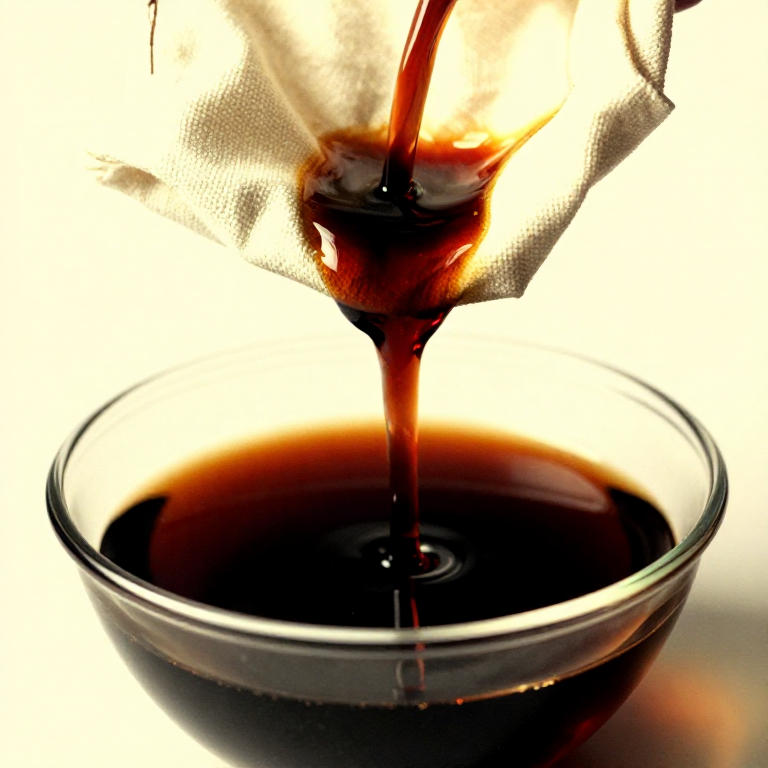
Strain Out Hulls
Strain the dye bath through cloth to remove all hull fragments — the liquid should be very dark brown
เครื่องมือที่ต้องใช้:
 Cloth (Straining)
Reheat Strained Bath
Reheat Strained Bath
Return the strained dye liquid to the pot and reheat to 70°C
Wet the Fibre
Wet the Fibre
Thoroughly wet the wool skein in warm water — this ensures even dye penetration with no dry spots
วัสดุสำหรับขั้นตอนนี้:
 Wool Yarn Skein (Undyed)100 grams
Enter the Dye Bath
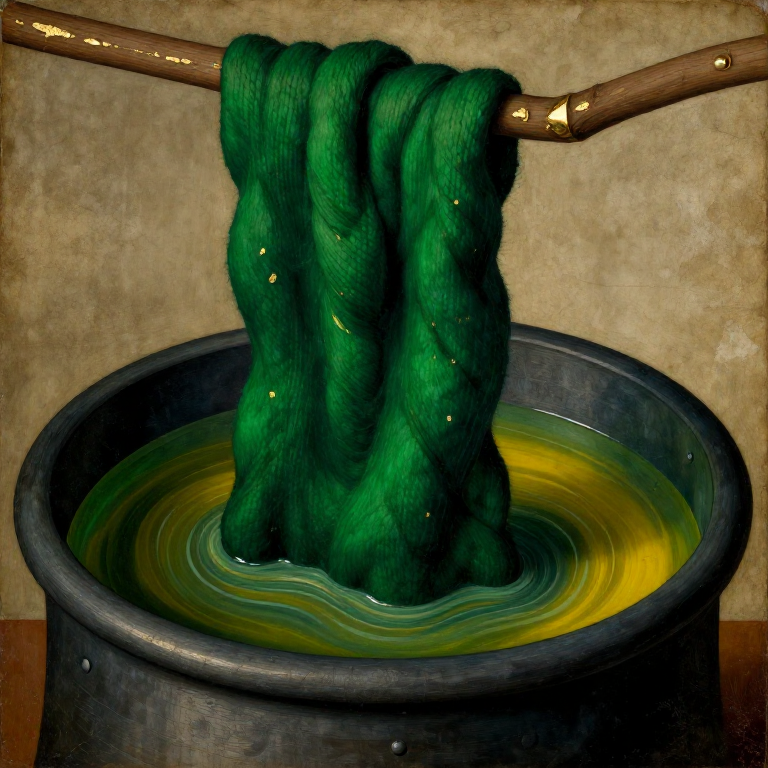
Enter the Dye Bath
Lower the wetted fibre gently into the walnut dye bath, pressing it below the surface
Simmer for 1 Hour
Simmer for 1 Hour
Heat to 80°C and hold for 1 hour, turning the fibre gently every 15 minutes
Check Depth of Colour
Check Depth of Colour
Lift the fibre to check — it will dry lighter than it looks wet, so aim darker than your target shade
Extend for Darker Brown
Extend for Darker Brown
For a deeper chocolate brown, leave the fibre in the cooling dye bath overnight
Remove and Rinse
Remove and Rinse
Remove the dyed fibre and rinse in progressively cooler water until the water runs clear
วัสดุสำหรับขั้นตอนนี้:
Water10 ลิตรSqueeze Gently
Squeeze Gently
Squeeze out excess water between your palms — do not wring or twist the dyed wool
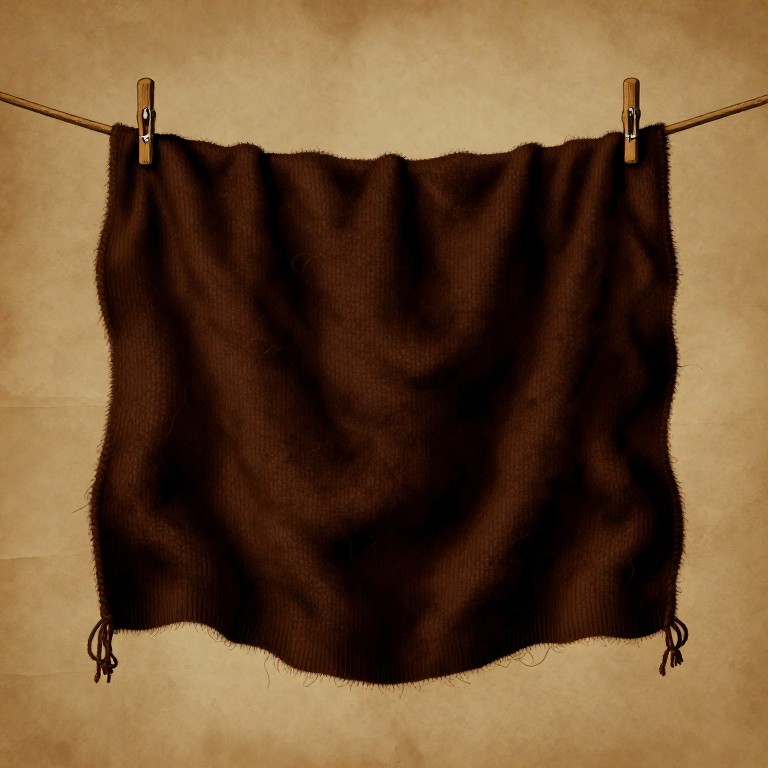
Dry in Shade
Dry in Shade
Hang the dyed skein in shade to dry completely — the finished walnut brown is one of the most permanent natural dyes known
วัสดุ
4- 500 gramsตัวยึดตำแหน่ง
- 100 gramsตัวยึดตำแหน่ง
Related blueprints
Other builds that share materials, tools, or techniques with this one.
CC0 สาธารณสมบัติ
พิมพ์เขียวนี้เผยแพร่ภายใต้ CC0 คุณสามารถคัดลอก แก้ไข แจกจ่าย และใช้งานผลงานนี้เพื่อวัตถุประสงค์ใดก็ได้ โดยไม่ต้องขออนุญาต
สนับสนุนเมกเกอร์โดยซื้อสินค้าผ่านพิมพ์เขียวของพวกเขา ซึ่งพวกเขาจะได้รับ ค่าคอมมิชชันเมกเกอร์ ที่ผู้ขายกำหนด หรือสร้างเวอร์ชันใหม่ของพิมพ์เขียวนี้และรวมเป็นการเชื่อมต่อในพิมพ์เขียวของคุณเพื่อแบ่งรายได้