ศิลปะ
ความงามและสุขภาพ
งานฝีมือ
วัฒนธรรมและประวัติศาสตร์
ความบันเทิง
สิ่งแวดล้อม
อาหารและเครื่องดื่ม
วิศวกรรมย้อนรอย
วิทยาศาสตร์
กีฬา
เทคโนโลยี
อุปกรณ์สวมใส่
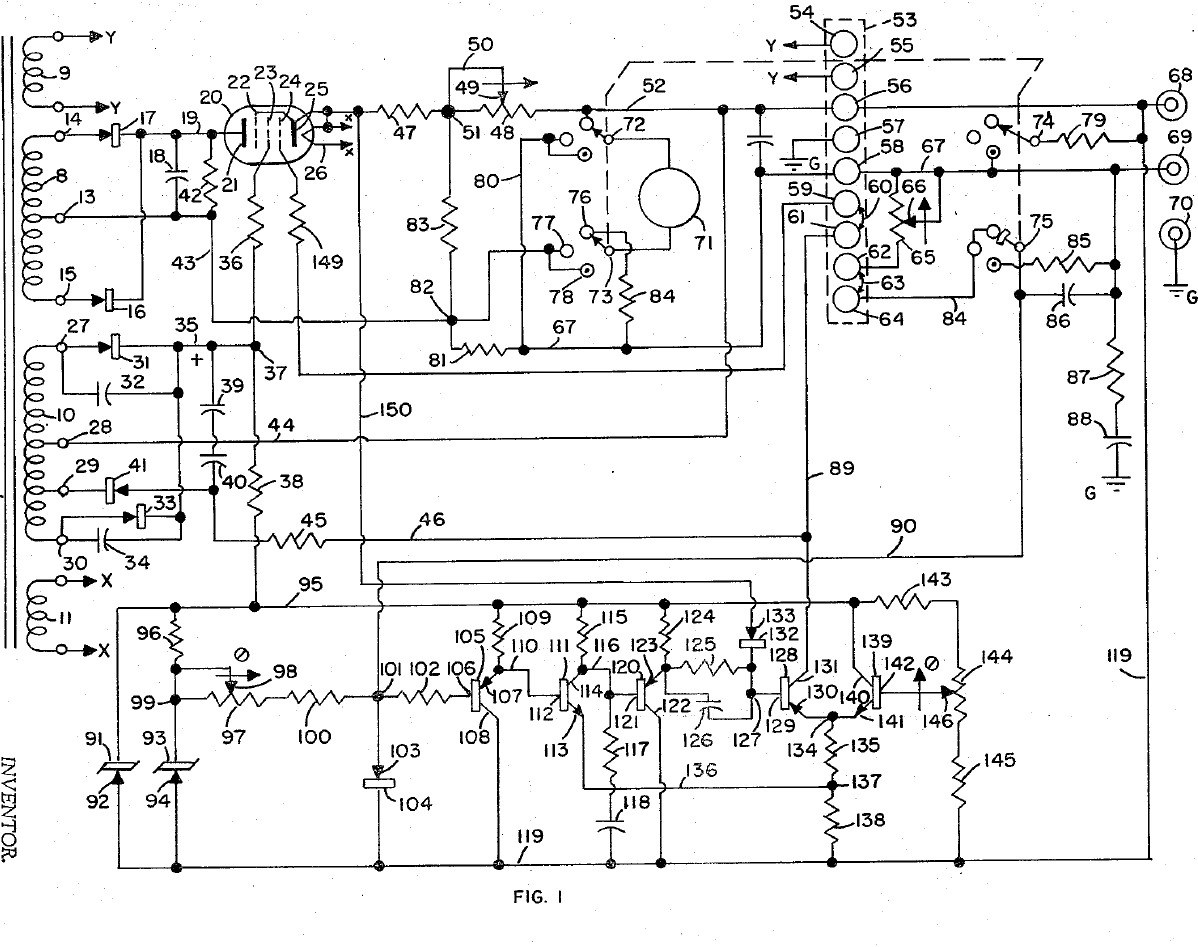


Bench Power Supply: Regulated, with Adjustable Current Limit and a Pentode Pass Tube (Gately, Forbro, US 3,243,690, 1966)
An adjustable bench supply that holds its output voltage steady and lets you set the most current it will deliver, so a circuit under test cannot be damaged. A pentode tube in series with the output is the regulator; a bridge with Zener references and a five-transistor amplifier keeps the output equal to the setting of one knob. A meter switch reads volts, amps, and the current limit, which can be set without disturbing the voltage.
Result: a regulated DC bench supply with adjustable current limiting.
Source: J. R. Gately (Forbro Design), US 3,243,690 (1966). Unknown: all component values and the output rating. Picture: the patent drawing.
ขั้นสูง
Unknown
คำแนะนำ
1
1
Wire the mains side
Wire the mains side
In a case, wire the power cord through a switch and a fuse to the primary of a transformer with four secondaries, and put a neon lamp across the primary to show the supply is on. One secondary (6.3 V) goes to two terminals for outside use, one heats the pentode, one is the main supply and one the bias supply. Ours: the case. Not given: the other winding voltages.
วัสดุสำหรับขั้นตอนนี้:
 กล่องอะลูมิเนียม1 case
 สายไฟอ่อนพร้อมปลั๊ก1 ชิ้น
 สวิตช์โยก1 ชิ้น
 ฟิวส์1 ชิ้น
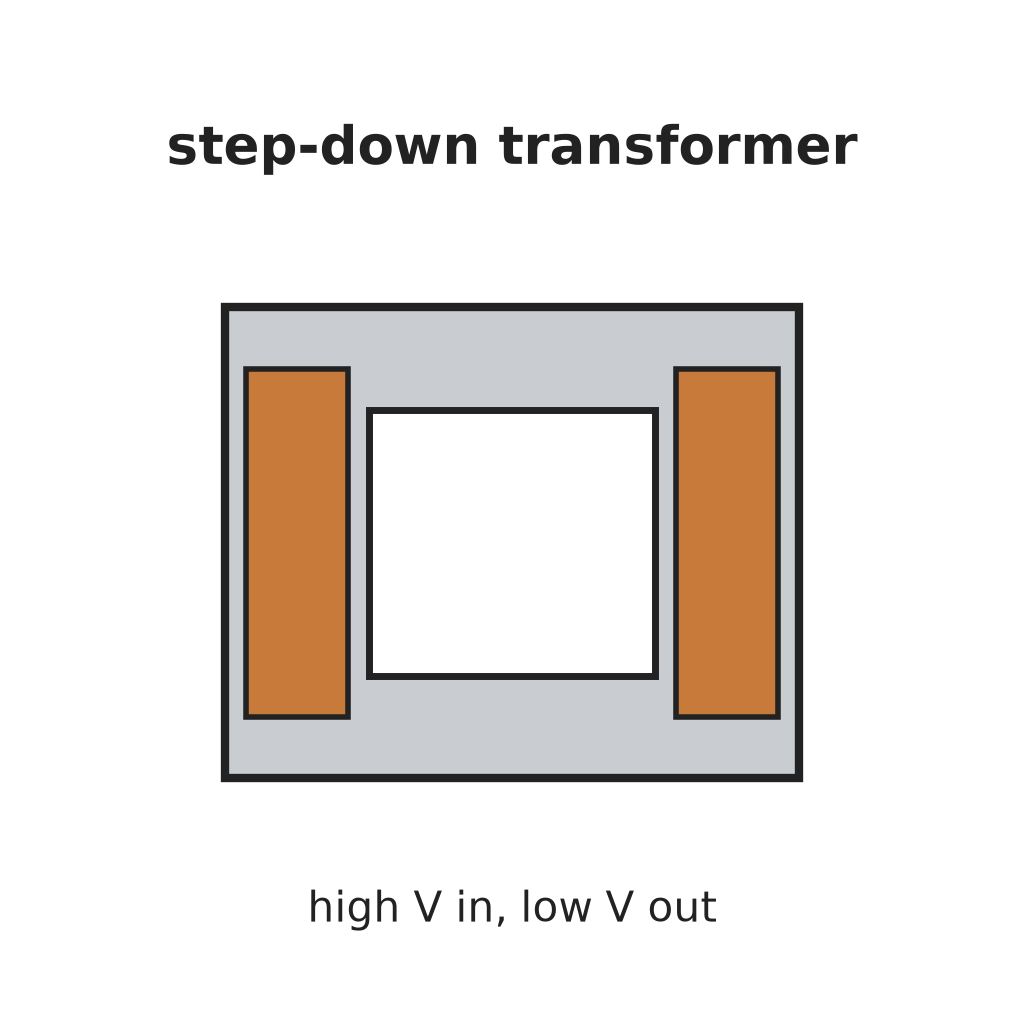 หม้อแปลงลดแรงดัน1 four secondaries
 หลอดไฟแสดงสถานะนีออน1 ชิ้น
 ขั้วต่อแบบไบดิงโพสต์2 6.3 V terminals
เครื่องมือที่ต้องใช้:
 สว่านมือ
 ชุดไขควง
2
2
Build the rectifiers
Build the rectifiers
Rectify the centre-tapped main winding with two rectifiers and smooth it with a capacitor. From the bias winding make two more supplies: one through two rectifiers with by-pass capacitors to a smoothing capacitor, for the pentode's screen and the reference circuit; the other through one rectifier and a capacitor, for the pentode's grid bias. Not given: the values.
วัสดุสำหรับขั้นตอนนี้:
 ไดโอด5 rectifiers
 ตัวเก็บประจุอิเล็กโทรไลต์3 smoothing
 ชุดตัวเก็บประจุ1 by-pass
 ลวดตะกั่วบัดกรี1 as needed
เครื่องมือที่ต้องใช้:
 หัวแร้งบัดกรี
3
3
Fit the pass tube and reference
Fit the pass tube and reference
Put the pentode in series with the positive output: plate to the main supply, cathode through two current-sensing resistors (one fixed, one adjustable) to the + output terminal; suppressor tied to the cathode, screen fed through a resistor. Build the reference: a Zener fed through a resistor feeds a second Zener at constant current, giving a fixed voltage. Against it set two resistors and the voltage-control variable resistor: the output voltage is proportional to that resistor's setting. Not given: the tube type and values.
วัสดุสำหรับขั้นตอนนี้:
 หลอดเพนโทด1 series pass tube
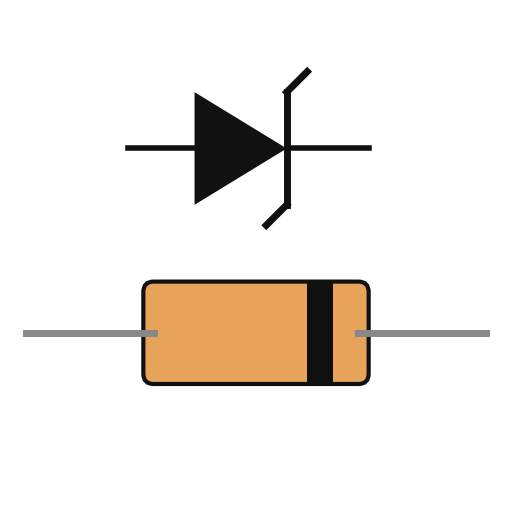 ซีเนอร์ไดโอด2 ชิ้น
 ความต้านทาน1 ชุด
 รีโอสแตต2 voltage control, current-limit rangeขั้วต่อแบบไบดิงโพสต์2 output + and -ลวดตะกั่วบัดกรี1 as needed
เครื่องมือที่ต้องใช้:
หัวแร้งบัดกรี4
4
Build the error amplifier and current limit
Build the error amplifier and current limit
Build a five-transistor amplifier that drives the pentode's grid to keep the bridge balanced: a PNP emitter follower, an NPN stage, a PNP emitter follower with a resistor-capacitor roll-off against oscillation, a PNP driver whose base resistor has a capacitor across it for quick response, and an NPN clamp whose base is set by a potentiometer. Feed the voltage across the current-sensing resistors to the driver's base through a diode: above the limit it takes over and turns the pentode down. Choose the fixed sensing resistor to limit at about 125 % of rated current, trim with the potentiometer, and use the adjustable one to set lower limits. Not given: the transistor types and values.
วัสดุสำหรับขั้นตอนนี้:
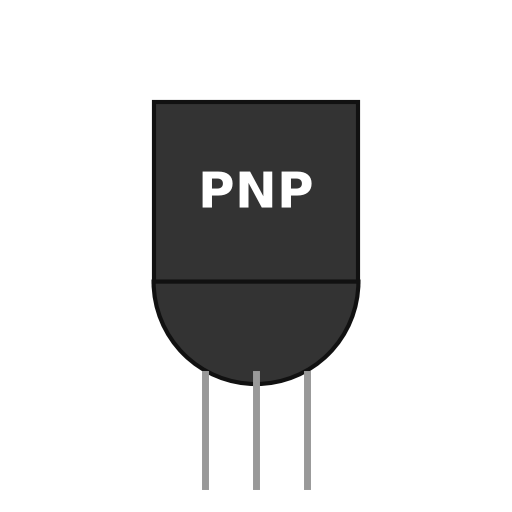 ทรานซิสเตอร์พีเอ็นพี3 ชิ้น
 ทรานซิสเตอร์ NPN2 ชิ้นไดโอด1 ชิ้น
 โพเทนชิออมิเตอร์1 ชิ้นชุดตัวเก็บประจุ1 roll-off, speed-upความต้านทาน1 ชุดลวดตะกั่วบัดกรี1 as needed
เครื่องมือที่ต้องใช้:
หัวแร้งบัดกรี5
5
Fit the meter and use it
Fit the meter and use it
Fit a meter with a four-pole, three-position switch. Position 1 reads output volts through a multiplier resistor; position 2 reads current across a shunt in the negative line; position 3 (spring-return) puts a load resistor across the output and swaps a fixed resistor for the voltage control, so you can turn the limit control until the current limits at the value you want, without touching the voltage setting. Release the switch and use the supply.
วัสดุสำหรับขั้นตอนนี้:
 มิเตอร์แผงแบบขดลวดเคลื่อนที่1 ชิ้น
 สวิตช์หมุน1 4-pole, 3-positionความต้านทาน1 multiplier, shunt, load resistors
 วัสดุที่ไม่ทราบ1 terminal strip
เครื่องมือที่ต้องใช้:
หัวแร้งบัดกรีชุดไขควงวัสดุ
21- 1 caseตัวยึดตำแหน่ง
- 1 ชิ้นตัวยึดตำแหน่ง
- ตัวยึดตำแหน่ง
- 1 ชิ้นตัวยึดตำแหน่ง
- 1 four secondariesตัวยึดตำแหน่ง
- 1 ชิ้นตัวยึดตำแหน่ง
- ตัวยึดตำแหน่ง
- 1 ชิ้นตัวยึดตำแหน่ง
- 3 smoothingตัวยึดตำแหน่ง
- 1 roll-off, speed-upตัวยึดตำแหน่ง
- 3 as neededตัวยึดตำแหน่ง
- 1 series pass tubeตัวยึดตำแหน่ง
- 2 ชิ้นตัวยึดตำแหน่ง
- 1 multiplier, shunt, load resistorsตัวยึดตำแหน่ง
- 2 voltage control, current-limit rangeตัวยึดตำแหน่ง
- 3 ชิ้นตัวยึดตำแหน่ง
- 2 ชิ้นตัวยึดตำแหน่ง
- ตัวยึดตำแหน่ง
- ตัวยึดตำแหน่ง
- 1 4-pole, 3-positionตัวยึดตำแหน่ง
- 1 terminal stripตัวยึดตำแหน่ง
พิมพ์เขียวนี้สร้าง

CC0 สาธารณสมบัติ
พิมพ์เขียวนี้เผยแพร่ภายใต้ CC0 คุณสามารถคัดลอก แก้ไข แจกจ่าย และใช้งานผลงานนี้เพื่อวัตถุประสงค์ใดก็ได้ โดยไม่ต้องขออนุญาต
สนับสนุนเมกเกอร์โดยซื้อสินค้าผ่านพิมพ์เขียวของพวกเขา ซึ่งพวกเขาจะได้รับ ค่าคอมมิชชันเมกเกอร์ ที่ผู้ขายกำหนด หรือสร้างเวอร์ชันใหม่ของพิมพ์เขียวนี้และรวมเป็นการเชื่อมต่อในพิมพ์เขียวของคุณเพื่อแบ่งรายได้