ศิลปะ
ความงามและสุขภาพ
งานฝีมือ
วัฒนธรรมและประวัติศาสตร์
ความบันเทิง
สิ่งแวดล้อม
อาหารและเครื่องดื่ม
วิศวกรรมย้อนรอย
วิทยาศาสตร์
กีฬา
เทคโนโลยี
อุปกรณ์สวมใส่
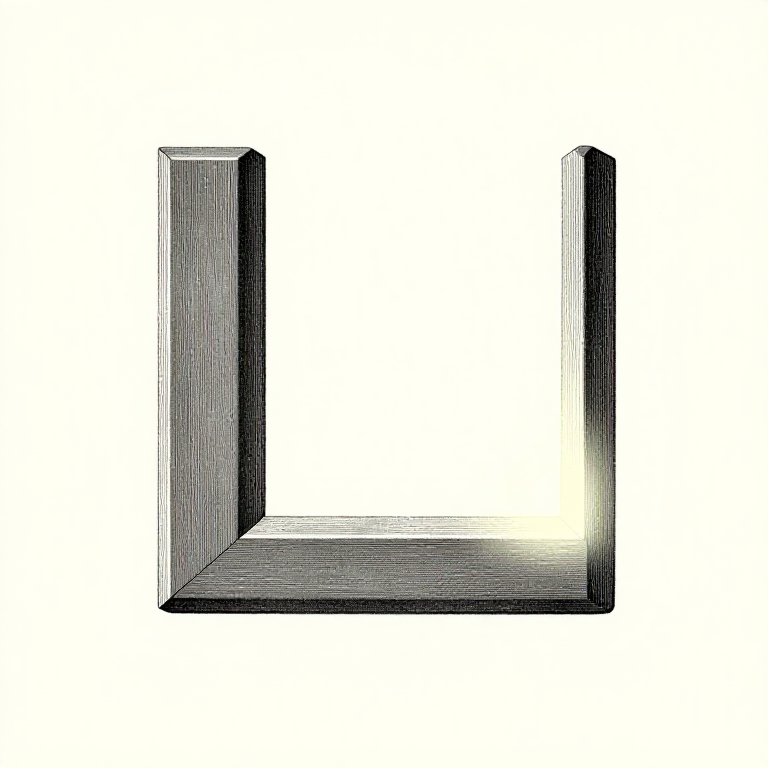


Bending: Where the Curve Starts Is a Decision
Bending looks like the easiest operation and produces the most disappointing results, because the bend happens wherever the metal is hottest and thinnest — not where you intended.
So bending is really a heating problem. Control where the heat is and the bend goes there; heat the whole bar and it bends in a long lazy arc wherever it happens to be weakest.
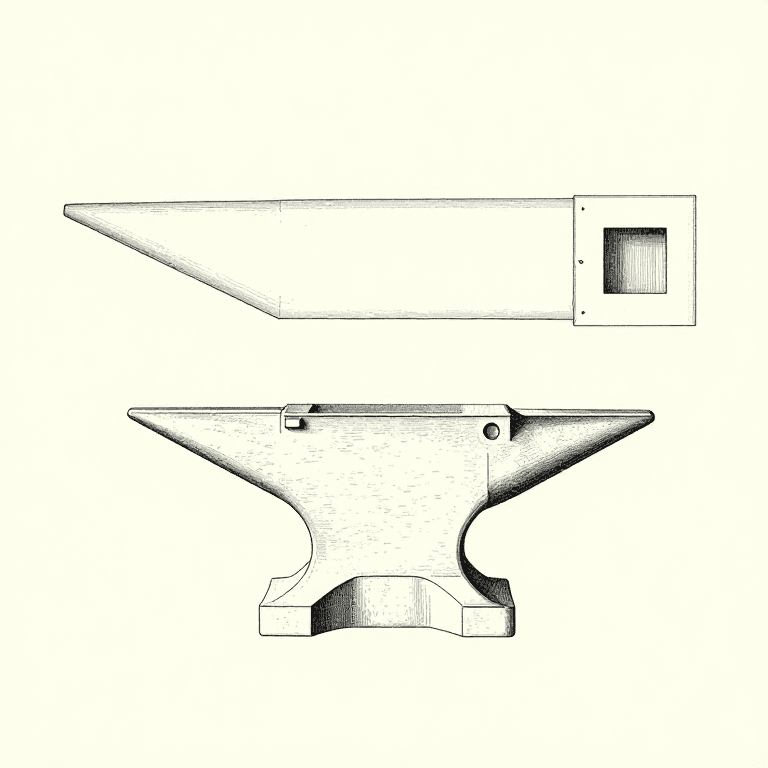
The second decision is the RADIUS, and that is what the anvil's horn is for: a continuously variable former from a tight curl at the tip to a gentle sweep at the base.
ระดับกลาง
3 hours
คำแนะนำ
1
1
Heat a short band exactly where the bend goes
Heat a short band exactly where the bend goes
Bring a narrow band to bright heat and leave the bar dark either side. Cold metal will not bend, so the deformation is confined to the hot band — the same lever the upsetting rung uses.
A sharp corner needs a very short hot zone; a gentle curve needs a long one. So decide the shape first, then heat to match it, rather than heating and hoping.
Use the fire's shape to help. A narrow slot in the fuel, or the work laid across rather than into the hot zone, heats a band instead of a length. This is the heating-evenly rung again, used deliberately in reverse.
วัสดุสำหรับขั้นตอนนี้:
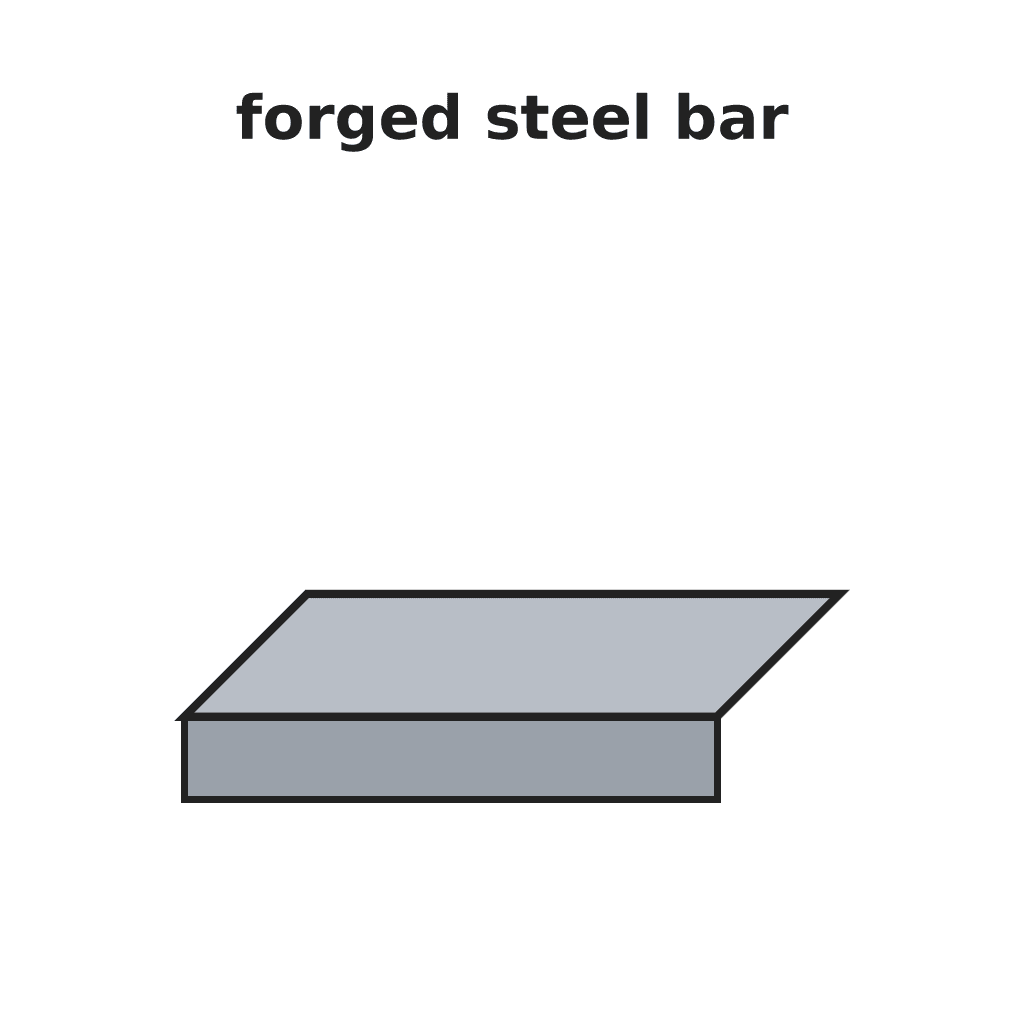
 แท่งเหล็กกล้าละมุน1 ชิ้น
 ถ่านไม้1 ชิ้น
เครื่องมือที่ต้องใช้:
 เตาตีเหล็กของช่างตีเหล็ก
 คีมช่างตีเหล็ก
 แว่นตากรองแสงสำหรับเตาหลอม
2
2
Over the horn, over the edge, or in the vice
Over the horn, over the edge, or in the vice
The HORN gives any radius you want — move along it. Lay the bar across and pull down, or hammer it round; the horn supports the inside of the curve while the metal wraps.
The anvil EDGE gives a sharp corner. Hang the bar over the edge with the hot band exactly at the edge line, and strike down — the metal folds over the radius of that edge, so a sharp edge gives a crisp corner and a rounded one gives a soft bend.
The VICE holds one side while you lever the other, which gives the most control for a precise angle. A bending fork in the hardy hole does the same on the anvil and leaves both hands free.
วัสดุสำหรับขั้นตอนนี้:
แท่งเหล็กกล้าละมุน1 ชิ้นเครื่องมือที่ต้องใช้:
 ทั่ง
ทั่ง ปากกาจับชิ้นงานหนัก
 ค้อนช่างตีเหล็กคีมช่างตีเหล็ก
3
3
The outside stretches — and how far is arithmetic
The outside stretches — and how far is arithmetic
กำลังโหลดสมุด Jupyter…
วัสดุสำหรับขั้นตอนนี้:
แท่งเหล็กกล้าละมุน1 ชิ้นเครื่องมือที่ต้องใช้:
ทั่งค้อนช่างตีเหล็ก กล้องส่องขยาย
 เครื่องคิดเลข
4
4
Check against the drawing, not against your eye
Check against the drawing, not against your eye
Draw the shape full size on a steel plate or a sheet of paper and offer the work to it after every few blows. The eye is a poor judge of an angle and a worse one of a curve.
For a repeated shape — a set of scrolls, a row of identical brackets — make a simple jig or a bending fork so each piece is formed against the same former. That is the story-stick principle from the marking-out batch: one reference, used repeatedly, beats measuring each piece.
Correct while it is still hot. A bend that has gone cold can be reheated, but every extra heat costs scale and risks grain growth, and a shape corrected three times rarely looks as crisp as one made right in two heats.
วัสดุสำหรับขั้นตอนนี้:
แท่งเหล็กกล้าละมุน1 ชิ้นเครื่องมือที่ต้องใช้:
 ไม้บรรทัดคีมช่างตีเหล็กทั่ง
เครื่องมือที่จำเป็น
9- ตัวยึดตำแหน่ง
- ตัวยึดตำแหน่ง
- ตัวยึดตำแหน่ง
- ตัวยึดตำแหน่ง
- ตัวยึดตำแหน่ง
- ตัวยึดตำแหน่ง
- ตัวยึดตำแหน่ง
- ตัวยึดตำแหน่ง
- ตัวยึดตำแหน่ง
พิมพ์เขียวนี้สร้าง
บลูพริ้นท์ที่เกี่ยวข้อง
บลูพริ้นท์เหล่านี้แบ่งปันความรู้ — เทคนิค วัสดุ หรือหลักการ
CC0 สาธารณสมบัติ
พิมพ์เขียวนี้เผยแพร่ภายใต้ CC0 คุณสามารถคัดลอก แก้ไข แจกจ่าย และใช้งานผลงานนี้เพื่อวัตถุประสงค์ใดก็ได้ โดยไม่ต้องขออนุญาต
สนับสนุนเมกเกอร์โดยซื้อสินค้าผ่านพิมพ์เขียวของพวกเขา ซึ่งพวกเขาจะได้รับ ค่าคอมมิชชันเมกเกอร์ ที่ผู้ขายกำหนด หรือสร้างเวอร์ชันใหม่ของพิมพ์เขียวนี้และรวมเป็นการเชื่อมต่อในพิมพ์เขียวของคุณเพื่อแบ่งรายได้