ศิลปะ
ความงามและสุขภาพ
งานฝีมือ
วัฒนธรรมและประวัติศาสตร์
ความบันเทิง
สิ่งแวดล้อม
อาหารและเครื่องดื่ม
วิศวกรรมย้อนรอย
วิทยาศาสตร์
กีฬา
เทคโนโลยี
อุปกรณ์สวมใส่
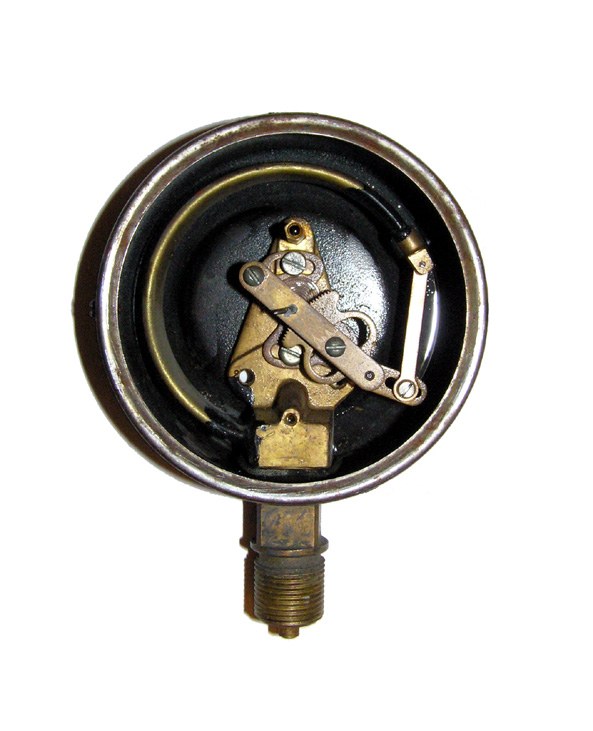


Bourdon-Tube Pressure Gauge
The heart of a dial pressure gauge is the Bourdon tube: a metal tube of oval section bent into a C and sealed at its free end. The greater the pressure, the farther the free tip moves, but only about 0.125–0.25 in (3–6 mm) across the whole range. A geared movement, built much like clockwork, turns that small movement into the sweep of a pointer, usually over 270° of dial. The tube metal must take a spring temper; phosphor bronze is used for most gauges for air, light oil or water, and beryllium copper for high pressure. The tube's wall thickness and the radius of its curve set the pressure range.
ขั้นสูง
Factory process
คำแนะนำ
1
1
Roll the C
Roll the C
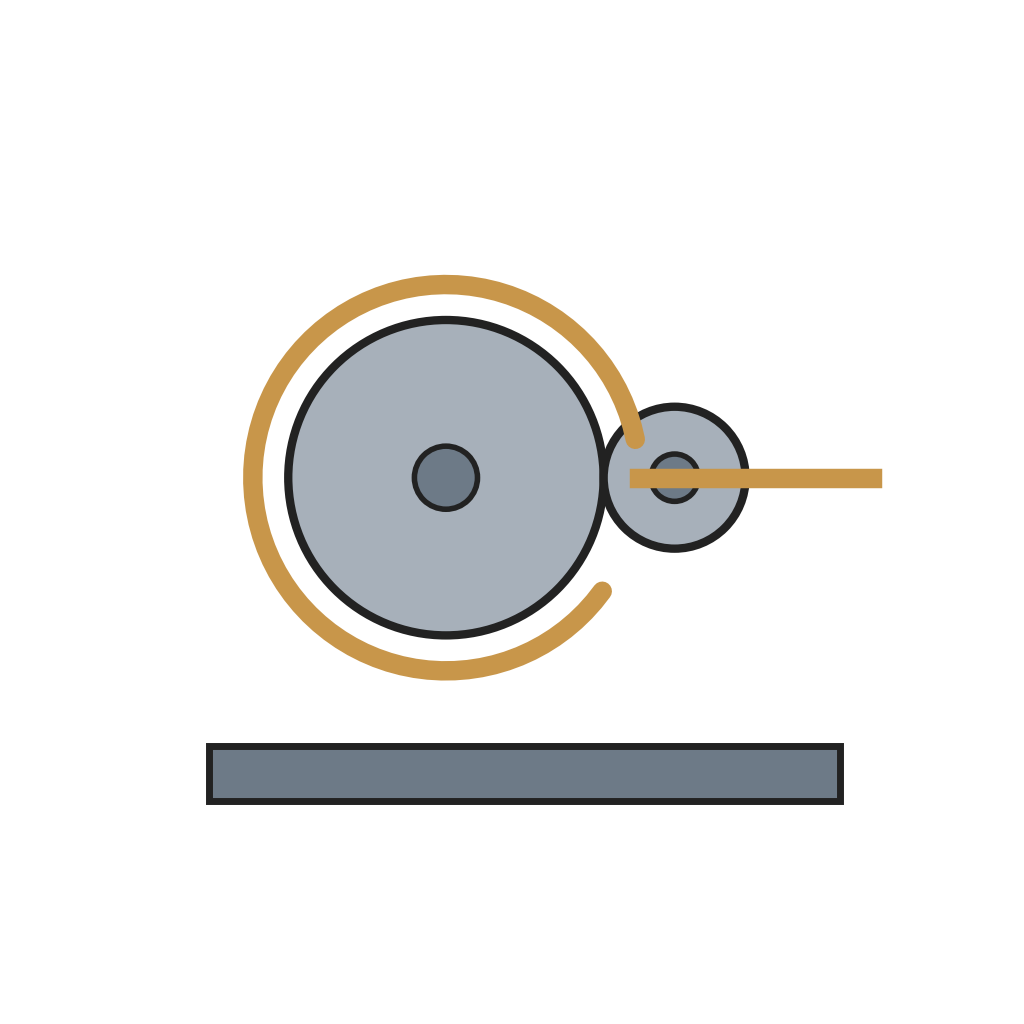
Pass the tubing over a lubricated steel mandrel and between two grooved, powered rollers. One roller grips the end and bends the inside radius while the other presses from outside; the grooves keep the tube from flattening.
วัสดุสำหรับขั้นตอนนี้:
 ท่อฟอสเฟอร์บรอนซ์1 as required
เครื่องมือที่ต้องใช้:
 เครื่องดัดท่อบูร์ดอง
2
2
Cut and heat treat
Cut and heat treat
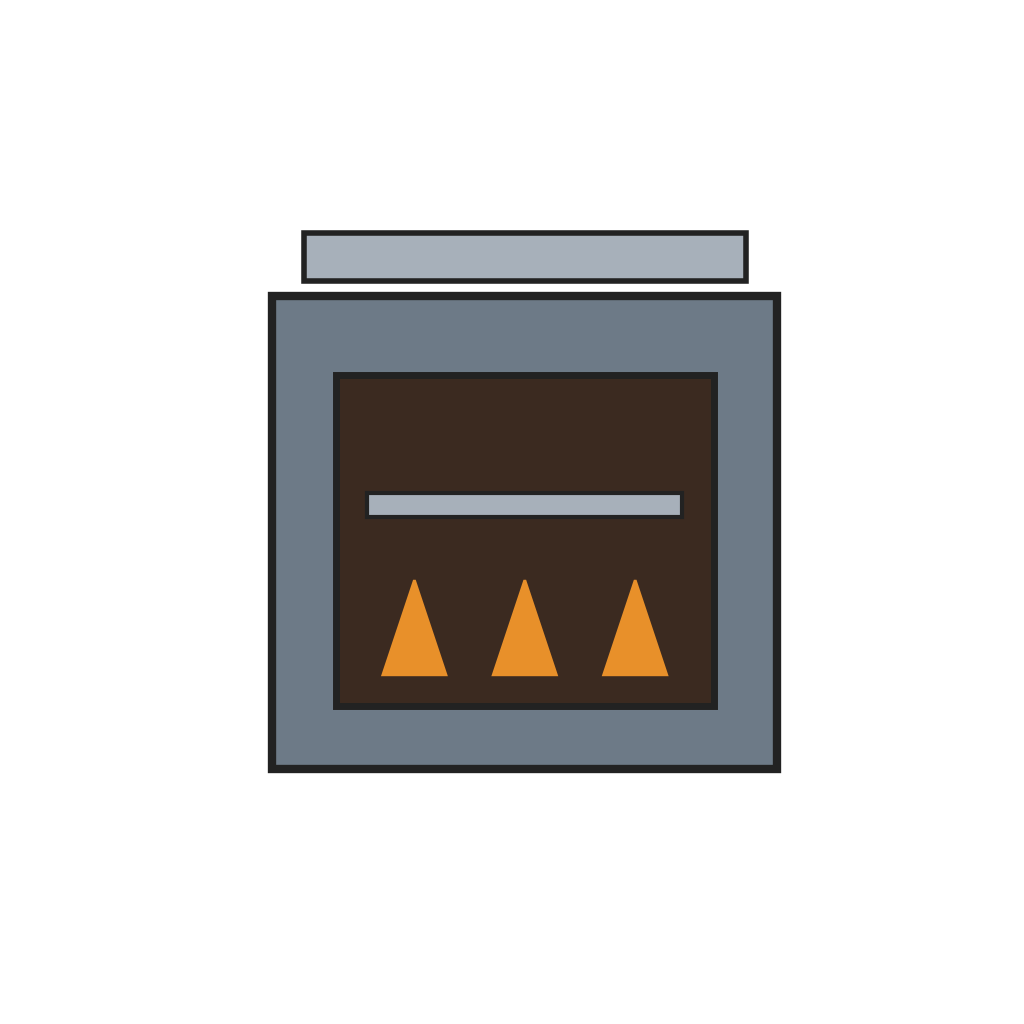
As the roller keeps turning, a saw blade on it cuts the tube to length. Heat treat the tubes in ovens to give them their spring temper.
เครื่องมือที่ต้องใช้:
 เตาอบชุบความร้อน
3
3
Machine the socket
Machine the socket
Turn, drill, mill and thread the socket from bar stock in one cycle on a machining centre. One end is threaded to screw into the pressure source.
วัสดุสำหรับขั้นตอนนี้:
 แท่งทองเหลืองกลม1 as required
เครื่องมือที่ต้องใช้:
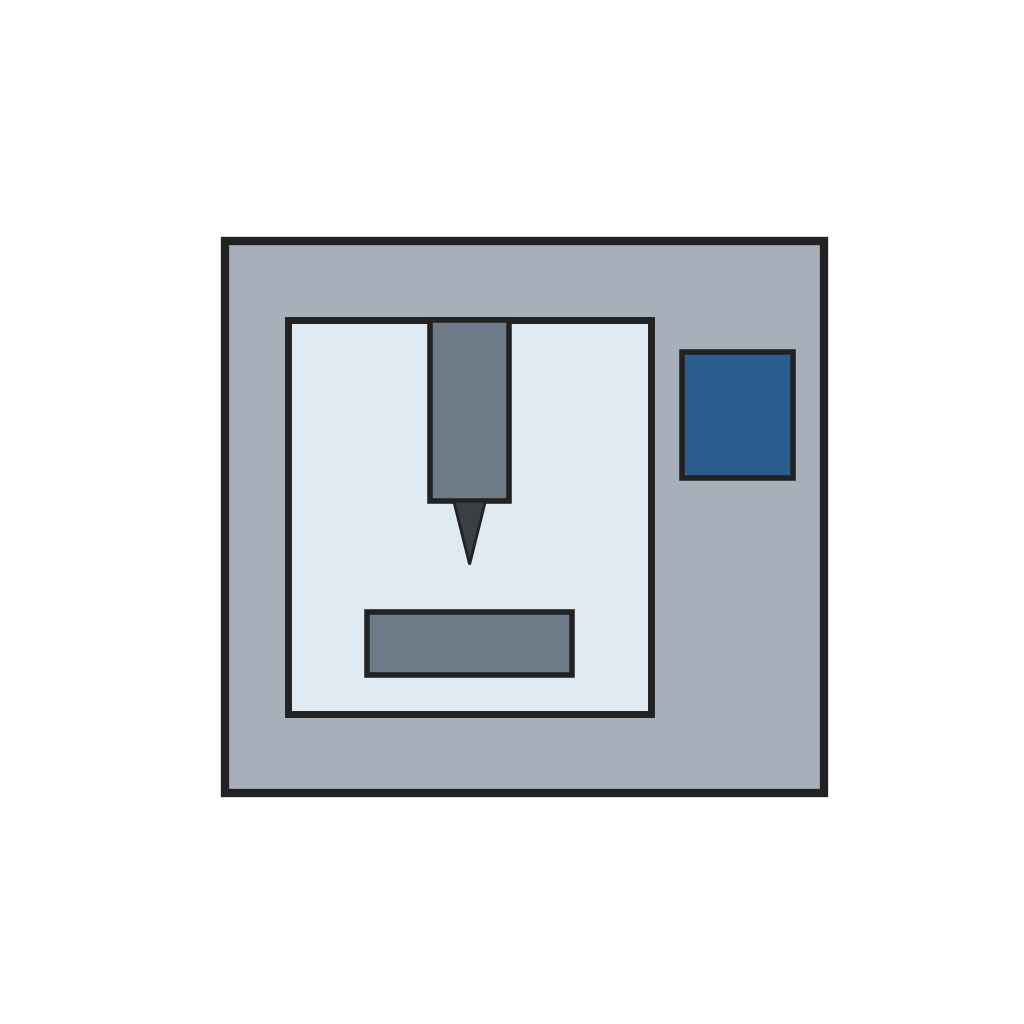 ศูนย์เครื่องจักรกล CNC
4
4
Join tube and socket
Join tube and socket
Solder, braze or weld the open end of the tube to the socket, locating the free end precisely, and seal the free end the same way. Fit an endpiece to the tip; its small hole links the tip to the movement.
เครื่องมือที่ต้องใช้:
 หัวเป่าเชื่อมทองเหลือง
5
5
Fit movement, dial and pointer
Fit movement, dial and pointer
Mount the movement, the dial and the pointer onto the socket as a group.
วัสดุสำหรับขั้นตอนนี้:
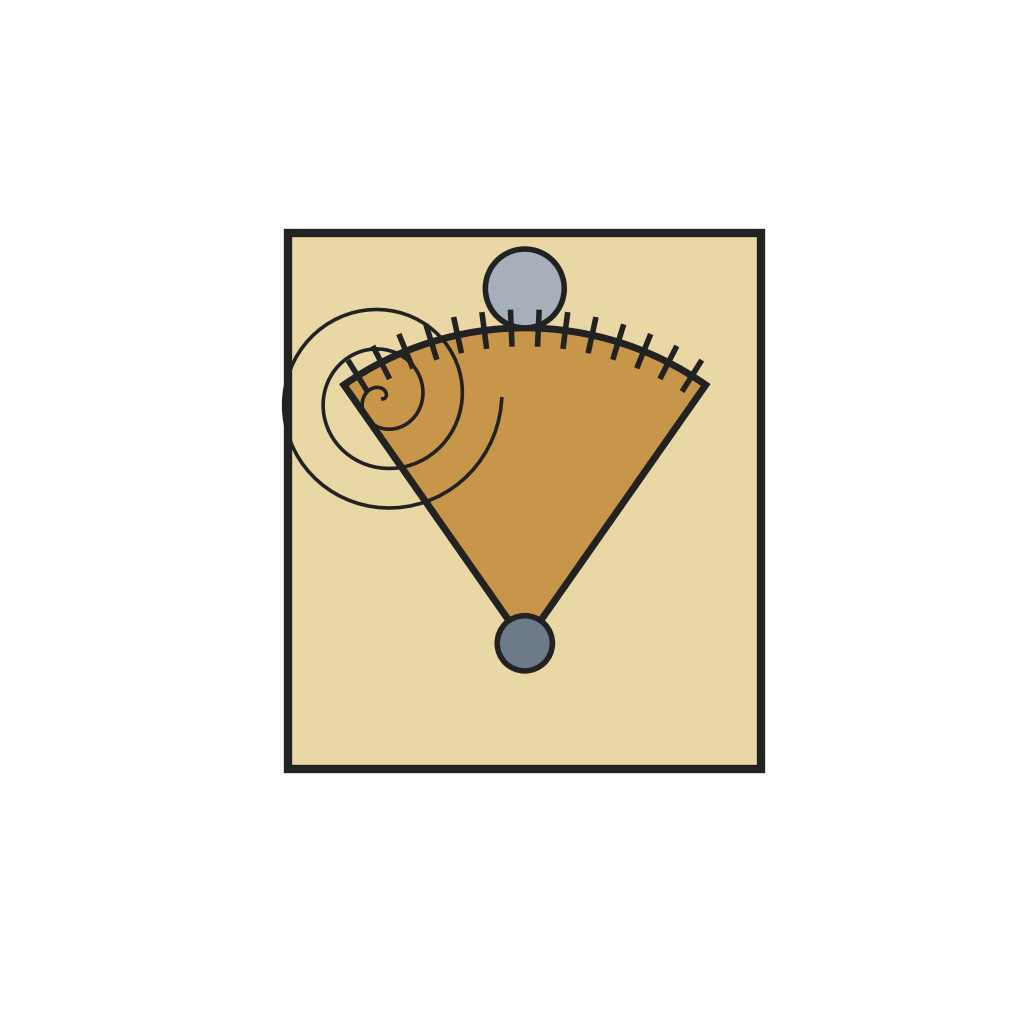 กลไกเกจวัดความดัน1 ชิ้น
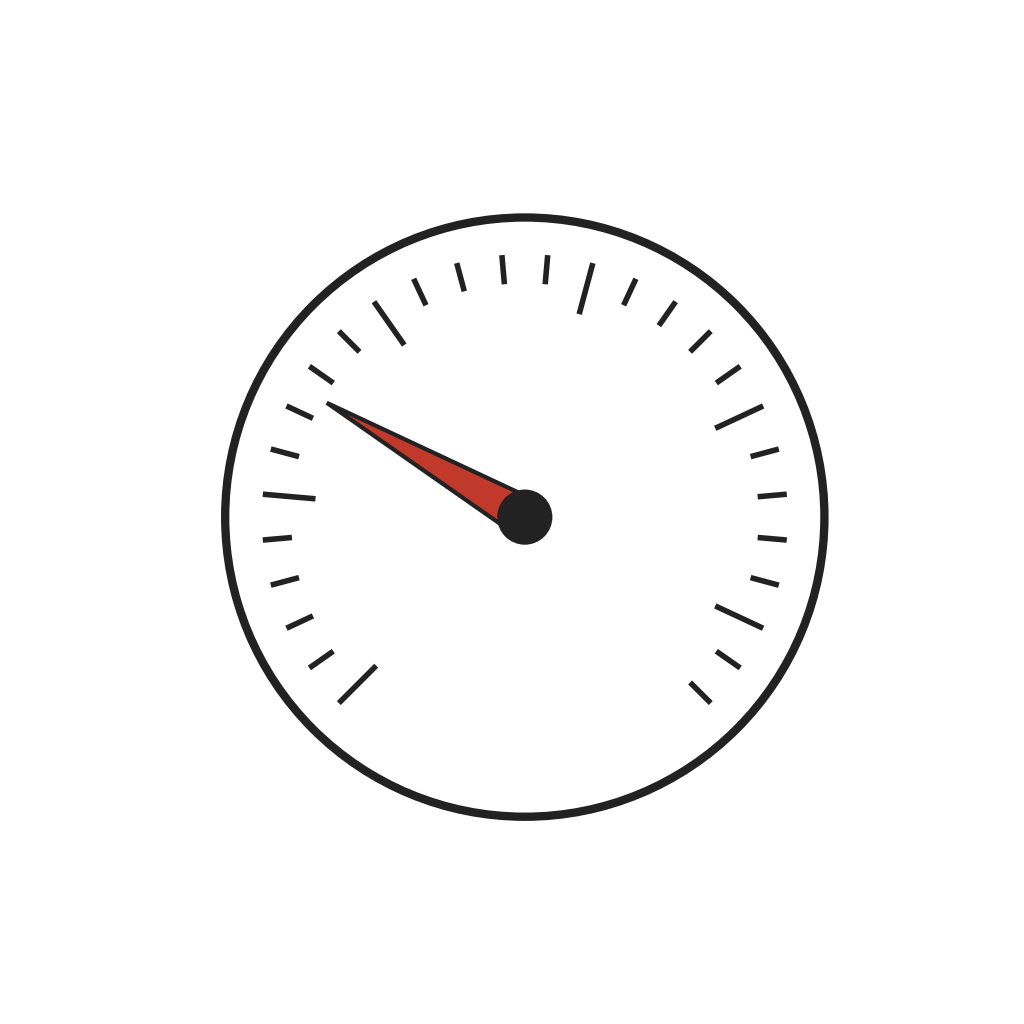 หน้าปัดและเข็มเกจ1 ชิ้น
6
6
Calibrate and case
Calibrate and case
Connect the assembly to a pressure source alongside a master gauge of known accuracy and adjust it until it reads the same; 2% is a common accuracy, finer grades 1, 0.5 or 0.25%. Then fit the case and lens.
วัสดุสำหรับขั้นตอนนี้:
 ตัวเรือนและกระจกเกจ1 ชิ้น
เครื่องมือที่ต้องใช้:
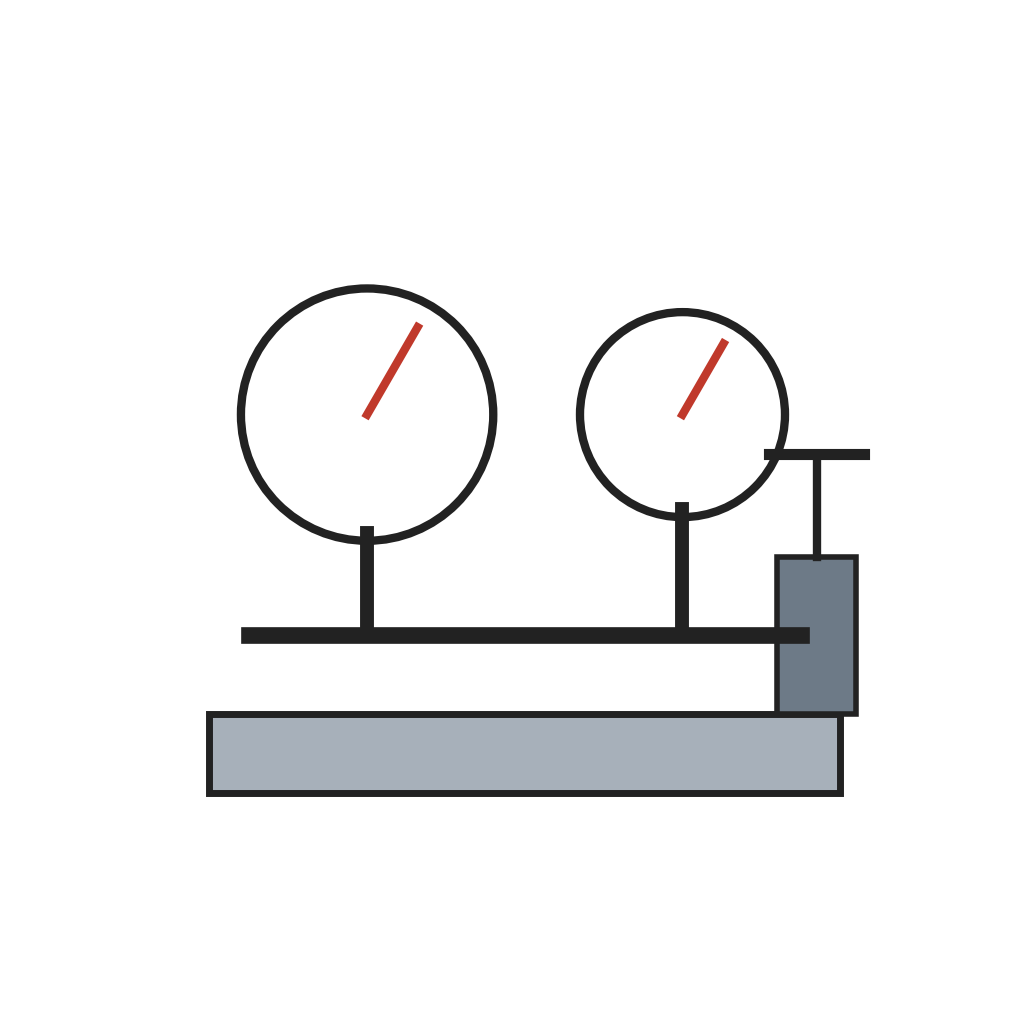 โต๊ะสอบเทียบพร้อมเกจมาตรฐาน
วัสดุ
5- 1 as requiredตัวยึดตำแหน่ง
- 1 as requiredตัวยึดตำแหน่ง
- 1 ชิ้นตัวยึดตำแหน่ง
- 1 ชิ้นตัวยึดตำแหน่ง
- 1 ชิ้นตัวยึดตำแหน่ง
เครื่องมือที่จำเป็น
5- ตัวยึดตำแหน่ง
- ตัวยึดตำแหน่ง
- ตัวยึดตำแหน่ง
- ตัวยึดตำแหน่ง
- ตัวยึดตำแหน่ง
พิมพ์เขียวนี้สร้าง
บลูพริ้นท์ที่เกี่ยวข้อง
บลูพริ้นท์เหล่านี้แบ่งปันความรู้ — เทคนิค วัสดุ หรือหลักการ
CC0 สาธารณสมบัติ
พิมพ์เขียวนี้เผยแพร่ภายใต้ CC0 คุณสามารถคัดลอก แก้ไข แจกจ่าย และใช้งานผลงานนี้เพื่อวัตถุประสงค์ใดก็ได้ โดยไม่ต้องขออนุญาต
สนับสนุนเมกเกอร์โดยซื้อสินค้าผ่านพิมพ์เขียวของพวกเขา ซึ่งพวกเขาจะได้รับ ค่าคอมมิชชันเมกเกอร์ ที่ผู้ขายกำหนด หรือสร้างเวอร์ชันใหม่ของพิมพ์เขียวนี้และรวมเป็นการเชื่อมต่อในพิมพ์เขียวของคุณเพื่อแบ่งรายได้