ศิลปะ
ความงามและสุขภาพ
งานฝีมือ
วัฒนธรรมและประวัติศาสตร์
ความบันเทิง
สิ่งแวดล้อม
อาหารและเครื่องดื่ม
วิศวกรรมย้อนรอย
วิทยาศาสตร์
กีฬา
เทคโนโลยี
อุปกรณ์สวมใส่
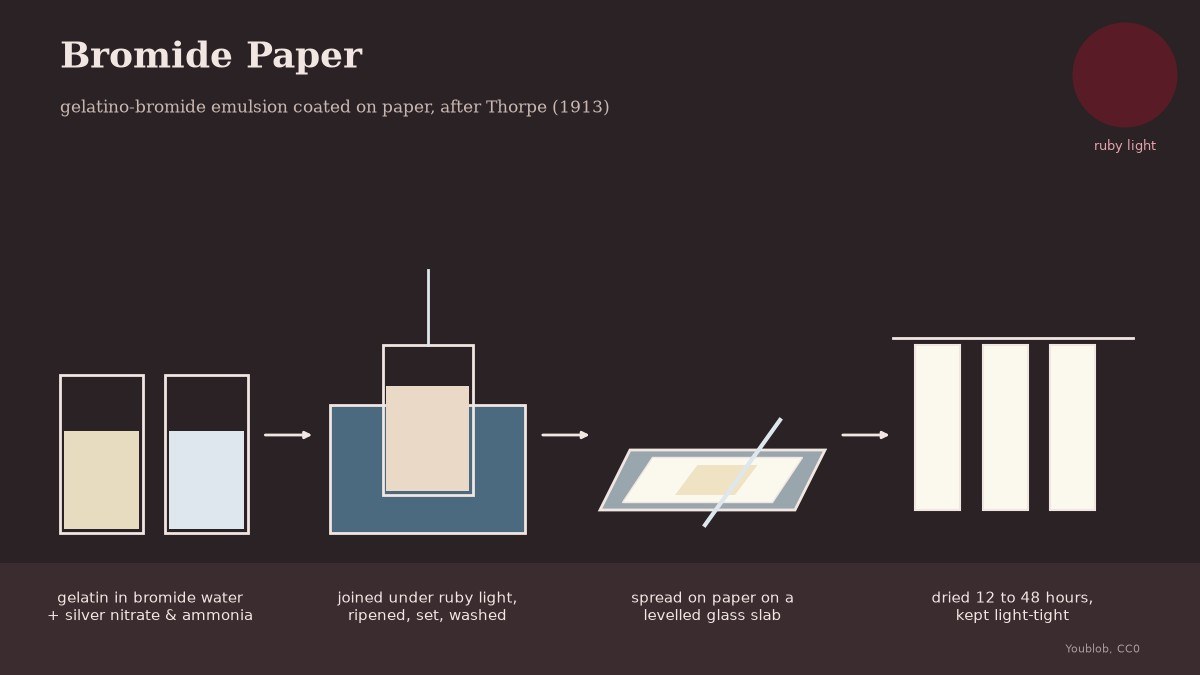


Bromide Paper: Gelatino-Bromide Emulsion Coated on Paper
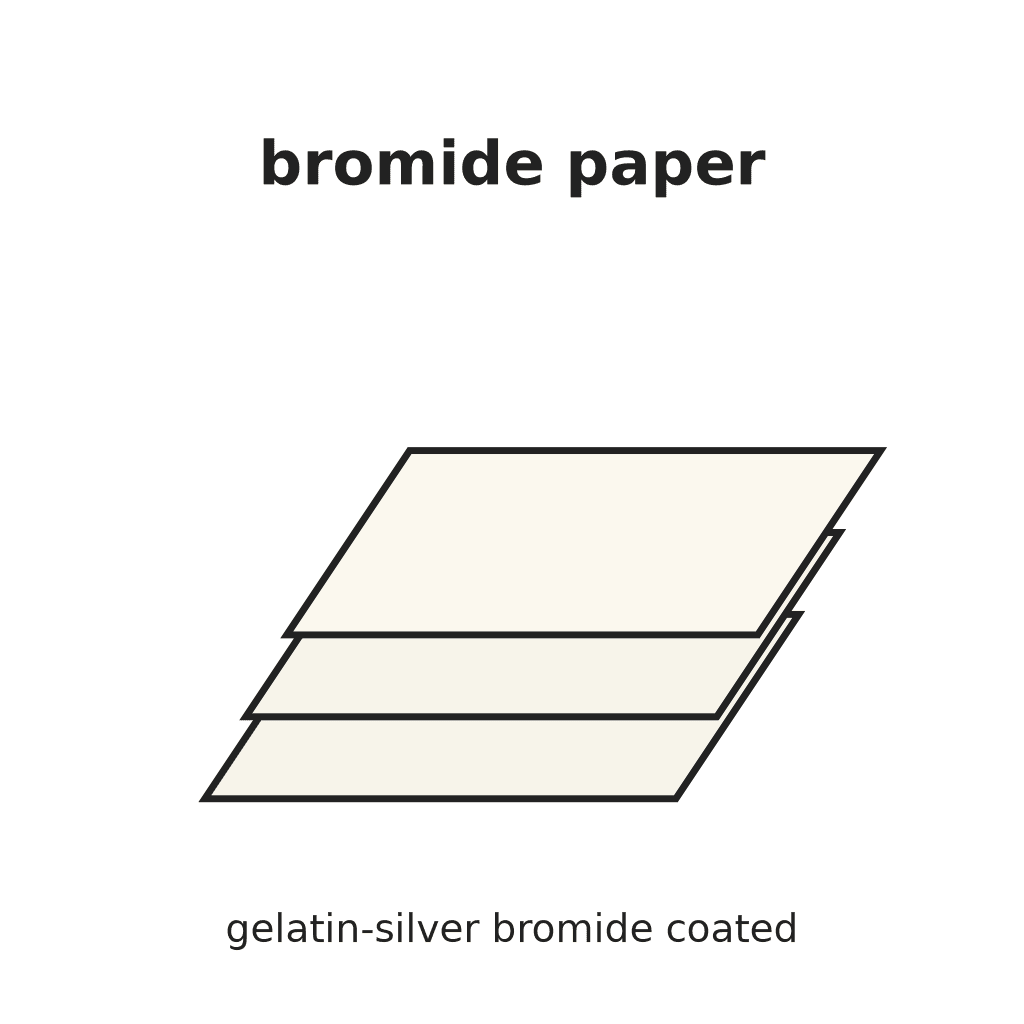
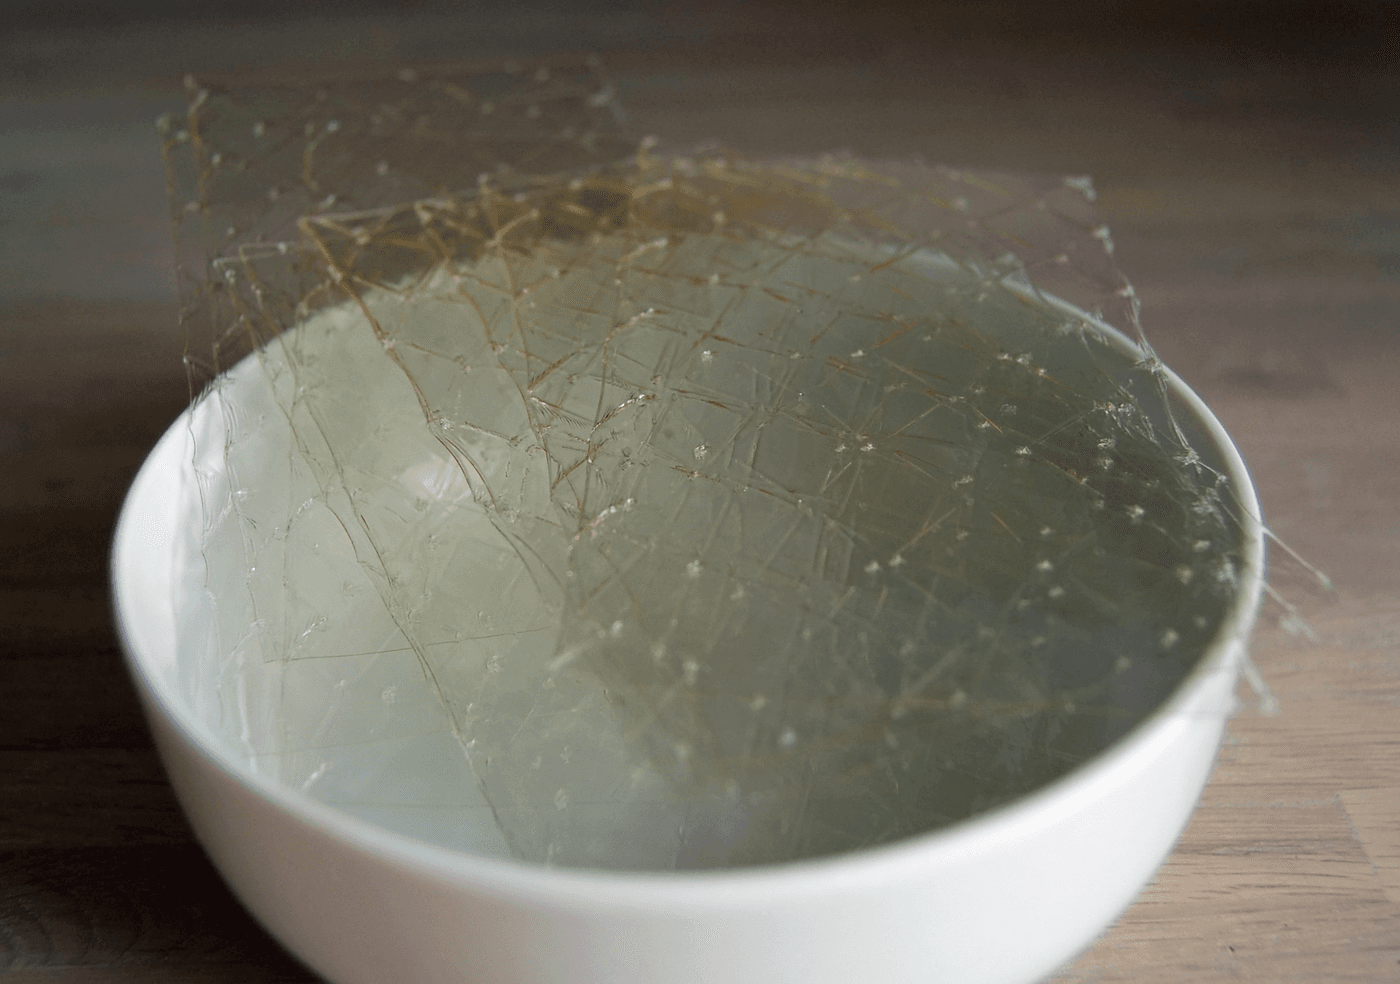
Bromide paper is paper coated with silver bromide in gelatin, the printing and enlarging paper of the darkroom. Thorpe (1913) gives a beginner's emulsion: gelatin swelled in potassium bromide solution, silver nitrate made clear with strong ammonia, the two joined under ruby light, ripened, set, washed, and spread on paper as on a glass plate. From the moment the silver goes in, work only by ruby light. Grain and ounce figures are Thorpe's; the gram conversions and the 10-sheet batch are ours.
The picture: our own drawing.
ขั้นสูง
4 days
คำแนะนำ
1
1
Swell the gelatin
Swell the gelatin
Dissolve 185 grains (12.0 g) of potassium bromide in 5 oz (142 ml) of water. Cover 300 grains (19.4 g) of hard gelatin with it and stir until it softens and swells.
วัสดุสำหรับขั้นตอนนี้:
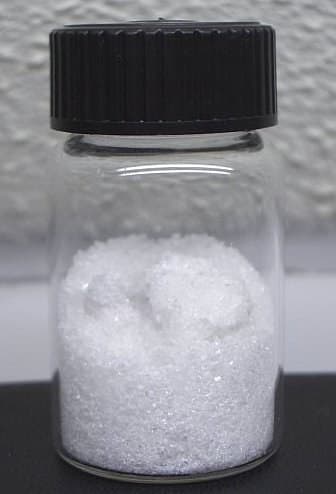
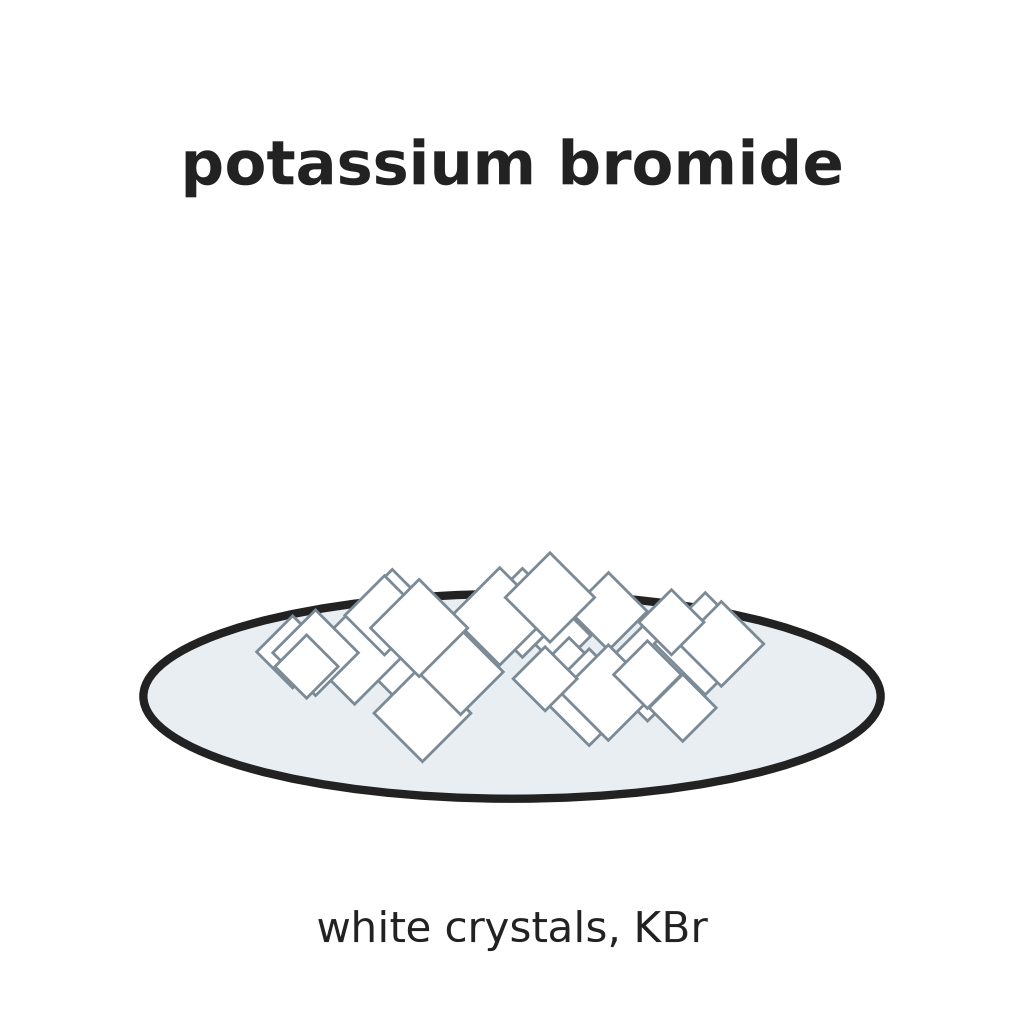 โพแทสเซียมโบรไมด์12 ก.
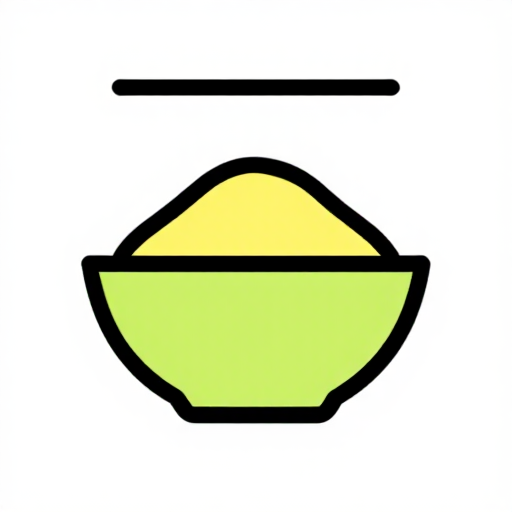 ผงเจลาติน19.4 ก.
เครื่องมือที่ต้องใช้:
 น้ำ
 บีกเกอร์แก้ว
 แท่งแก้วคน
 ตราชั่งสองแขน
2
2
Dissolve the silver
Dissolve the silver
Dissolve 231 grains (15.0 g) of silver nitrate in 5 oz (142 ml) of water with gentle heat in the water bath. Add strong ammonia (0.880) a little at a time, stirring, until the precipitate that first forms dissolves again.
วัสดุสำหรับขั้นตอนนี้:
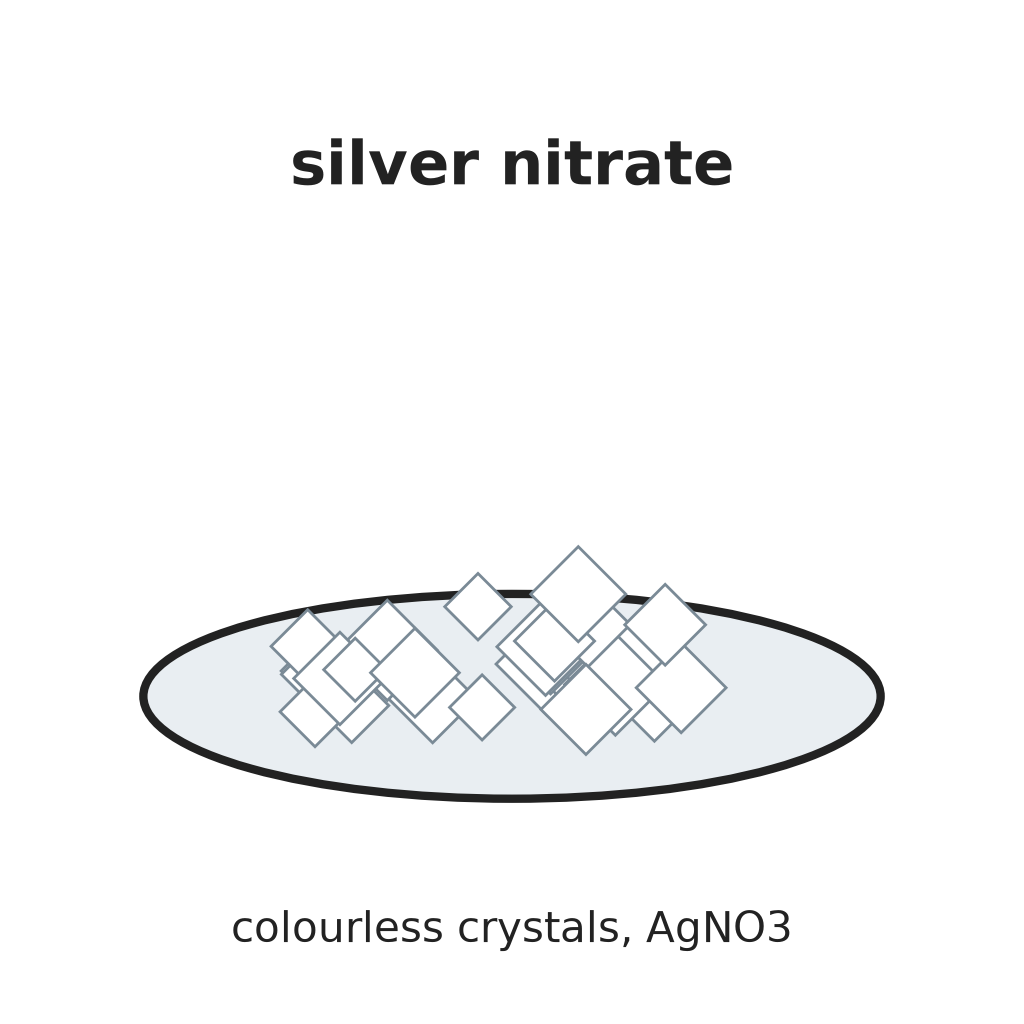 ซิลเวอร์ไนเตรต15 ก.
เครื่องมือที่ต้องใช้:
น้ำ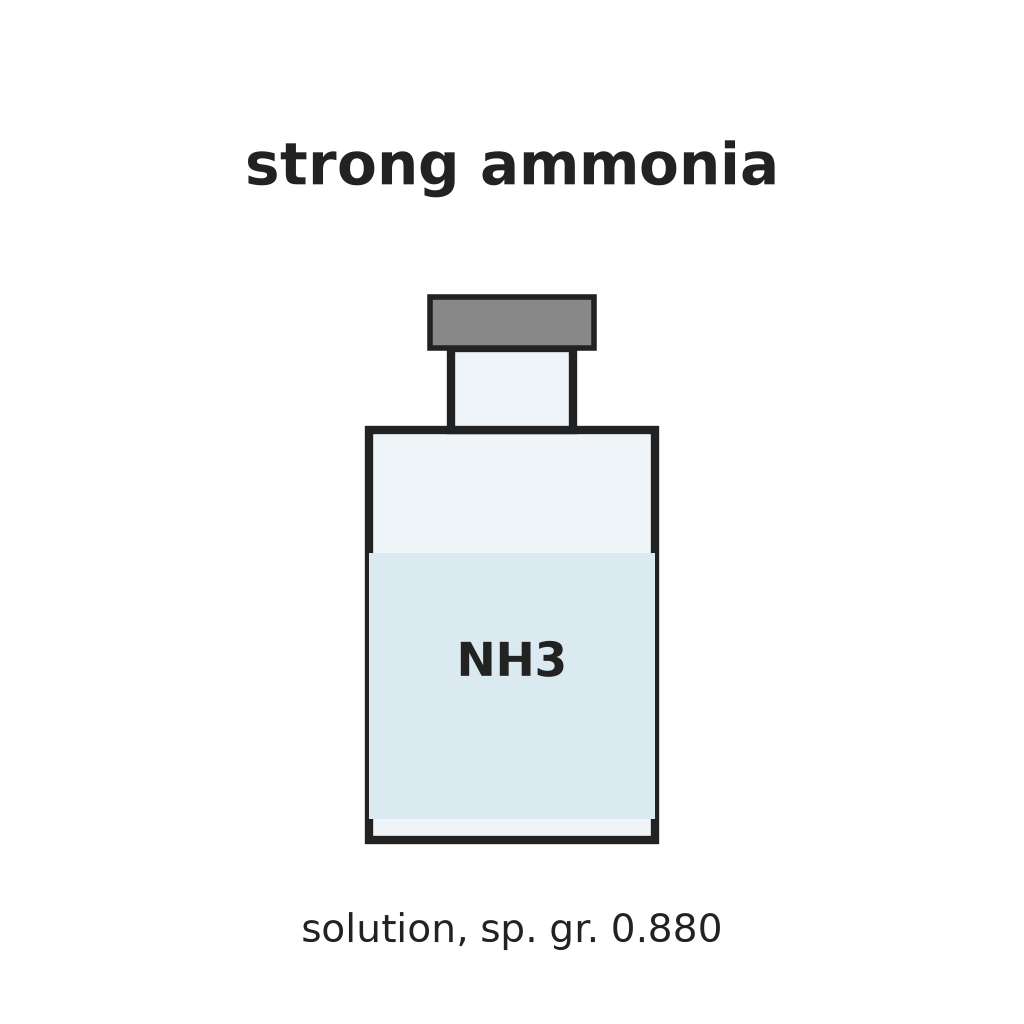 สารละลายแอมโมเนียเข้มข้น (0.880)บีกเกอร์แก้วแท่งแก้วคน
 หม้อใบใหญ่ (ใบล่าง สำหรับอ่างน้ำร้อน)
3
3
Melt the gelatin, never above 35 °C
Melt the gelatin, never above 35 °C
Stand both vessels in the pan of water, never above 35 °C, stirring, until the gelatin is perfectly liquid. Up to here ordinary light is fine.
เครื่องมือที่ต้องใช้:
หม้อใบใหญ่ (ใบล่าง สำหรับอ่างน้ำร้อน) เทอร์โมมิเตอร์แท่งแก้วคน
4
4
Add the silver under ruby light
Add the silver under ruby light
From now on, ruby light only. Pour the silver solution into the gelatin in a thin stream, stirring all the time. Rinse the silver beaker with about 1 oz (28 ml) of warm water into the emulsion.
เครื่องมือที่ต้องใช้:
 ไฟห้องมืดสีแดงทับทิมบีกเกอร์แก้วแท่งแก้วคนน้ำ
5
5
Ripen
Ripen
Leave the emulsion in the hot water for half to three-quarters of an hour.
เครื่องมือที่ต้องใช้:
หม้อใบใหญ่ (ใบล่าง สำหรับอ่างน้ำร้อน)ไฟห้องมืดสีแดงทับทิม6
6
Set in the dark
Set in the dark
Pour it into a flat dish, put it in a light-tight box and let it set for at least 24 hours; two or three days is better.
เครื่องมือที่ต้องใช้:
 ถาดเซรามิกตื้น
 กล่องกันแสง
7
7
Wash through canvas
Wash through canvas
Scrape the set jelly onto wet coarse canvas and tie it into a bag. Knead it under water so it squeezes through in threads. Pour off the water, cover with fresh, wait 5 minutes and pour off: six to eight times.
เครื่องมือที่ต้องใช้:
 ตะหลิว
 ผ้าใบ
 เชือกน้ำไฟห้องมืดสีแดงทับทิม
8
8
Drain and store
Drain and store
Turn the threads onto a strainer covered with a cloth and let the water drain. Rinse with methylated spirit and keep in a lidded jar until coating.
เครื่องมือที่ต้องใช้:
 กระชอน
 ผ้ามัสลิน
 แอลกอฮอล์แปลงสภาพ
 ขวดแก้วมีฝาไฟห้องมืดสีแดงทับทิม
9
9
Coat the paper
Coat the paper
Melt the emulsion in the warm water bath. Lay a sheet of paper flat on a levelled glass slab. Pour emulsion on the middle to cover nearly half the sheet, and spread it to each end with a glass rod 2 inches wider than the sheet, held just off the surface.
วัสดุสำหรับขั้นตอนนี้:
 กระดาษ10 แผ่น
เครื่องมือที่ต้องใช้:
หม้อใบใหญ่ (ใบล่าง สำหรับอ่างน้ำร้อน) แผ่นแก้ว
 ระดับน้ำแท่งแก้วคนไฟห้องมืดสีแดงทับทิม
10
10
Dry
Dry
When the coat has set, move the sheets to a rack in a drying box with a current of air. They dry in 12 to 48 hours. Keep them in the light-tight box.
เครื่องมือที่ต้องใช้:
 ชั้นตากแห้งกล่องกันแสง
วัสดุ
4- 12 ก.ตัวยึดตำแหน่ง
- 19.4 ก.ตัวยึดตำแหน่ง
- 15 ก.ตัวยึดตำแหน่ง
- 10 แผ่นตัวยึดตำแหน่ง
เครื่องมือที่จำเป็น
20- ตัวยึดตำแหน่ง
- ตัวยึดตำแหน่ง
- ตัวยึดตำแหน่ง
- ตัวยึดตำแหน่ง
- ตัวยึดตำแหน่ง
- ตัวยึดตำแหน่ง
- ตัวยึดตำแหน่ง
- ตัวยึดตำแหน่ง
- ตัวยึดตำแหน่ง
- ตัวยึดตำแหน่ง
- ตัวยึดตำแหน่ง
- ตัวยึดตำแหน่ง
- ตัวยึดตำแหน่ง
- ตัวยึดตำแหน่ง
- ตัวยึดตำแหน่ง
- ตัวยึดตำแหน่ง
- ตัวยึดตำแหน่ง
- ตัวยึดตำแหน่ง
- ตัวยึดตำแหน่ง
- ตัวยึดตำแหน่ง
พิมพ์เขียวนี้สร้าง
บลูพริ้นท์ที่เกี่ยวข้อง
บลูพริ้นท์เหล่านี้แบ่งปันความรู้ — เทคนิค วัสดุ หรือหลักการ


CC0 สาธารณสมบัติ
พิมพ์เขียวนี้เผยแพร่ภายใต้ CC0 คุณสามารถคัดลอก แก้ไข แจกจ่าย และใช้งานผลงานนี้เพื่อวัตถุประสงค์ใดก็ได้ โดยไม่ต้องขออนุญาต
สนับสนุนเมกเกอร์โดยซื้อสินค้าผ่านพิมพ์เขียวของพวกเขา ซึ่งพวกเขาจะได้รับ ค่าคอมมิชชันเมกเกอร์ ที่ผู้ขายกำหนด หรือสร้างเวอร์ชันใหม่ของพิมพ์เขียวนี้และรวมเป็นการเชื่อมต่อในพิมพ์เขียวของคุณเพื่อแบ่งรายได้