Blowing a Glass Bottle by Hand — Free-Blown Vessel Shaping
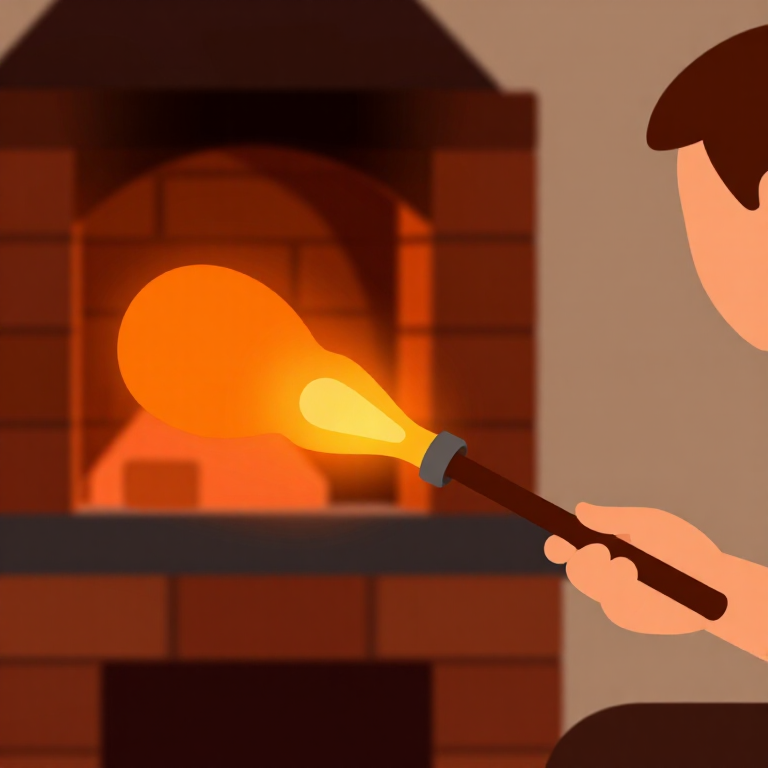
Free-blowing a glass bottle is one of the foundational skills in glassworking. The glassblower gathers molten soda-lime glass on a blowpipe, inflates it into a bubble, and shapes the body, neck, and lip using a combination of gravity, centrifugal force, and simple hand tools. Unlike mould-blown glass, free-blown bottles are shaped entirely by the maker's skill — every piece is unique. This technique has been used continuously since Roman times and remains the basis of all studio glassblowing today.
คำแนะนำ
Heat the furnace and prepare the bench
Heat the furnace and prepare the bench
เครื่องมือที่ต้องใช้:
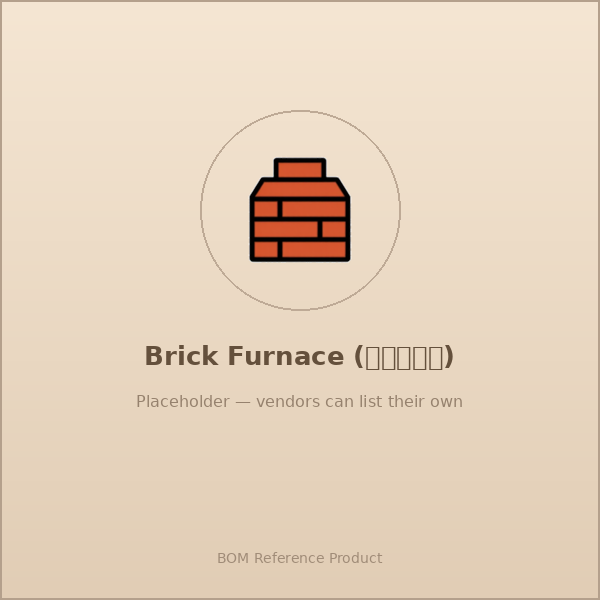 Brick Furnace
Mix and charge the glass batch
Mix and charge the glass batch
วัสดุสำหรับขั้นตอนนี้:
 Quartz Sand2 กก.
 Sodium Carbonate (soda ash)800 ก.
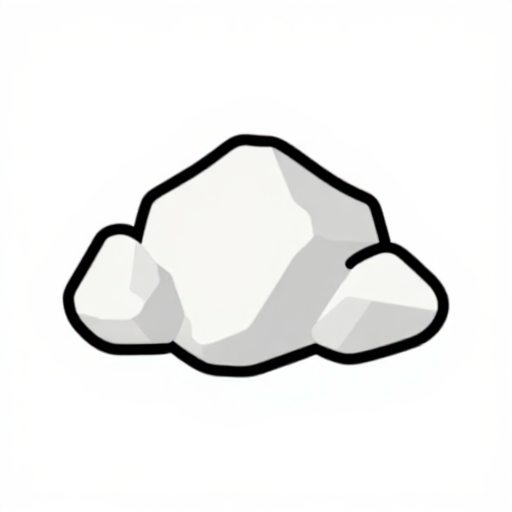 Calcium Carbonate (limestone, crushed)500 ก.
เครื่องมือที่ต้องใช้:
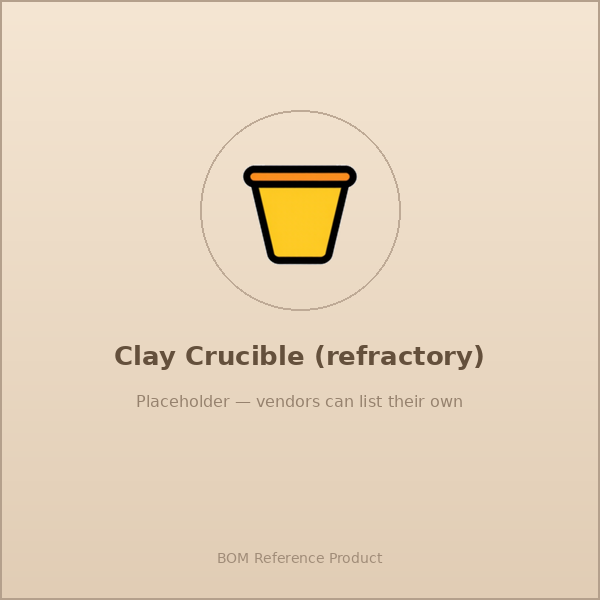 Clay Crucible (refractory)
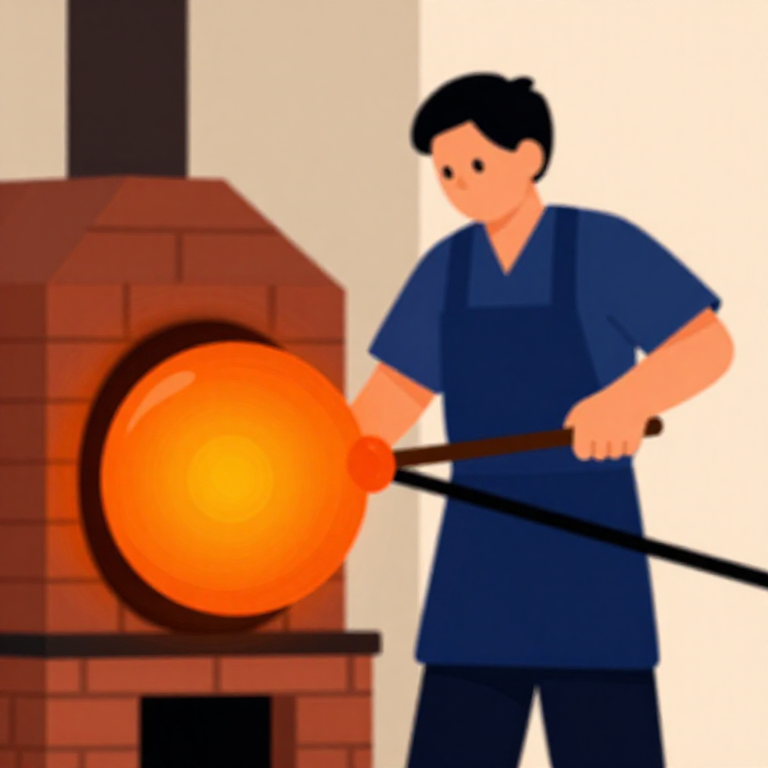
Pre-heat and gather on the blowpipe
Pre-heat and gather on the blowpipe
เครื่องมือที่ต้องใช้:
 Glassblowing Blowpipe
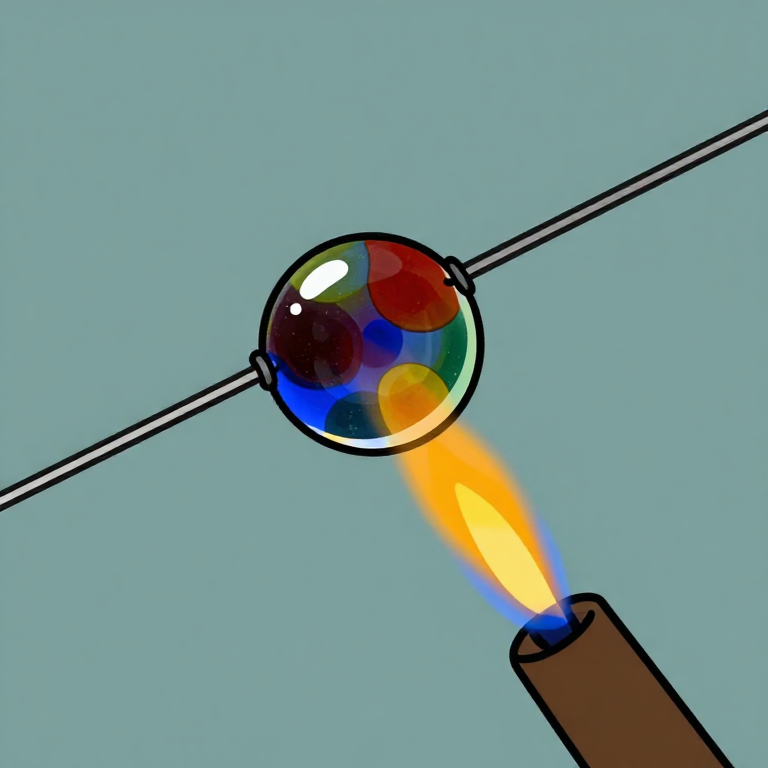
Marver the gather
Marver the gather
เครื่องมือที่ต้องใช้:
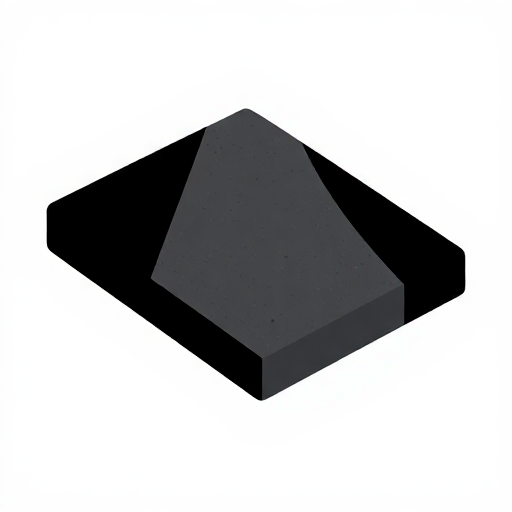 Granite Slab
Blow the initial bubble
Blow the initial bubble
Reheat and expand the bubble
Reheat and expand the bubble
Shape the body with the jacks
Shape the body with the jacks
เครื่องมือที่ต้องใช้:
 Glassmaker's Jacks
 Folded Wet Block (cherry wood or soaked newspaper)
Form the base
Form the base
Attach the pontil rod
Attach the pontil rod
เครื่องมือที่ต้องใช้:
 Pontil Rod
Crack off the blowpipe
Crack off the blowpipe
Form the lip and finish the neck
Form the lip and finish the neck
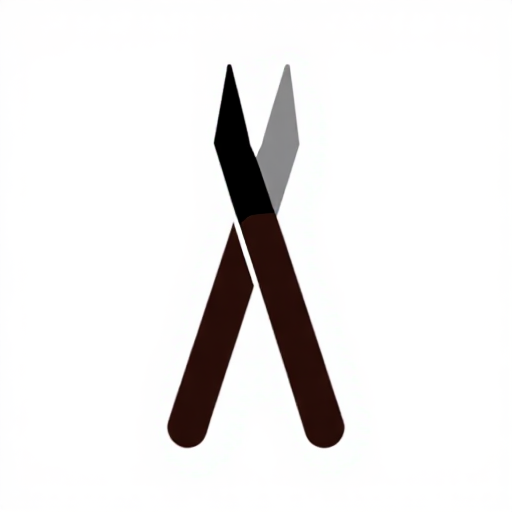
เครื่องมือที่ต้องใช้:
 Long-Handled Fire Tongs
Crack off the pontil
Crack off the pontil
Transfer to the annealing oven
Transfer to the annealing oven
Anneal overnight
Anneal overnight
Grind the pontil scar smooth
Grind the pontil scar smooth
วัสดุ
3- 2 กก.ตัวยึดตำแหน่ง
- ตัวยึดตำแหน่ง
- ตัวยึดตำแหน่ง
เครื่องมือที่จำเป็น
8- ตัวยึดตำแหน่ง
- ตัวยึดตำแหน่ง
- ตัวยึดตำแหน่ง
- ตัวยึดตำแหน่ง
- ตัวยึดตำแหน่ง
- ตัวยึดตำแหน่ง
- ตัวยึดตำแหน่ง
- ตัวยึดตำแหน่ง
วัสดุจากพิมพ์เขียวที่เชื่อมต่อ
บลูพริ้นท์ที่เกี่ยวข้อง
บลูพริ้นท์เหล่านี้แบ่งปันความรู้ — เทคนิค วัสดุ หรือหลักการ
Related blueprints
Other builds that share materials, tools, or techniques with this one.
CC0 สาธารณสมบัติ
พิมพ์เขียวนี้เผยแพร่ภายใต้ CC0 คุณสามารถคัดลอก แก้ไข แจกจ่าย และใช้งานผลงานนี้เพื่อวัตถุประสงค์ใดก็ได้ โดยไม่ต้องขออนุญาต
สนับสนุนเมกเกอร์โดยซื้อสินค้าผ่านพิมพ์เขียวของพวกเขา ซึ่งพวกเขาจะได้รับ ค่าคอมมิชชันเมกเกอร์ ที่ผู้ขายกำหนด หรือสร้างเวอร์ชันใหม่ของพิมพ์เขียวนี้และรวมเป็นการเชื่อมต่อในพิมพ์เขียวของคุณเพื่อแบ่งรายได้