ศิลปะ
ความงามและสุขภาพ
งานฝีมือ
วัฒนธรรมและประวัติศาสตร์
ความบันเทิง
สิ่งแวดล้อม
อาหารและเครื่องดื่ม
อนาคตสีเขียว
วิศวกรรมย้อนรอย
วิทยาศาสตร์
กีฬา
เทคโนโลยี
อุปกรณ์สวมใส่
Forging an Iron Fish Hook — Drawing, Bending, and Barbing Wire Stock
Forge

สร้างโดย

Forge

26. พฤษภาคม 2026NO
9
0
0
0
0

Forging an Iron Fish Hook — Drawing, Bending, and Barbing Wire Stock

Bone and bronze fish hooks served for thousands of years, but iron hooks changed the economics of fishing. Iron is cheaper than bronze, harder than bone, and can be drawn to finer gauges — meaning smaller hooks for smaller fish, and stronger hooks for larger ones. Iron hooks could be mass-produced by a village smith in batches of dozens, making them nearly disposable.

An iron fish hook is forged from a short length of iron wire or drawn rod. The wire is tapered to a sharp point, a barb is cut with a chisel, the shaft is bent into a J or U shape around a mandrel, and the eye is formed by bending a small loop at the top. The entire hook is then case-carburised to harden the point and barb so they hold their edge in use.

This is one of the simplest forge projects — it uses almost no material and teaches fine control of thin stock at low heat. It also demonstrates that not all forge work involves heavy hammering; the smith must work delicately to avoid burning the thin wire.

เริ่มต้น
30-60 minutes (batch of 6-8 hooks)

คำแนะนำ

1

Draw iron wire from rod stock

Start with a wrought iron rod about 5-6 mm square. Heat the last 10 cm to bright orange and hammer it on the anvil, rotating between blows, to draw it into a round wire about 3 mm in diameter. For a large hook (suitable for cod or salmon), use 4 mm wire; for small freshwater hooks, draw to 2 mm. Cut lengths of about 8 cm per hook.

วัสดุสำหรับขั้นตอนนี้:

CharcoalCharcoal1 กก.

เครื่องมือที่ต้องใช้:

Forge Hammer (Cross-Peen)Forge Hammer (Cross-Peen)
Forge TongsForge Tongs
Hearth (Forge Fire)Hearth (Forge Fire)
2

Taper the point

Heat one end of the wire to dull orange — thin wire reaches heat quickly and burns easily, so use a cooler part of the fire. Hammer the tip to a gradual taper over the last 1-1.5 cm, creating a sharp point. Work lightly — heavy blows flatten the wire into a ribbon instead of keeping it round. The point should be needle-sharp when finished.
3

Cut the barb

About 5 mm back from the tip, place the wire on the anvil edge and strike with a small chisel at a shallow angle — about 20 degrees to the wire axis. This raises a small sliver of metal that curves backward away from the point. This is the barb. It does not need to be large — 1-2 mm of raised metal is sufficient. The barb prevents the hook from pulling back out of the fish's mouth.
4

Bend the hook shape

Heat the wire to dull orange and bend it around a round mandrel (a nail, a drift, or a piece of rod of the desired hook radius). Bend the pointed end around to form a smooth J or U curve. The gap between the point and the shaft (the gape) determines what size fish the hook can take — wider gape for larger fish. The point should angle slightly inward toward the shaft for better hooking.
5

Form the eye

At the top of the shaft (the straight end opposite the point), heat the last 1 cm and bend it into a small closed loop using round-nose pliers or by wrapping around a thin nail. This eye accepts the fishing line. The loop must be fully closed so the line cannot slip out. Alternatively, flatten the top into a small spade shape with a punched hole — the spade-end style is common in archaeological finds.
6

Harden the point and barb

For a simple hardening treatment, heat just the point and barb area to cherry red and quench in water. Wrought iron alone does not harden well by quenching, but if the wire was drawn from partially carburised stock (from bloom iron with some carbon content), the quench produces a noticeably harder point. For best results, pack the hooks in charcoal powder in a sealed clay pot and heat for 30-60 minutes at bright orange before quenching — this case-carburises the entire hook surface.
7

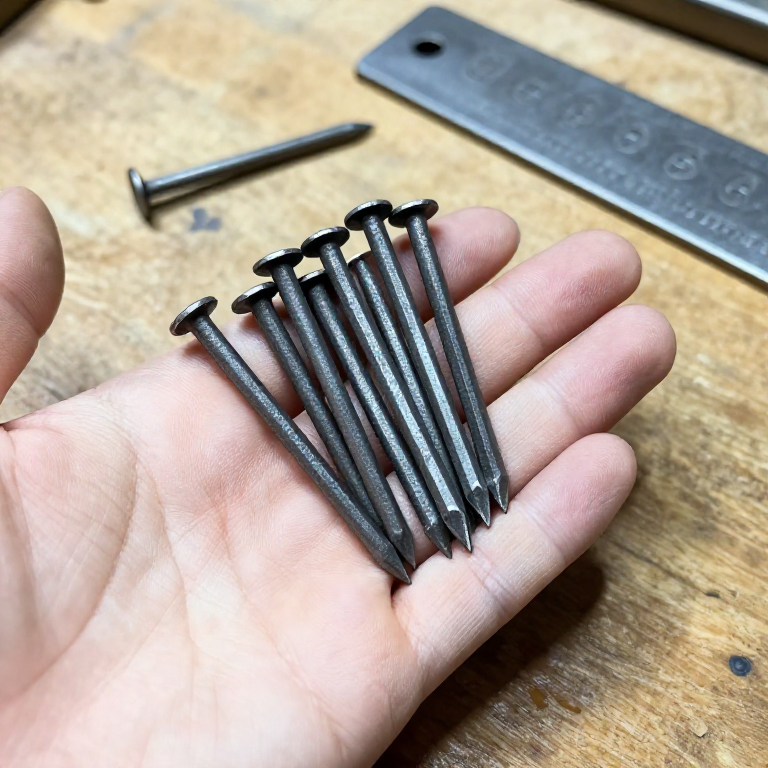
Test and finish the batch

Test each hook by pressing the point against a piece of hardwood — it should bite and hold without bending or breaking. If the point bends, the iron is too soft; case-carburise and re-harden. If it snaps, it is too brittle; temper to straw colour over gentle heat. A finished batch of 6-8 hooks from one rod takes about 30-60 minutes for an experienced smith. Thread on a ring of twisted wire for storage.

วัสดุ

1
  • 1 กก.
    ตัวยึดตำแหน่ง

เครื่องมือที่จำเป็น

3

วัสดุจากพิมพ์เขียวที่เชื่อมต่อ

บลูพริ้นท์ที่เกี่ยวข้อง

บลูพริ้นท์เหล่านี้แบ่งปันความรู้ — เทคนิค วัสดุ หรือหลักการ

CC0 สาธารณสมบัติ

พิมพ์เขียวนี้เผยแพร่ภายใต้ CC0 คุณสามารถคัดลอก แก้ไข แจกจ่าย และใช้งานผลงานนี้เพื่อวัตถุประสงค์ใดก็ได้ โดยไม่ต้องขออนุญาต

สนับสนุนเมกเกอร์โดยซื้อสินค้าผ่านพิมพ์เขียวของพวกเขา ซึ่งพวกเขาจะได้รับ ค่าคอมมิชชันเมกเกอร์ ที่ผู้ขายกำหนด หรือสร้างเวอร์ชันใหม่ของพิมพ์เขียวนี้และรวมเป็นการเชื่อมต่อในพิมพ์เขียวของคุณเพื่อแบ่งรายได้

การสนทนา

(0)

เข้าสู่ระบบ เพื่อร่วมการสนทนา

กำลังโหลดความคิดเห็น...