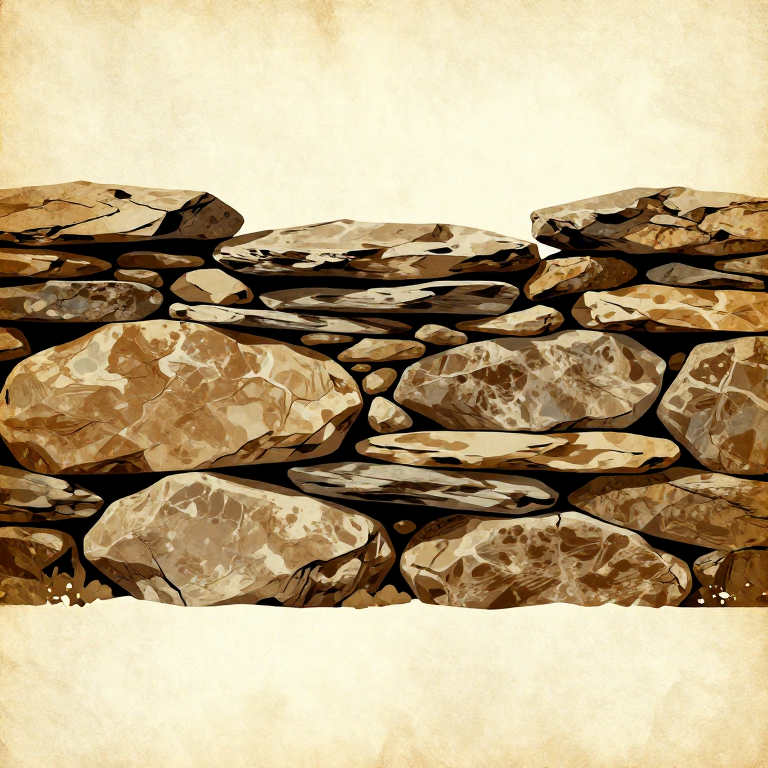
Building a Dry Stone Wall — Neolithic Mortarless Construction
คำแนะนำ
Select and Sort Building Stones
Select and Sort Building Stones
วัสดุสำหรับขั้นตอนนี้:
 Large Flat-Faced Stones80 ชิ้น
 Small Irregular Stones100 ชิ้น
 Through-Stones12 ชิ้น
Mark and Excavate the Foundation Trench
Mark and Excavate the Foundation Trench
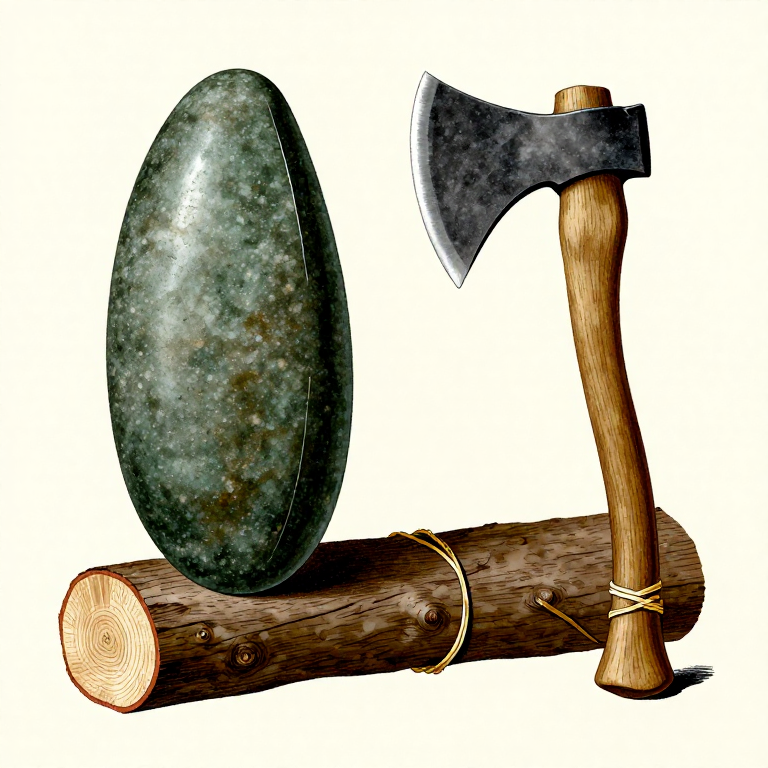
เครื่องมือที่ต้องใช้:
 Hardwood Sapling
 Cordage
Lay the Foundation Course
Lay the Foundation Course
วัสดุสำหรับขั้นตอนนี้:
Large Flat-Faced Stones20 ชิ้นเครื่องมือที่ต้องใช้:
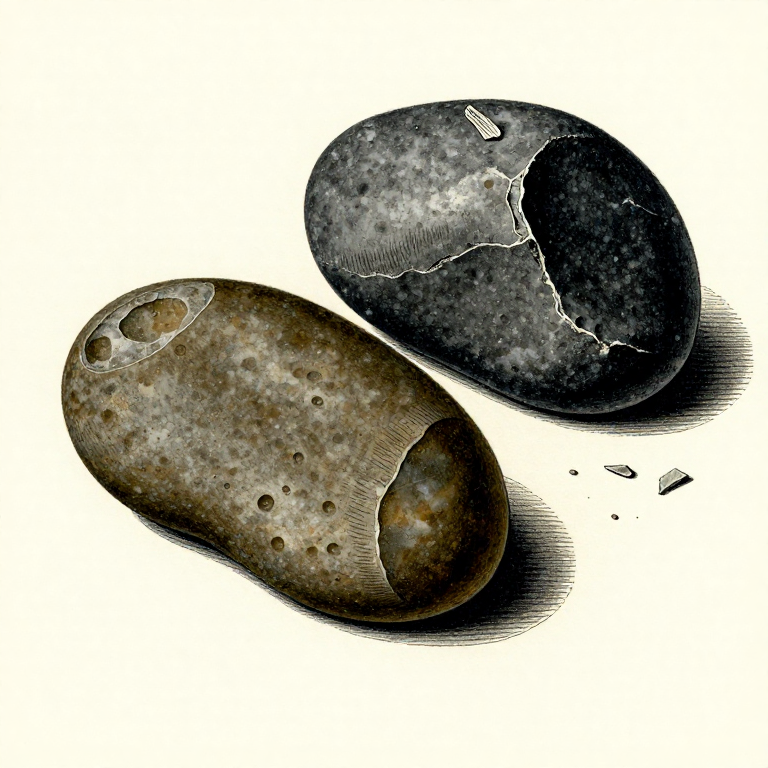
 Hammerstone
Build the First Outer Face Course
Build the First Outer Face Course
วัสดุสำหรับขั้นตอนนี้:
Large Flat-Faced Stones15 ชิ้นFill the Centre with Hearting Stones
Fill the Centre with Hearting Stones
วัสดุสำหรับขั้นตอนนี้:
Small Irregular Stones25 ชิ้นContinue Building Courses with Batter
Continue Building Courses with Batter
วัสดุสำหรับขั้นตอนนี้:
Large Flat-Faced Stones30 ชิ้นSmall Irregular Stones40 ชิ้นเครื่องมือที่ต้องใช้:
Hardwood SaplingEnsure Every Stone Bears on Two Below
Ensure Every Stone Bears on Two Below
Place the First Row of Through-Stones
Place the First Row of Through-Stones
วัสดุสำหรับขั้นตอนนี้:
Through-Stones6 ชิ้นContinue Courses to Working Height
Continue Courses to Working Height
วัสดุสำหรับขั้นตอนนี้:
Large Flat-Faced Stones15 ชิ้นSmall Irregular Stones35 ชิ้นThrough-Stones6 ชิ้นLevel the Top Course for Capstones
Level the Top Course for Capstones
เครื่องมือที่ต้องใช้:
HammerstonePlace Capstones Along the Top
Place Capstones Along the Top
วัสดุสำหรับขั้นตอนนี้:
 Capstones10 ชิ้น
Pack Final Hearting Under Capstones
Pack Final Hearting Under Capstones
วัสดุสำหรับขั้นตอนนี้:
Small Irregular Stones10 ชิ้นเครื่องมือที่ต้องใช้:
HammerstoneInspect and Tighten the Entire Wall
Inspect and Tighten the Entire Wall
เครื่องมือที่ต้องใช้:
HammerstoneBuild Wall Ends with Quoin Stones
Build Wall Ends with Quoin Stones
วัสดุสำหรับขั้นตอนนี้:
Large Flat-Faced Stones8 ชิ้นMaintenance and Repair Over Time
Maintenance and Repair Over Time
วัสดุ
4- 168 ชิ้นตัวยึดตำแหน่ง
- 210 ชิ้นตัวยึดตำแหน่ง
- 24 ชิ้นตัวยึดตำแหน่ง
วัสดุจากพิมพ์เขียวที่เชื่อมต่อ
บลูพริ้นท์ที่เกี่ยวข้อง
บลูพริ้นท์เหล่านี้แบ่งปันความรู้ — เทคนิค วัสดุ หรือหลักการ
Related blueprints
Other builds that share materials, tools, or techniques with this one.


CC0 สาธารณสมบัติ
พิมพ์เขียวนี้เผยแพร่ภายใต้ CC0 คุณสามารถคัดลอก แก้ไข แจกจ่าย และใช้งานผลงานนี้เพื่อวัตถุประสงค์ใดก็ได้ โดยไม่ต้องขออนุญาต
สนับสนุนเมกเกอร์โดยซื้อสินค้าผ่านพิมพ์เขียวของพวกเขา ซึ่งพวกเขาจะได้รับ ค่าคอมมิชชันเมกเกอร์ ที่ผู้ขายกำหนด หรือสร้างเวอร์ชันใหม่ของพิมพ์เขียวนี้และรวมเป็นการเชื่อมต่อในพิมพ์เขียวของคุณเพื่อแบ่งรายได้