ศิลปะ
ความงามและสุขภาพ
งานฝีมือ
วัฒนธรรมและประวัติศาสตร์
ความบันเทิง
สิ่งแวดล้อม
อาหารและเครื่องดื่ม
วิศวกรรมย้อนรอย
วิทยาศาสตร์
กีฬา
เทคโนโลยี
อุปกรณ์สวมใส่



Reading a Sheet-Metal Fault
Eight rungs of this batch have each ended with a part that came out right. This one is about the ones that do not, because a fault is the only thing in a workshop that tells you what was actually happening.
Sheet metal is unusually good at this. A wrinkle, a split, a scalloped rim, a bright score down a wall — each of those names a specific cause, and the name is usually enough to fix it. Almost every one reduces to one of three things: the metal was asked to stretch too far, the metal was not held tightly enough, or the edge it started from was bad.
The graph on this page is the same information before the part is even finished: punch force against punch travel, which draws the fault while it is happening. This rung builds a board of deliberate faults, learns to read them, and ends with the process window that all of them live inside.
It is a **sibling** to the deep-drawing rung, not a repeat of it: that one makes a cup, this one diagnoses across blanking, bending, drawing and seaming.
ระดับกลาง
About 3 hours
คำแนะนำ
1
1
Make the faults on purpose and label them
Make the faults on purpose and label them
A fault board is the most useful thing you will make in this batch, and it takes an afternoon. Make each of these deliberately, on scrap, and label every one in permanent marker with what you did to cause it. Keep them.
1. **Wrinkled flange** — draw a cup with the blank holder barely finger tight.
2. **Split wall** — draw an identical cup with the blank holder bolted down hard.
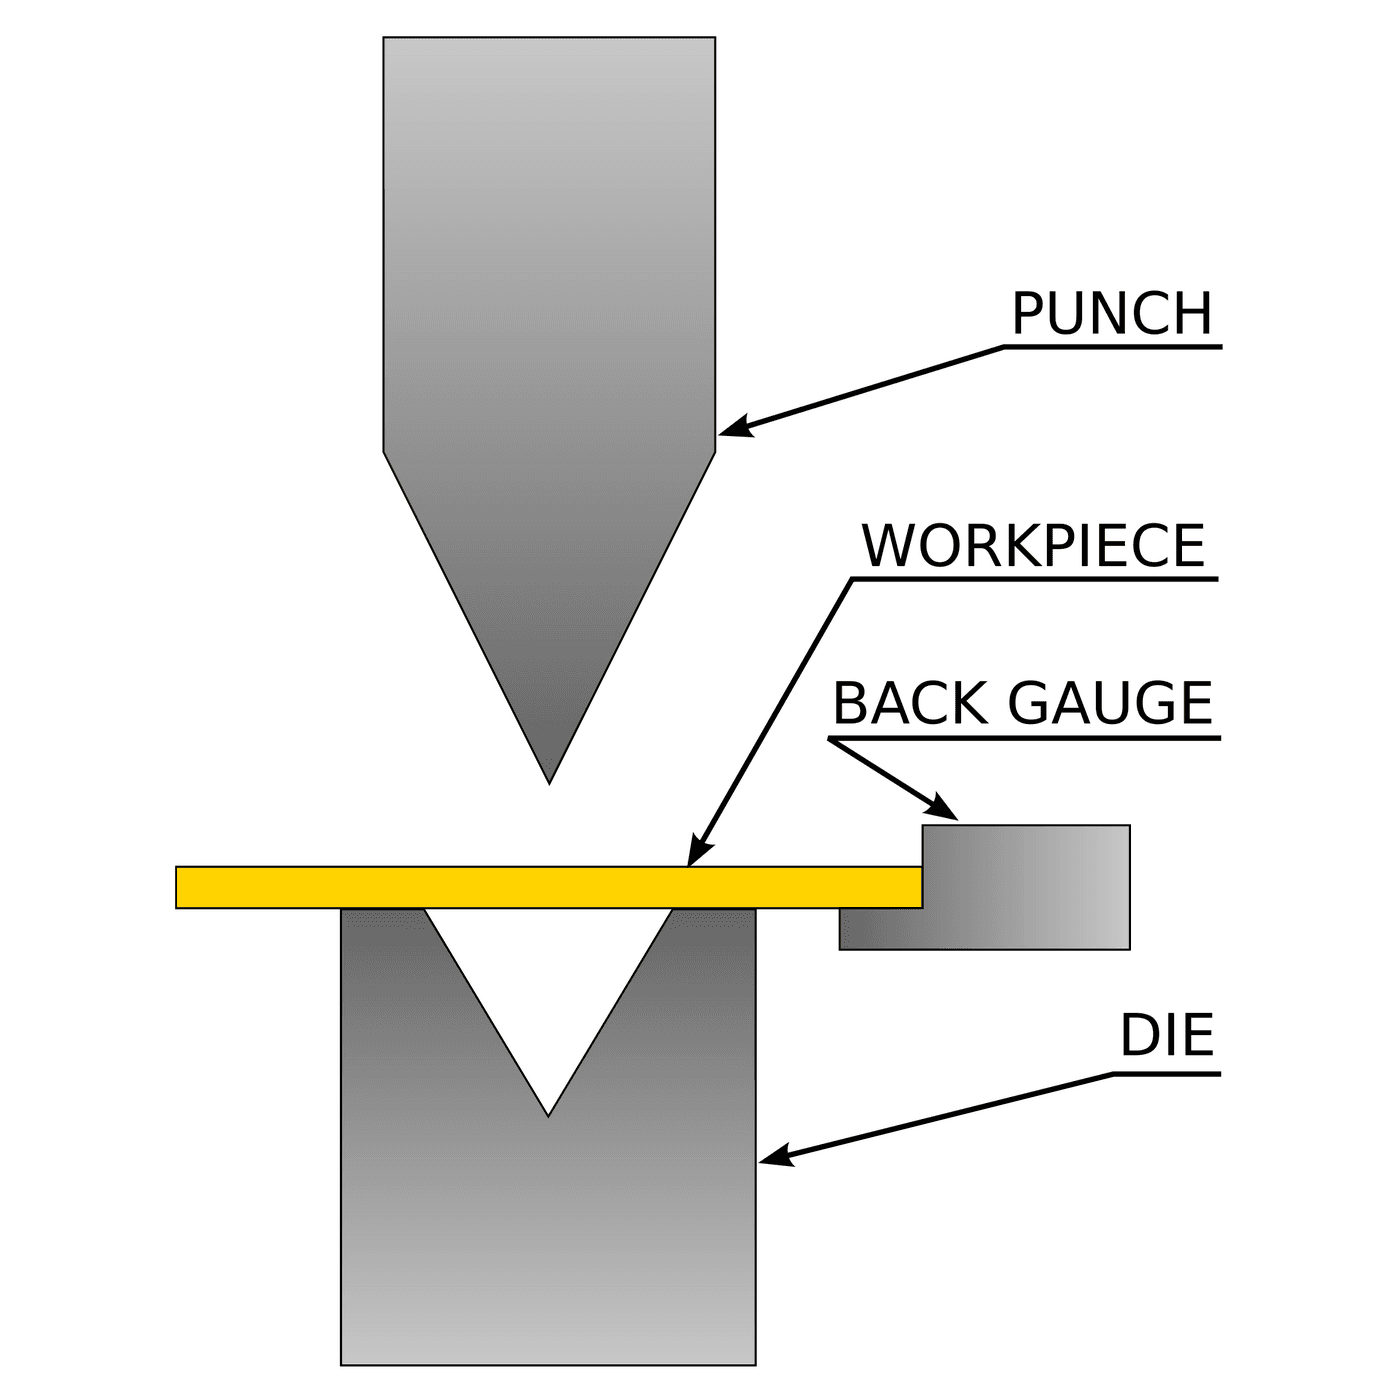
3. **Cracked bend** — bend a coupon with the sheared burr on the *outside* of the bend, along the grain, at a radius below one thickness.
4. **Good bend, same radius** — the same coupon deburred and bent across the grain. This is the control and it is the one that makes the board convincing.
5. **Orange peel** — stretch a coarse-grained coupon hard over a dome.
6. **Eared rim** — draw a cup right through and leave the rim untrimmed.
7. **Galled wall** — draw a cup dry, with no lubricant at all, on a die you do not mind marking.
8. **Oil-canning panel** — a flat 150 mm square of thin sheet with no bead in it. Press the middle and listen.
9. **Unrolled seam** — the plain lock seam from rung 5, peeled.
Nine samples, nine labels. Then put them somewhere you will see them, because the value of the board is recognition speed: the point is to look at a bad part six months from now and know within a second which of these it is.
วัสดุสำหรับขั้นตอนนี้:
 แผ่นอะลูมิเนียม2 ชิ้น
 แผ่นเหล็กชุบสังกะสี 0,9 มม.2 ชิ้น
 แผ่นทองเหลือง1 ชิ้น
เครื่องมือที่ต้องใช้:
 เครื่องอัดไฮดรอลิก
 เครื่องพับไฮดรอลิก (12 ตัน)
 ปากกาจับชิ้นงานหน้าโต๊ะ
 กรรไกรตัดแผ่นโลหะ
 ปากกาเมจิกถาวร
 เวอร์เนียร์ดิจิทัล 6 นิ้ว
 เครื่องมือลบครีบ
 แว่นตานิรภัยใส
 ถุงมือหนังสำหรับทำงาน
2
2
Learn the difference between a split and a tear
Learn the difference between a split and a tear
Two failures look similar at arm's length and mean opposite things. Under the microscope they are unmistakable, and telling them apart is the single most valuable skill in this rung.
**A split** is a *ductile* failure in metal that was stretched too far. Look for:
- **local thinning** right at the failure — measure it with the micrometer against the metal 10 mm away, and it will be markedly thinner;
- a **neck**, a visible narrowing that preceded the opening;
- a rough, fibrous fracture face;
- often an **orange-peel** surface nearby, because that metal was heavily strained.
**A tear from an edge** is a crack that started at the blank's edge and ran. Look for:
- **no thinning** — the metal at the failure is the same thickness as its neighbours;
- the crack starting exactly at the boundary, usually at a burr or in rung 1's fracture zone;
- a flat, straighter fracture face.
The distinction matters because the fixes are opposite. A split says *the metal was asked for too much* — reduce the demand: less blank holder force, more lubricant, a softer temper, a bigger radius. A tear says *the metal was fine, the edge was not* — fix the edge, and changing the press settings will do nothing at all.
Go through your fault board with the micrometer and sort every failure into one of the two before you read step 4's table. Getting this wrong is why people spend a day adjusting a press that was never the problem.
เครื่องมือที่ต้องใช้:
 กล้องจุลทรรศน์ดิจิทัล
 ไมโครมิเตอร์เวอร์เนียร์ดิจิทัล 6 นิ้ว
 ชุดฟีลเลอร์เกจ
 สมุดบันทึกห้องปฏิบัติการ (มีสำเนา)
3
3
Put a load cell on the press and watch the fault happen
Put a load cell on the press and watch the fault happen
The graph on this page is punch force against punch travel for a draw. If you can log force, you can see a fault before the part exists.
The simplest rig that works: a load cell or a bathroom-scale strain gauge between the ram and the punch, read by the Arduino or a meter, with travel read off a dial indicator or just marked every 2 mm on the ram and read by eye. Two people, one calling travel and one calling force, is a perfectly good instrument for this.
Draw four cups and record force every 2 mm:
- **normal**, properly held and lubricated;
- **blank holder loose**;
- **blank holder tight**;
- **dry, no lubricant**.
Plot all four on one sheet of graph paper. The shapes in step 4 are what you are looking for, and they are distinguishable by eye long before they are distinguishable in numbers:
- a **rounded peak that falls away** is a healthy draw;
- a **cliff** is a split;
- a **saw-tooth** on the rise is wrinkles being dragged into the die gap one at a time;
- a **peak much higher than the others** is friction — too tight, or no lubricant.
The most useful thing on the plot is *where* the peak is. The force peaks when the flange is small and still being pulled, and a draw that is going to split splits just before the peak. If you are watching a gauge, that is your warning.
วัสดุสำหรับขั้นตอนนี้:
แผ่นอะลูมิเนียม2 ชิ้นเครื่องมือที่ต้องใช้:
เครื่องอัดไฮดรอลิก แท่นอัดอาร์เบอร์
 โหลดเซลล์
 Arduino Uno R3เวอร์เนียร์ดิจิทัล 6 นิ้ว
 ไม้บรรทัด
 กระดาษกราฟแว่นตานิรภัยใสถุงมือหนังสำหรับทำงานสมุดบันทึกห้องปฏิบัติการ (มีสำเนา)
 ลาโนลิน
4
4
The sketch that logs force against travel
The sketch that logs force against travel
This is the whole instrument for step 3. It reads a load cell through an HX711 amplifier and prints one comma-separated line every time you press ENTER, stamping the current force against the next 2 mm of travel. Two columns, straight into the graph paper or a spreadsheet.
Three things in it are worth reading rather than skipping:
- **It tares on command, not at power-up.** A press has weight on the cell before you start; taring blind records that as force.
- **It averages five reads.** A single HX711 conversion is quiet, but a hand press pumping is not, and one reading taken at the wrong instant of a stroke is noise pretending to be a measurement.
- **The calibration figure is found, not assumed.** The comment block at the bottom is the procedure: tare empty, load a known mass, divide. A load cell that has never been checked against a known weight is producing numbers, not measurements, and this whole rung is about not confusing those two.
Upload it, calibrate it against something you have weighed, and then run step 3's four draws through it.
draw_force_log.inoarduino
วัสดุสำหรับขั้นตอนนี้:
โหลดเซลล์1 ชิ้นเครื่องมือที่ต้องใช้:
 คอมพิวเตอร์ที่ติดตั้ง Arduino IDE
 มัลติมิเตอร์
 สายทดสอบปากคีบจระเข้Arduino Uno R3
5
5
The process window, and the fault table
The process window, and the fault table
กำลังโหลดสมุด Jupyter…
เครื่องมือที่ต้องใช้:
กระดาษกราฟ6
6
History and context
History and context
**Attribution, stated honestly.** No patent is claimed for this rung and none exists to claim: reading a fault is a craft skill that every press shop develops and writes down in its own words. What *was* invented, and is worth naming, is the framework that makes those words comparable — the **forming limit diagram**, developed by Stuart Keeler and Walter Backofen and by Gorton Goodwin in the mid-1960s, which puts the major and minor strains from rung 6's circle grid on one chart and draws a line between what survives and what splits. Every modern press shop's diagnosis sits on that chart.
**Why the faults are so few.** Eleven named faults in step 4's table, and almost all of them reduce to three causes: asked to stretch too far, not held enough, or a bad starting edge. That is not a coincidence — sheet metal has only a few degrees of freedom. It can thin, it can buckle, or it can crack from a flaw, and every named fault is one of those three wearing a location.
**Why this rung closes the batch.** The nine rungs here are one argument: a flat sheet has no shape and no stiffness, and every operation in the discipline is a way of giving it one or the other. Cut it (rung 1), fold it (2), corrugate it (3), roll it into a joint (4, 5), measure what it will take (6), press it against rubber (7), draw a fastener out of it (8). This rung is what happens when one of those is asked for slightly more than it can give, and it is where a maker actually spends their time.
**Honest limits.** A fault board is a recognition aid, not a diagnosis. Two different causes can produce faults that look identical — a wall split from an over-tight blank holder and one from a die radius that is too sharp look the same on the part, and the only way to separate them is the micrometer test in step 2 plus a look at the tooling. The process window in step 4 assumes a round cup and a uniform blank holder; a real part is neither, and its window is different at every point round the die. And none of this substitutes for keeping the tooling clean: a large fraction of the faults blamed on material are metal picked up on a die radius.
วัสดุ
4- 2 ชิ้นตัวยึดตำแหน่ง
- ตัวยึดตำแหน่ง
- 1 ชิ้นตัวยึดตำแหน่ง
- 1 ชิ้นตัวยึดตำแหน่ง
เครื่องมือที่จำเป็น
22- ตัวยึดตำแหน่ง
- เครื่องพับไฮดรอลิก (12 ตัน)ค่าคอมมิชชัน 10%ตัวยึดตำแหน่ง
- ตัวยึดตำแหน่ง
- ตัวยึดตำแหน่ง
- ตัวยึดตำแหน่ง
- ตัวยึดตำแหน่ง
- ตัวยึดตำแหน่ง
- ตัวยึดตำแหน่ง
- ตัวยึดตำแหน่ง
- ตัวยึดตำแหน่ง
- ตัวยึดตำแหน่ง
- ตัวยึดตำแหน่ง
- สมุดบันทึกห้องปฏิบัติการ (มีสำเนา)ค่าคอมมิชชัน 10%ตัวยึดตำแหน่ง
- ตัวยึดตำแหน่ง
- ตัวยึดตำแหน่ง
- 1 vendor sell this, none ship to you yetตัวยึดตำแหน่ง
- ตัวยึดตำแหน่ง
- ตัวยึดตำแหน่ง
- ตัวยึดตำแหน่ง
- ตัวยึดตำแหน่ง
- ตัวยึดตำแหน่ง
- ตัวยึดตำแหน่ง
บลูพริ้นท์ที่เกี่ยวข้อง
บลูพริ้นท์เหล่านี้แบ่งปันความรู้ — เทคนิค วัสดุ หรือหลักการ



CC0 สาธารณสมบัติ
พิมพ์เขียวนี้เผยแพร่ภายใต้ CC0 คุณสามารถคัดลอก แก้ไข แจกจ่าย และใช้งานผลงานนี้เพื่อวัตถุประสงค์ใดก็ได้ โดยไม่ต้องขออนุญาต
สนับสนุนเมกเกอร์โดยซื้อสินค้าผ่านพิมพ์เขียวของพวกเขา ซึ่งพวกเขาจะได้รับ ค่าคอมมิชชันเมกเกอร์ ที่ผู้ขายกำหนด หรือสร้างเวอร์ชันใหม่ของพิมพ์เขียวนี้และรวมเป็นการเชื่อมต่อในพิมพ์เขียวของคุณเพื่อแบ่งรายได้