ศิลปะ
ความงามและสุขภาพ
งานฝีมือ
วัฒนธรรมและประวัติศาสตร์
ความบันเทิง
สิ่งแวดล้อม
อาหารและเครื่องดื่ม
วิศวกรรมย้อนรอย
วิทยาศาสตร์
กีฬา
เทคโนโลยี
อุปกรณ์สวมใส่
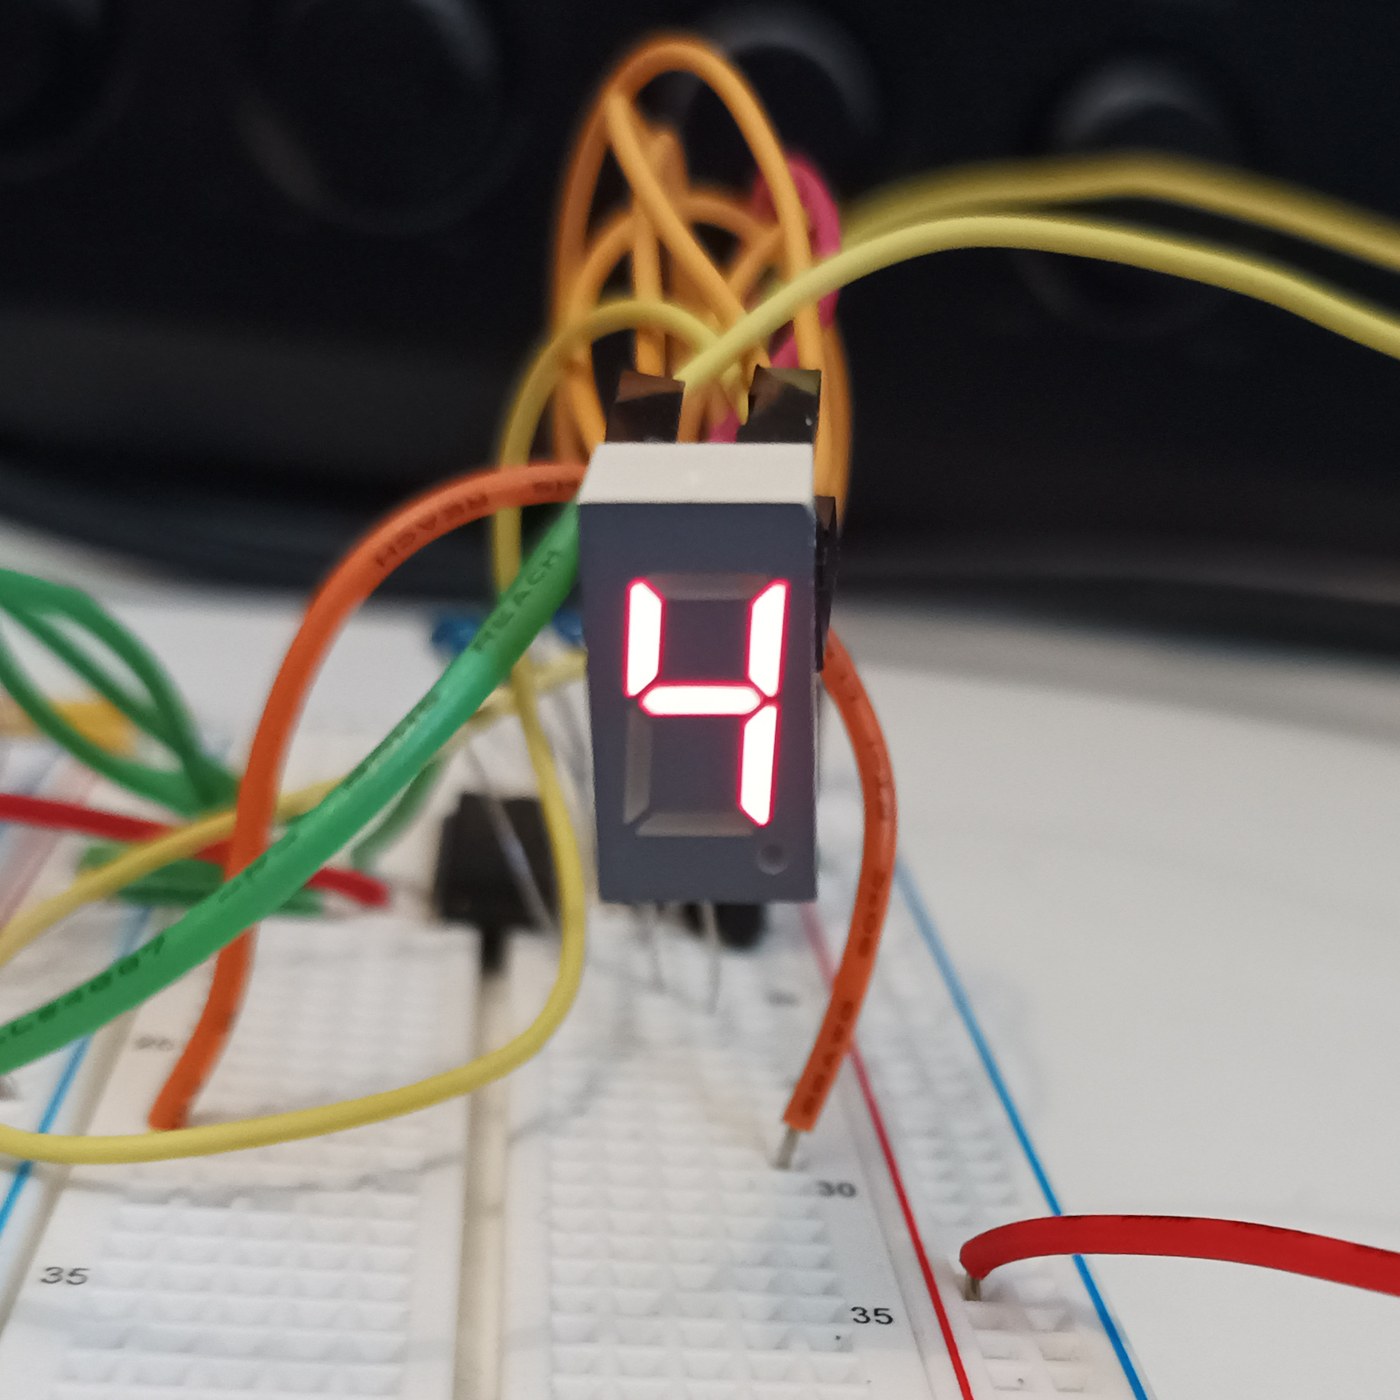


The Seven-Segment LED Display
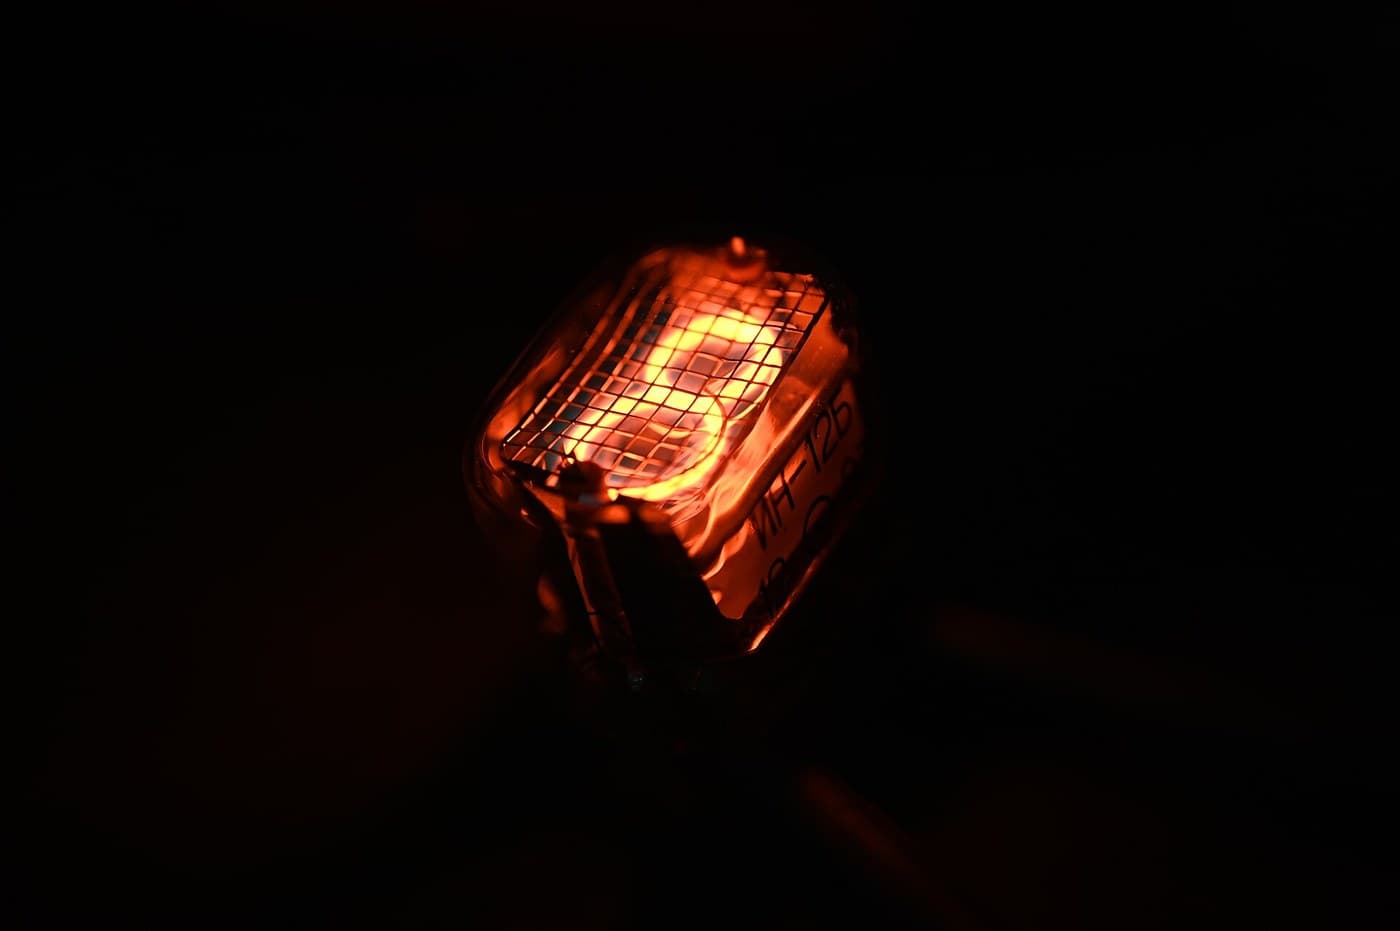
The opposite of the Nixie: instead of a shaped numeral at 170 V, the fewest straight lines that still make every digit — seven bars in a figure eight, at 2 V and pennies. It looks like sticks and nobody cares, because it is seven LEDs and never wears out. You will build a four-digit display and confront its one clever idea, multiplexing, then measure the refresh rate at which the flicker vanishes for your own eyes.
เริ่มต้น
4 hours
คำแนะนำ
1
1
Seven sticks, ten digits, and the sibling that used 170 volts
Seven sticks, ten digits, and the sibling that used 170 volts
Nixie versus seven-segment: the same job, opposite answers. The Nixie shows the real numeral shape at 170 V and poisons its cathodes; the seven-segment builds each digit from seven bars (a-g) at 2 V and never wears out. Before wiring, draw a figure eight, label the bars a-g, and write which bars light for each digit 0-9. That table is the whole interface and becomes the lookup table in the code step.
วัสดุสำหรับขั้นตอนนี้:
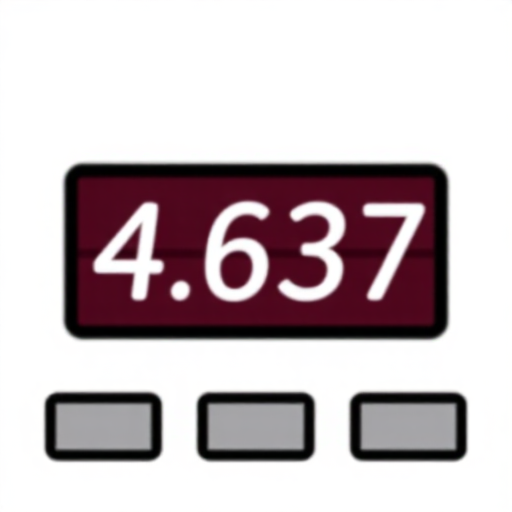 จอเจ็ดส่วนสี่หลัก (TM1637)1 ชิ้น
2
2
Wire it: seven segment resistors, one transistor per digit
Wire it: seven segment resistors, one transistor per digit
The multiplex wiring. All four digits' matching segments share one pin through ONE resistor — seven segment lines, seven resistors, whatever the digit count. Each digit's common cathode switches to ground through one NPN. Resistors go on the SEGMENTS, not the digits, or an 8 shares one resistor seven ways and dims. Four digits: eleven pins instead of twenty-eight. That saving is why you multiplex.
กำลังโหลด KiCanvas viewer...
ตัวดูแบบ PCB ระดับมืออาชีพ
วัสดุสำหรับขั้นตอนนี้:
จอเจ็ดส่วนสี่หลัก (TM1637)1 ชิ้น ชุดตัวต้านทาน1 ชุด
 ชุดทรานซิสเตอร์คละแบบ1 ชุด
เครื่องมือที่ต้องใช้:
 เบรดบอร์ด
 สถานีบัดกรี
3
3
Drive it, and find the flicker frequency for your own eyes
Drive it, and find the flicker frequency for your own eyes
The sketch multiplexes the four digits, then sweeps the refresh rate down so YOU find the frequency at which the steady number breaks into flicker — your flicker-fusion threshold, higher in peripheral vision. Each digit is lit a quarter of the time, so to stay bright it must be driven harder while on: refresh too slow and it flickers, drive too hard and you exceed the LED peak current. You have measured one wall of that box.
sevenseg_mux.inocpp
วัสดุสำหรับขั้นตอนนี้:
จอเจ็ดส่วนสี่หลัก (TM1637)1 ชิ้นเครื่องมือที่ต้องใช้:
 บอร์ดพัฒนา ESP32
 สายจัมเปอร์
4
4
Multiplex duty cycle versus perceived brightness
Multiplex duty cycle versus perceived brightness
กำลังโหลดสมุด Jupyter…
เครื่องมือที่ต้องใช้:
 คอมพิวเตอร์ตั้งโต๊ะ
วัสดุ
3- ตัวยึดตำแหน่ง
- ตัวยึดตำแหน่ง
- ตัวยึดตำแหน่ง
เครื่องมือที่จำเป็น
5- 1 vendor sell this, none ship to you yetตัวยึดตำแหน่ง
- ตัวยึดตำแหน่ง
- ตัวยึดตำแหน่ง
- 3 vendors sell this, none ship to you yetตัวยึดตำแหน่ง
- ตัวยึดตำแหน่ง
บลูพริ้นท์ที่เกี่ยวข้อง
บลูพริ้นท์เหล่านี้แบ่งปันความรู้ — เทคนิค วัสดุ หรือหลักการ

CC0 สาธารณสมบัติ
พิมพ์เขียวนี้เผยแพร่ภายใต้ CC0 คุณสามารถคัดลอก แก้ไข แจกจ่าย และใช้งานผลงานนี้เพื่อวัตถุประสงค์ใดก็ได้ โดยไม่ต้องขออนุญาต
สนับสนุนเมกเกอร์โดยซื้อสินค้าผ่านพิมพ์เขียวของพวกเขา ซึ่งพวกเขาจะได้รับ ค่าคอมมิชชันเมกเกอร์ ที่ผู้ขายกำหนด หรือสร้างเวอร์ชันใหม่ของพิมพ์เขียวนี้และรวมเป็นการเชื่อมต่อในพิมพ์เขียวของคุณเพื่อแบ่งรายได้