ศิลปะ
ความงามและสุขภาพ
งานฝีมือ
วัฒนธรรมและประวัติศาสตร์
ความบันเทิง
สิ่งแวดล้อม
อาหารและเครื่องดื่ม
วิศวกรรมย้อนรอย
วิทยาศาสตร์
กีฬา
เทคโนโลยี
อุปกรณ์สวมใส่
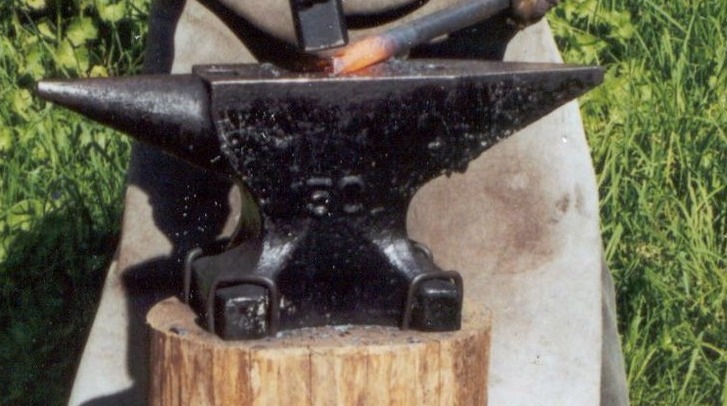


Anvil: Wrought-Iron Body with a Welded Steel Face
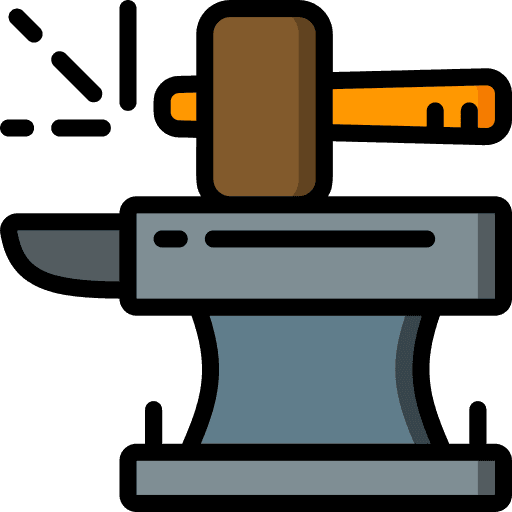
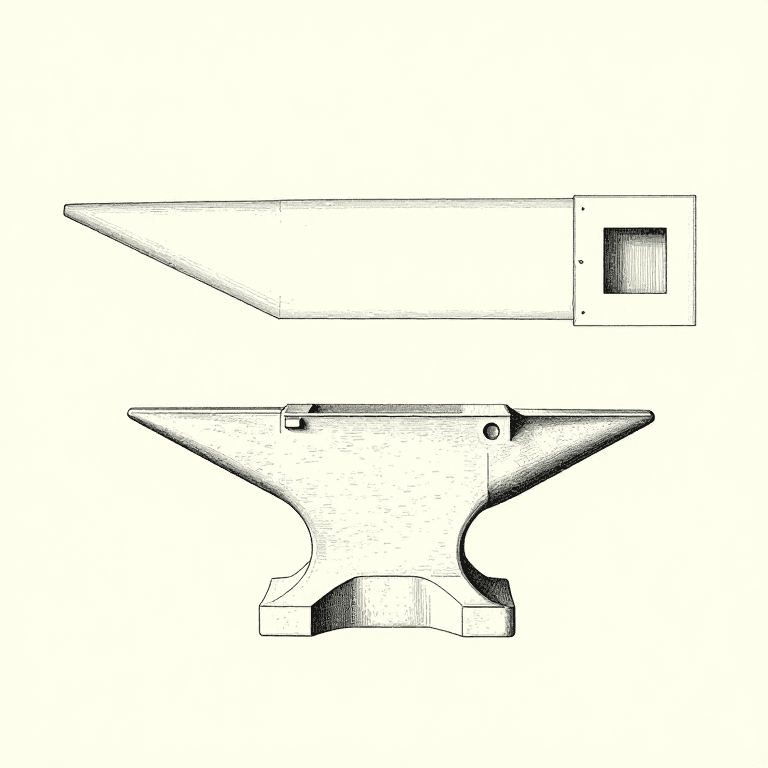
Outside the United States, anvils of the 1880s had a body of wrought iron under a steel face, and a horn of plain wrought iron. The body was roughly shaped under tilt hammers, in one piece or with the corners and horn welded on. A face plate of shear or blister steel, 3/8 to 3/4 inch thick, was forge-welded to it a few inches at a time by four strikers, then the holes were punched and the anvil dressed to shape, ground flat and hardened under a falling stream of water. A well-welded anvil rings clearly when struck. Most modern anvils are instead cast steel with the face hardened by flame or induction.
ขั้นสูง
Works process (1880s)
คำแนะนำ
1
1
Shape the body
Shape the body
Rough out the wrought-iron body under the tilt hammer, in one piece or with the corners and horn welded on.
วัสดุสำหรับขั้นตอนนี้:
 แท่งเหล็กดัด1 as required
เครื่องมือที่ต้องใช้:
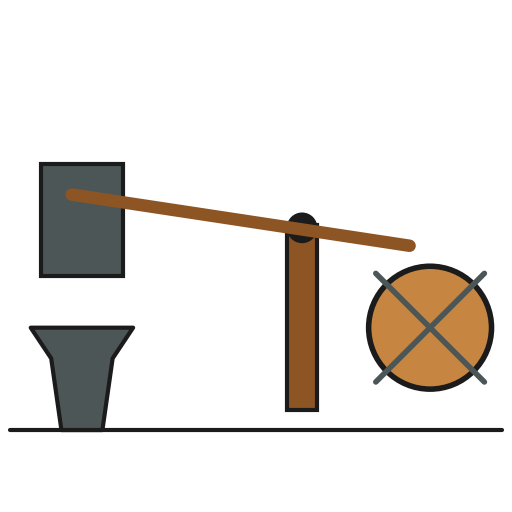 ค้อนตีเหล็กลูกเบี้ยว
 เตาตีเหล็กของช่างตีเหล็ก
2
2
Weld on the face
Weld on the face
Bring the body and the steel face plate to a welding heat and weld from one end, about five inches at a time with four strikers, heat after heat, until the whole face is on. Take care not to burn the steel.
วัสดุสำหรับขั้นตอนนี้:
 แผ่นเหล็กกล้าเชียร์1 ชิ้น
เครื่องมือที่ต้องใช้:
เตาตีเหล็กของช่างตีเหล็ก ค้อนปอนด์
3
3
Punch and dress
Punch and dress
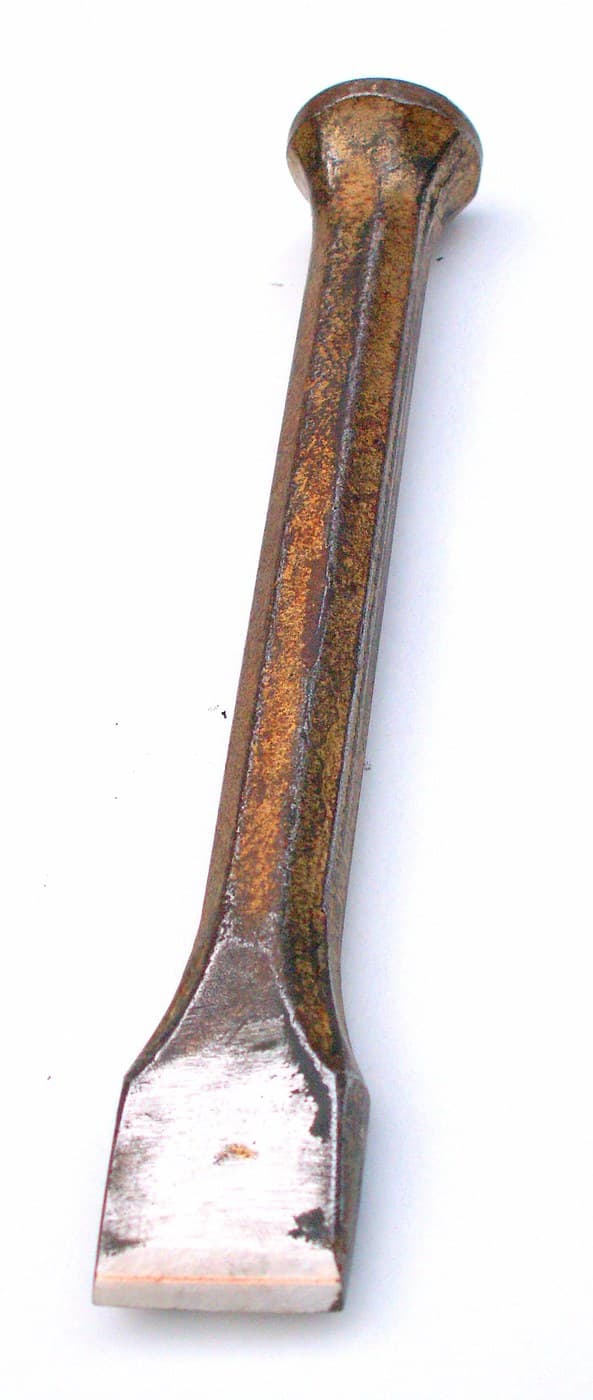
Punch the hardy (cutter) hole and the small round hole in the tail, round the horn, and dress the anvil to shape at another heat.
เครื่องมือที่ต้องใช้:
 เหล็กตอกร้อนค้อนปอนด์
4
4
Grind
Grind
Grind any unevenness out of the face, crosswise on a large stone.
เครื่องมือที่ต้องใช้:
 หินลับแบบหมุน
5
5
Harden
Harden
Reheat the top to a red heat and let a stream of water fall on it from a ten-foot head. A clear ring when struck shows a sound weld.
วัสดุสำหรับขั้นตอนนี้:
 น้ำ1 as required
เครื่องมือที่ต้องใช้:
เตาตีเหล็กของช่างตีเหล็กวัสดุ
3- 1 as requiredตัวยึดตำแหน่ง
- 1 ชิ้นตัวยึดตำแหน่ง
- 1 as requiredตัวยึดตำแหน่ง
พิมพ์เขียวนี้สร้าง
บลูพริ้นท์ที่เกี่ยวข้อง
บลูพริ้นท์เหล่านี้แบ่งปันความรู้ — เทคนิค วัสดุ หรือหลักการ
CC0 สาธารณสมบัติ
พิมพ์เขียวนี้เผยแพร่ภายใต้ CC0 คุณสามารถคัดลอก แก้ไข แจกจ่าย และใช้งานผลงานนี้เพื่อวัตถุประสงค์ใดก็ได้ โดยไม่ต้องขออนุญาต
สนับสนุนเมกเกอร์โดยซื้อสินค้าผ่านพิมพ์เขียวของพวกเขา ซึ่งพวกเขาจะได้รับ ค่าคอมมิชชันเมกเกอร์ ที่ผู้ขายกำหนด หรือสร้างเวอร์ชันใหม่ของพิมพ์เขียวนี้และรวมเป็นการเชื่อมต่อในพิมพ์เขียวของคุณเพื่อแบ่งรายได้