ศิลปะ
ความงามและสุขภาพ
งานฝีมือ
วัฒนธรรมและประวัติศาสตร์
ความบันเทิง
สิ่งแวดล้อม
อาหารและเครื่องดื่ม
วิศวกรรมย้อนรอย
วิทยาศาสตร์
กีฬา
เทคโนโลยี
อุปกรณ์สวมใส่
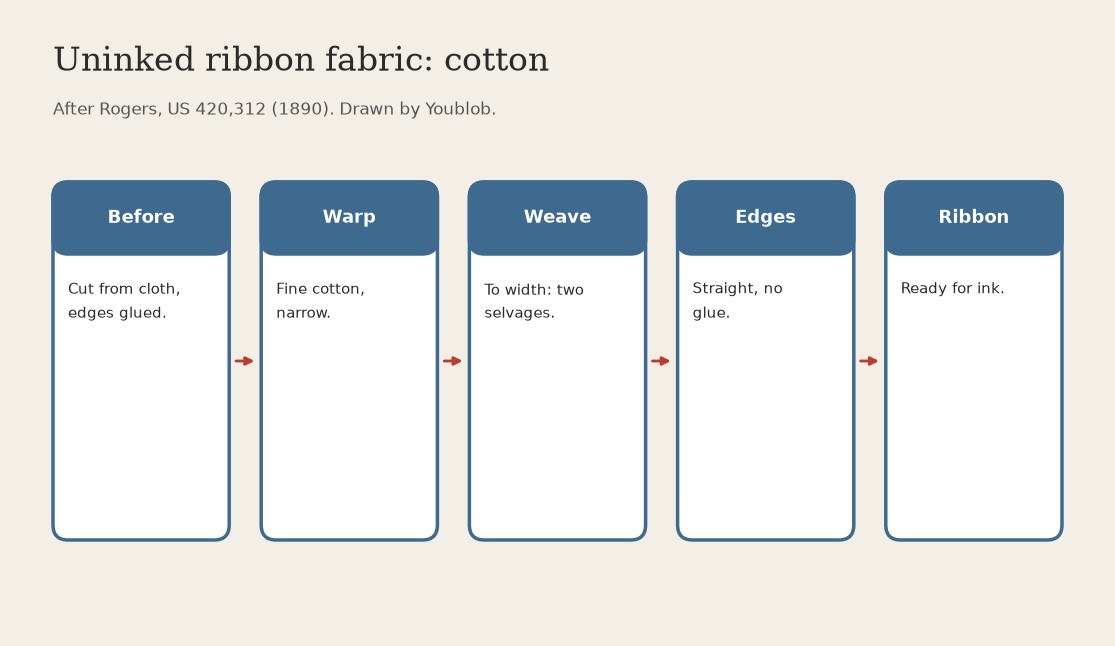


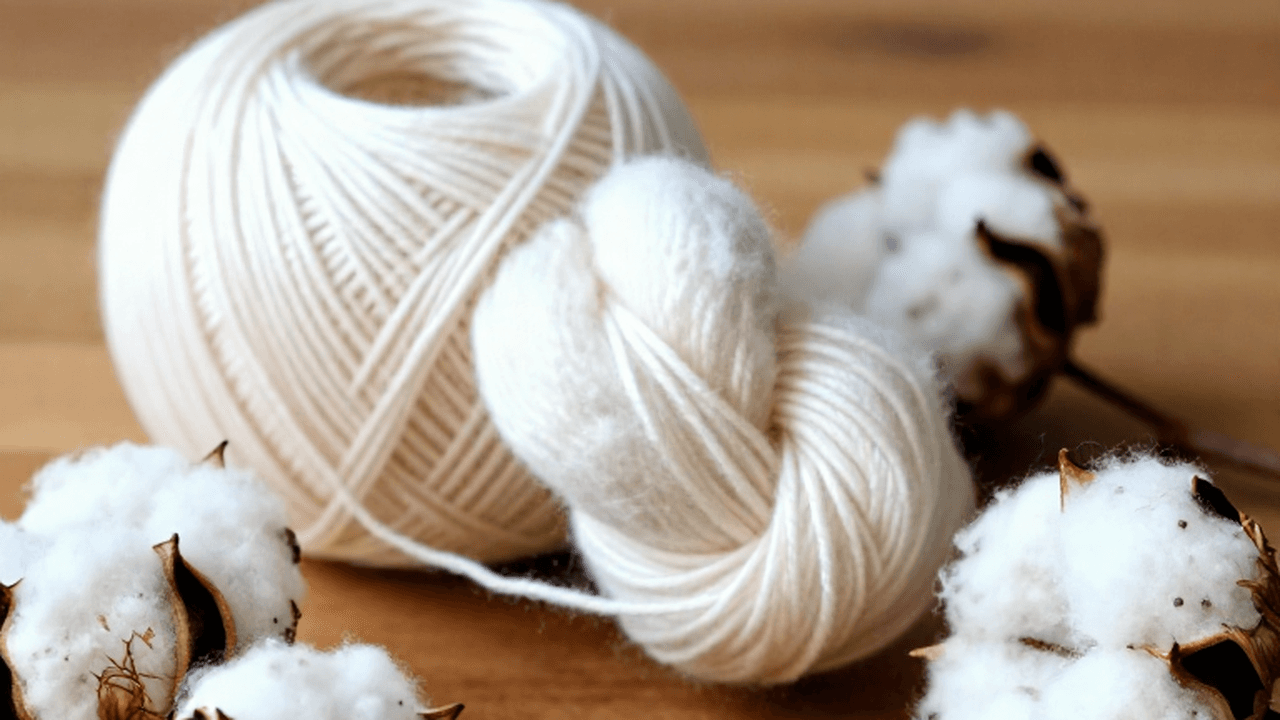
Uninked Ribbon Fabric: Narrow Woven Cotton Strip with Two Selvages (Rogers, US 420,312, 1890)
Early typewriter ribbons were cut from a roll of fine cotton cloth and the cut edges glued; the edges came out zigzag and the glue spoiled the inking surface. Rogers wove the ribbon to width instead, so it has two true selvages and needs no glue.
Result: a narrow cotton ribbon with straight woven edges, ready for inking.
Source: Rogers, US 420,312 (1890). He chose cotton over silk: silk cost more, held less ink and sagged in the middle. Not given: width, thread count. Picture drawn by Youblob.
ระดับกลาง
Factory process
คำแนะนำ
1
1
Warp a narrow loom with fine cotton
Warp a narrow loom with fine cotton
Set up the loom for a ribbon of typewriter width, not a wide bolt. Rogers used fine cotton; width and thread count: not given. Ours: a power loom (Rogers built his own machinery).
วัสดุสำหรับขั้นตอนนี้:
 ด้ายฝ้าย1 as required
เครื่องมือที่ต้องใช้:
 กี่ทอผ้าเครื่องจักร
2
2
Weave the ribbon to width
Weave the ribbon to width
Weave the strip at its final width so both edges are selvages: straight, unravelling-free, with no cut edge to glue.
วัสดุสำหรับขั้นตอนนี้:
ด้ายฝ้าย1 as requiredเครื่องมือที่ต้องใช้:
กี่ทอผ้าเครื่องจักร3
3
Wind it off for inking
Wind it off for inking
Take the woven ribbon off the loom; its whole surface is free for ink. Rogers then inks it on one side only.
เครื่องมือที่ต้องใช้:
กี่ทอผ้าเครื่องจักรพิมพ์เขียวนี้สร้าง
บลูพริ้นท์ที่เกี่ยวข้อง
บลูพริ้นท์เหล่านี้แบ่งปันความรู้ — เทคนิค วัสดุ หรือหลักการ

CC0 สาธารณสมบัติ
พิมพ์เขียวนี้เผยแพร่ภายใต้ CC0 คุณสามารถคัดลอก แก้ไข แจกจ่าย และใช้งานผลงานนี้เพื่อวัตถุประสงค์ใดก็ได้ โดยไม่ต้องขออนุญาต
สนับสนุนเมกเกอร์โดยซื้อสินค้าผ่านพิมพ์เขียวของพวกเขา ซึ่งพวกเขาจะได้รับ ค่าคอมมิชชันเมกเกอร์ ที่ผู้ขายกำหนด หรือสร้างเวอร์ชันใหม่ของพิมพ์เขียวนี้และรวมเป็นการเชื่อมต่อในพิมพ์เขียวของคุณเพื่อแบ่งรายได้