ศิลปะ
ความงามและสุขภาพ
งานฝีมือ
วัฒนธรรมและประวัติศาสตร์
ความบันเทิง
สิ่งแวดล้อม
อาหารและเครื่องดื่ม
วิศวกรรมย้อนรอย
วิทยาศาสตร์
กีฬา
เทคโนโลยี
อุปกรณ์สวมใส่
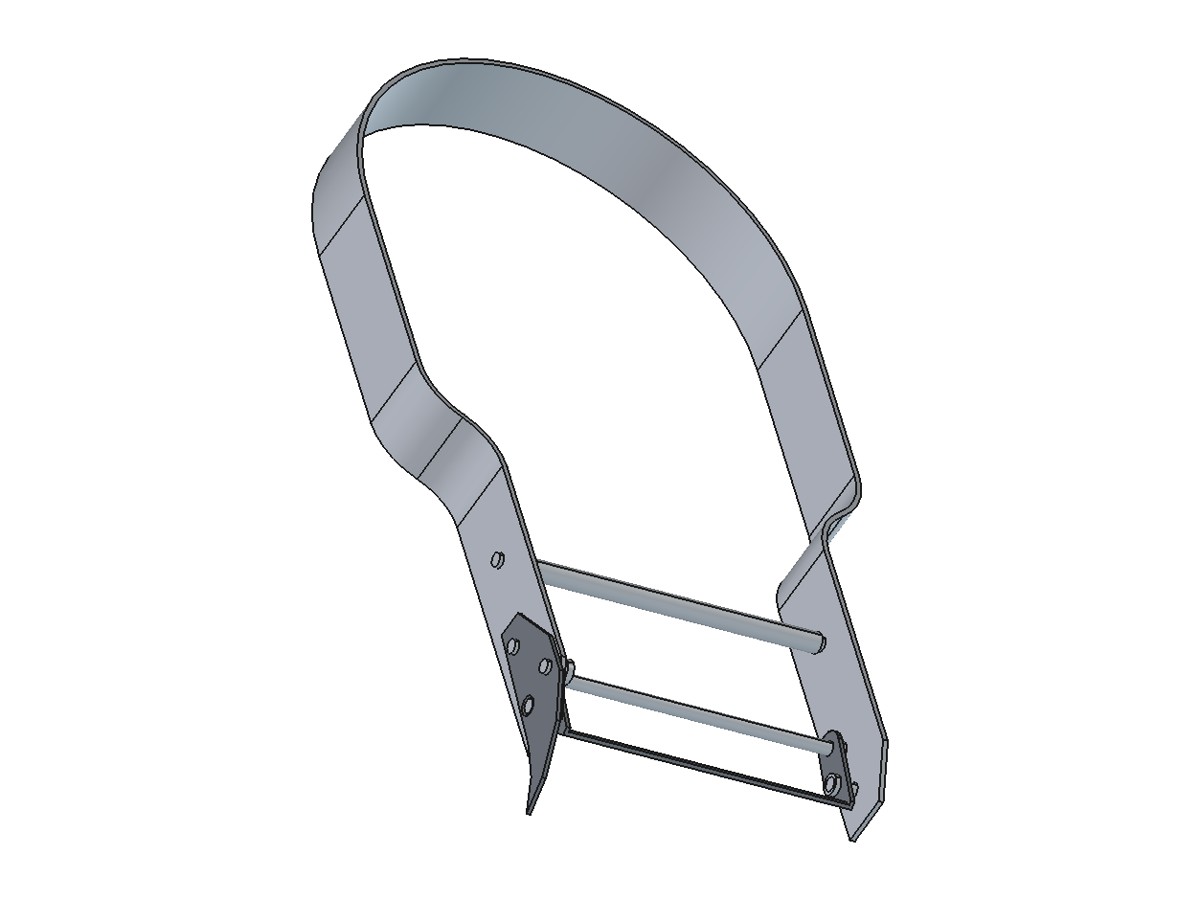


Vegetable Peeler: a Swivel Blade with a Guide Rod on a Bent Strip Handle (after De Vault, 1938)
A swivel peeler you make from steel strip and wire: a narrow hardened blade with a guide rod in front of it swings on two pins between the legs of a bent stainless handle, so it follows the shape of a potato or carrot and takes off an even, thin peel. A small hooked blade on the side cuts out eyes. Ralph De Vault patented this design in 1938.
ระดับกลาง
About 5 hours
คำแนะนำ
1
1
How a swivel peeler is used
How a swivel peeler is used
Swivel and Y peelers tested on potatoes, carrots and squash (America's Test Kitchen). Ours is a swivel peeler.
2
2
De Vault's peeler, 1938
De Vault's peeler, 1938
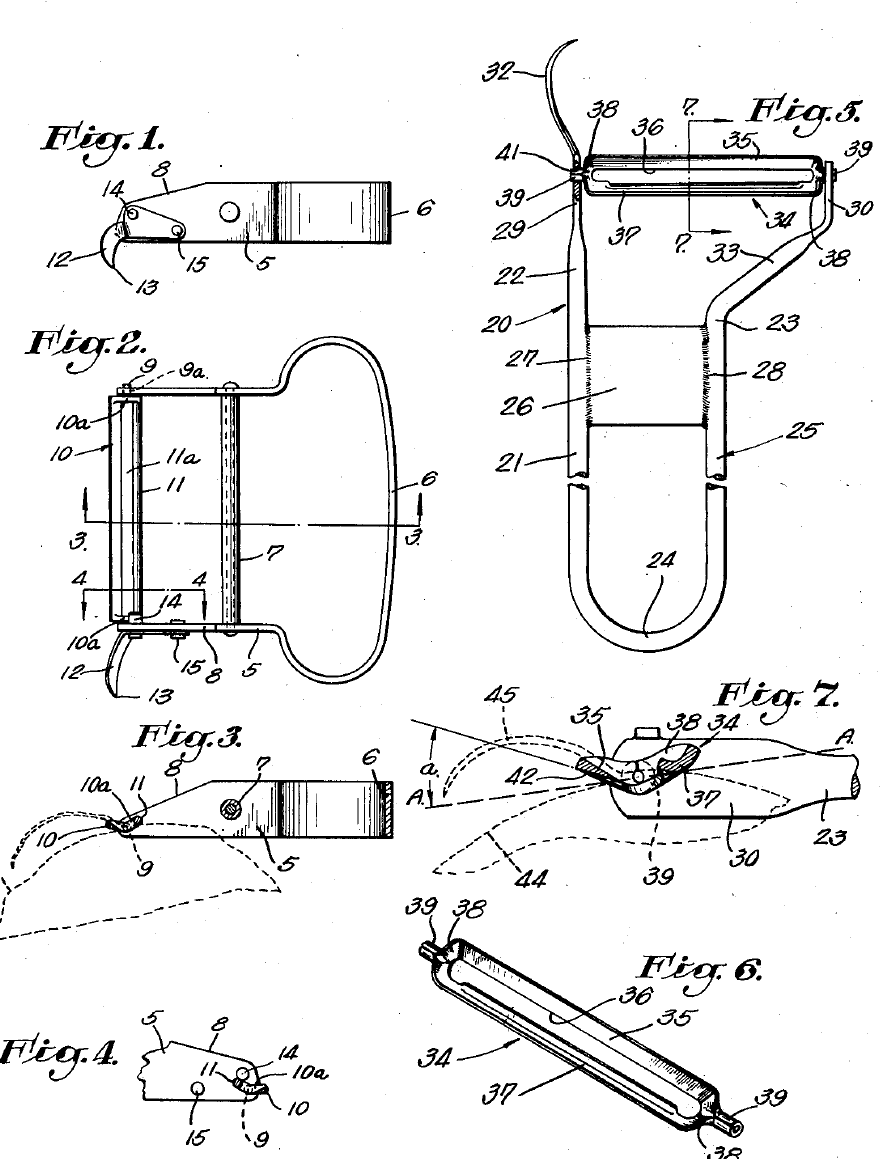
US 2,106,796: a narrow blade 10 and a guide rod 11 are joined by end walls and swing on pins 9 between the legs 5 of a handle bent from strip. The pivot lies between the edge and the rod, so the pull goes straight through the edge and the blade neither digs in nor lifts. Rivet 14's head stops the swing; blade 12 cuts out eyes. We build this form (Figs. 1-4).
3
3
Where the holes go
Where the holes go
กำลังโหลดสมุด Jupyter…
เครื่องมือที่ต้องใช้:
 เวอร์เนียร์ดิจิทัล 6 นิ้ว
4
4
Print the drawing
Print the drawing
Blade blank, eye trimmer and the end of a handle leg at 1:1, with an enlarged end view. Print at 100 % and check the 50 x 10 mm box.
5
5
Cut and drill the handle strip
Cut and drill the handle strip
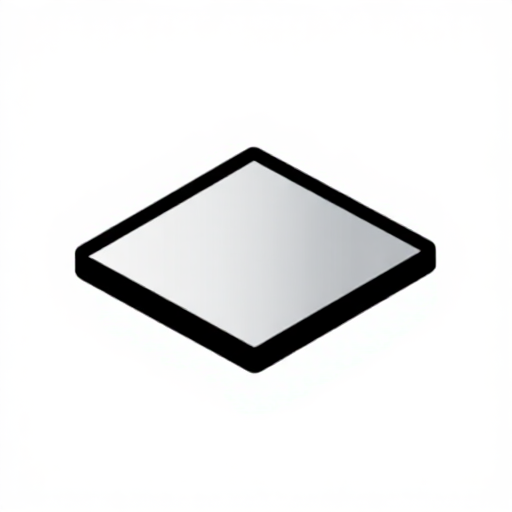
Saw a strip 12 x 295 mm from 1.5 mm stainless sheet and file the edges smooth. Lay the 1:1 leg end on each end and punch the hole centres through the paper: pivot, brace, and holes 14 and 15 at one end only. Drill the pivots 2.2 mm, the others 2 mm. File the corner of each end away, 7.3 mm along the top and 4.4 mm down.
วัสดุสำหรับขั้นตอนนี้:
 แผ่นสเตนเลส1 piece (1.5 mm, 12 x 295 mm strip)
เครื่องมือที่ต้องใช้:
 เลื่อยตัดเหล็ก
 ตะไบโลหะ
 เหล็กตอกนำศูนย์
 ชุดดอกสว่าน
 สว่านแท่น
 ปากกาจับชิ้นงานหน้าโต๊ะเวอร์เนียร์ดิจิทัล 6 นิ้ว
6
6
Bend the handle
Bend the handle
Bend the middle 107 mm round something about 68 mm across (a can or pipe) into a half circle, with the 12 mm side upright. From each end leave 43 mm straight, then bend an S outwards (two bends of about 57 degrees round a 20 mm bar) so the legs end parallel, 48.2 mm apart inside and the holes facing each other.
เครื่องมือที่ต้องใช้:
ปากกาจับชิ้นงานหน้าโต๊ะ คีมปากแบนเวอร์เนียร์ดิจิทัล 6 นิ้ว
7
7
Cut the blade and the trimmer
Cut the blade and the trimmer
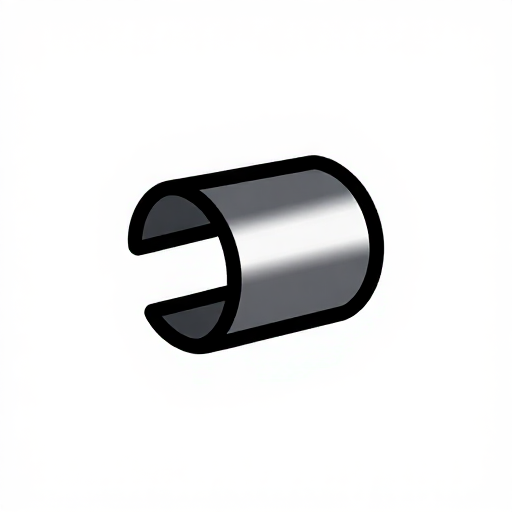
If the carbon steel strip springs back when bent, soften it first: heat it to a dull red and let it cool slowly. Cut the blade blank and the eye trimmer to the drawing, punch and drill the 2 mm holes while flat, and file the edges. Fold each paddle 90 degrees in the vise on the dashed line, both to the same side, so the paddles stand square and face each other.
วัสดุสำหรับขั้นตอนนี้:
 แถบเหล็กกล้าคาร์บอน1 piece (0.6 mm, 60 x 40 mm)
เครื่องมือที่ต้องใช้:
 หัวพ่นไฟโพรเพน
 กรรไกรตัดแผ่นโลหะเหล็กตอกนำศูนย์ชุดดอกสว่าน
 ชุดตะไบเข็มปากกาจับชิ้นงานหน้าโต๊ะคีมปากแบน
8
8
Bevel, harden and temper
Bevel, harden and temper
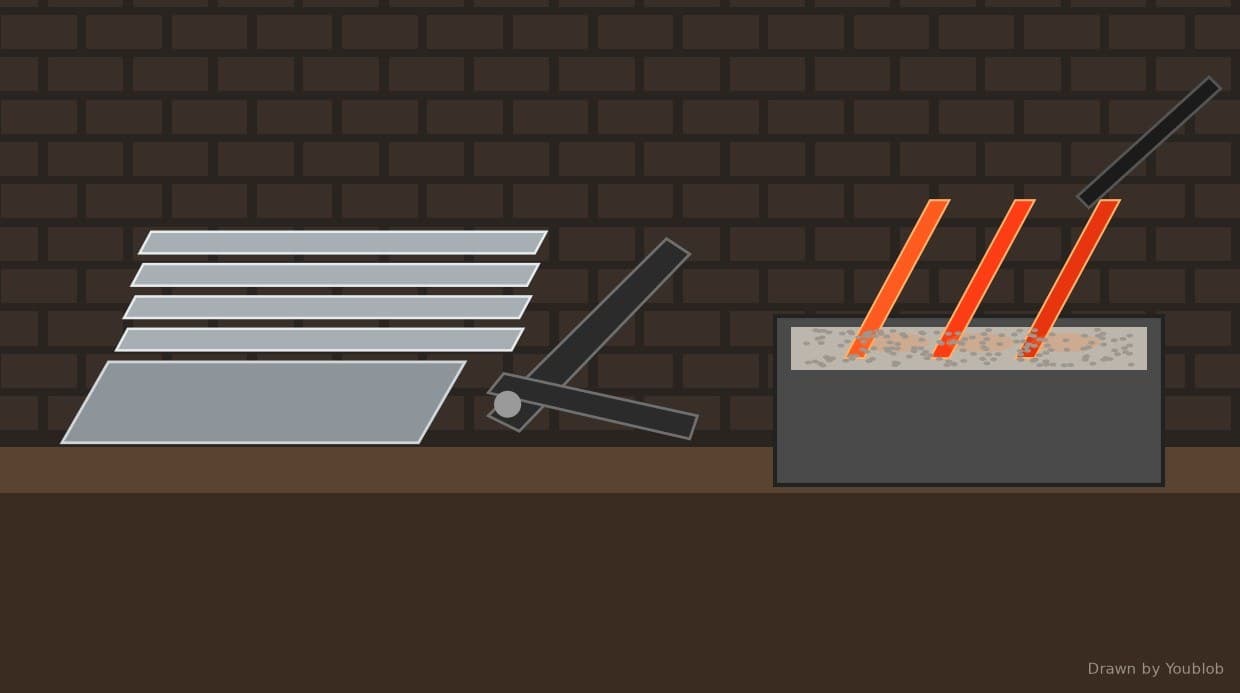
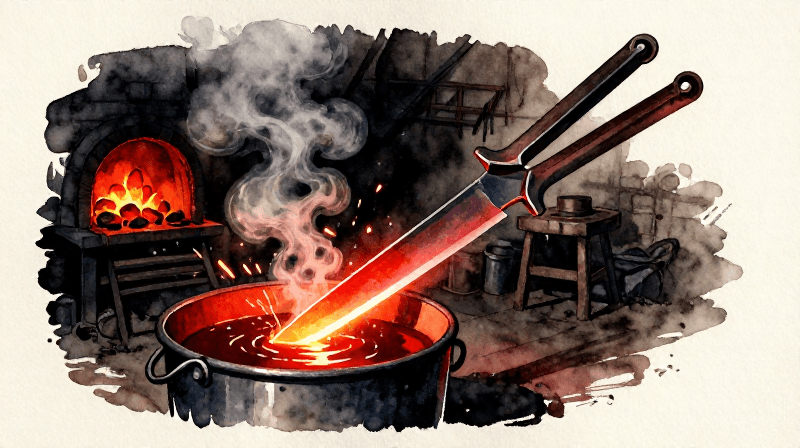
File a bevel about 1.5 mm wide on the blade's top face down to the edge, and file the trimmer's point and curved edge. Heat each part evenly to the point where a magnet no longer sticks, quench it in warm cooking oil, then clean it bright with emery. Temper both in the oven at 200 degrees C for one hour (light straw).
เครื่องมือที่ต้องใช้:
ตะไบโลหะหัวพ่นไฟโพรเพน แม่เหล็กเล็ก
 ถังชุบน้ำ
 น้ำมันปรุงอาหาร
 กระดาษทรายอีเมอรี
 เตาอบ
 เทอร์มอมิเตอร์สำหรับเตาอบ
 ถุงมือกันความร้อน
 แว่นนิรภัย
9
9
Fit the guide rod and pins
Fit the guide rod and pins
Cut 2 mm stainless wire: one guide rod 48 mm long and two pins 5 mm long. Push the rod through both rod holes and peen each end to a small head no more than 1.3 mm high. Put a pin through each pivot hole from inside, peen the inside end to a head, and leave about 3.5 mm sticking out.
วัสดุสำหรับขั้นตอนนี้:
 ลวดสเตนเลส1 piece (2 mm, 60 mm)
เครื่องมือที่ต้องใช้:
เลื่อยตัดเหล็ก ค้อนหัวกลมปากกาจับชิ้นงานหน้าโต๊ะตะไบโลหะเวอร์เนียร์ดิจิทัล 6 นิ้ว
10
10
Assemble
Assemble
Spring the legs apart and let the pins drop into the pivot holes, the guide rod towards the loop. Rivet the trimmer on the outside of its leg with two 2 mm wire rivets, leaving rivet 14 with a full 1 mm head inside the leg: it stops the swing. Last, fit the brace: 3 mm rod with 2 mm stubs filed on the ends, so the shoulders hold the legs 48.2 mm apart; peen the ends.
วัสดุสำหรับขั้นตอนนี้:
ลวดสเตนเลส1 piece (2 mm, 15 mm, two rivets) แท่งสเตนเลส1 piece (3 mm, 55 mm)
เครื่องมือที่ต้องใช้:
ค้อนหัวกลมตะไบโลหะปากกาจับชิ้นงานหน้าโต๊ะเลื่อยตัดเหล็ก11
11
Sharpen and peel
Sharpen and peel
Hone the bevel on the stone and take the burr off the flat face. Hold the loop and draw the peeler towards you over a potato, guide rod first: the blade tilts by itself to follow the surface. Wash, dry and oil the blade after use.
วัสดุสำหรับขั้นตอนนี้:
 น้ำมันแร่เกรดอาหาร2 มล.
เครื่องมือที่ต้องใช้:
 หินลับมีด
12
12
Troubleshooting
Troubleshooting
Peeler problems and fixes.
Flow
Loading...
13
13
History and honest limits
History and honest limits
Ralph P. De Vault, South Pasadena, Calif.: US 2,106,796, "Peeler", filed 26 March 1935, granted 1 February 1938. The 22 1/2 degrees and the one-third pivot are from his second form (Figs. 5-7, a stamped cutter on a round-bar handle); we use them on his strip form. Ours: every size, the steels, the folded paddles and the heat treatment. Not made by us yet.
วัสดุ
5- 1 piece (1.5 mm, 12 x 295 mm strip)ตัวยึดตำแหน่ง
- 1 piece (0.6 mm, 60 x 40 mm)ตัวยึดตำแหน่ง
- 1 piece (2 mm, 15 mm, two rivets)ตัวยึดตำแหน่ง
- 1 piece (3 mm, 55 mm)ตัวยึดตำแหน่ง
- 2 มล.ตัวยึดตำแหน่ง
เครื่องมือที่จำเป็น
21- ตัวยึดตำแหน่ง
- ตัวยึดตำแหน่ง
- ตัวยึดตำแหน่ง
- ตัวยึดตำแหน่ง
- ตัวยึดตำแหน่ง
- ตัวยึดตำแหน่ง
- ตัวยึดตำแหน่ง
- ตัวยึดตำแหน่ง
- ตัวยึดตำแหน่ง
- ตัวยึดตำแหน่ง
- ตัวยึดตำแหน่ง
- ตัวยึดตำแหน่ง
- ตัวยึดตำแหน่ง
- ตัวยึดตำแหน่ง
- ตัวยึดตำแหน่ง
- ตัวยึดตำแหน่ง
- ตัวยึดตำแหน่ง
- ตัวยึดตำแหน่ง
- ตัวยึดตำแหน่ง
- ตัวยึดตำแหน่ง
- ตัวยึดตำแหน่ง
ไฟล์ออกแบบ
1วัสดุจากพิมพ์เขียวที่เชื่อมต่อ
พิมพ์เขียวนี้สร้าง

บลูพริ้นท์ที่เกี่ยวข้อง
บลูพริ้นท์เหล่านี้แบ่งปันความรู้ — เทคนิค วัสดุ หรือหลักการ
CC0 สาธารณสมบัติ
พิมพ์เขียวนี้เผยแพร่ภายใต้ CC0 คุณสามารถคัดลอก แก้ไข แจกจ่าย และใช้งานผลงานนี้เพื่อวัตถุประสงค์ใดก็ได้ โดยไม่ต้องขออนุญาต
สนับสนุนเมกเกอร์โดยซื้อสินค้าผ่านพิมพ์เขียวของพวกเขา ซึ่งพวกเขาจะได้รับ ค่าคอมมิชชันเมกเกอร์ ที่ผู้ขายกำหนด หรือสร้างเวอร์ชันใหม่ของพิมพ์เขียวนี้และรวมเป็นการเชื่อมต่อในพิมพ์เขียวของคุณเพื่อแบ่งรายได้