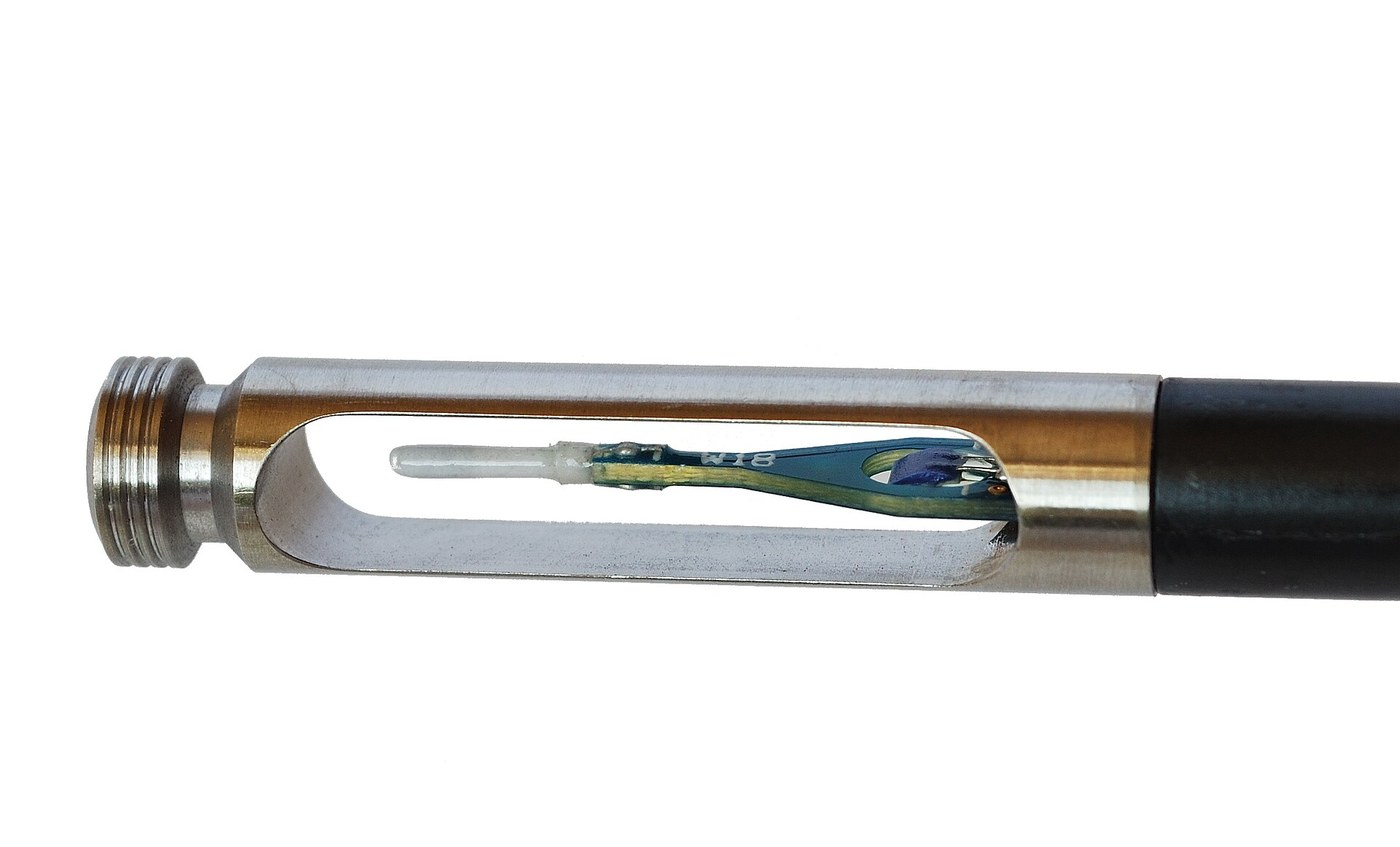


Hot-Wire Anemometer
Зааварчилгаа
Mount the finest wire you can handle
Mount the finest wire you can handle
Thin is the entire design goal, and it makes the sensor fragile by necessity.
- Make a fork from two stiff wire prongs about 3 mm apart, mounted on an insulating handle.
- Stretch the finest available nichrome or tungsten wire between the prongs and solder or clamp it.
- Keep the free span short and straight, with no kinks.
- Measure its cold resistance with a four-wire meter.
Thinner is faster and more fragile in the same proportion. A fine wire has almost no thermal mass, so it follows velocity changes almost instantly — but a research probe uses wire five microns across and is destroyed by a speck of dust. What you can build by hand is coarser and slower, and that trade is the instrument's whole character.
Handle it only by the fork. The wire itself cannot survive being touched, and a probe is normally treated as a consumable rather than a repairable item.Энэ алхмын материал:
 Пааландсан зэс утас1 боодол
 Зэс утас1 боодол
 Акрилан савх1 ширхэг
Шаардлагатай багаж:
 Лабораторийн зэрэглэлийн дижитал мультиметр
 Гилбэрийн иж бүрдэл
 Дижитал штангенциркуль 6 инч
 Ширээний хавчаар
Heat it in a bridge and watch air cool it
Heat it in a bridge and watch air cool it
The Wheatstone bridge appears for the third time in this batch, now sensing heat loss.
- Put the wire in one arm of a bridge with three fixed resistors.
- Drive the bridge hard enough that the wire runs distinctly above ambient — warm, not glowing.
- Balance the bridge in still air.
- Blow gently across the wire and watch the bridge output swing.
- Vary the airspeed and note the output changes with it.
Moving air steals heat, the wire cools, its resistance falls, the bridge unbalances. That chain of four physical steps is the whole instrument. Note that the same bridge circuit measured temperature in the resistance thermometer and will measure force in the strain gauge — one circuit, three completely different measurands, because all three sensors work by changing a resistance.
Do not overheat the wire. Run it too hot and it oxidises, changes resistance permanently and eventually burns through — and the calibration is gone the moment it changes.Энэ алхмын материал:
 1/4 Вт эсэргүүцлийн иж бүрдэл1 багц
Шаардлагатай багаж:
Лабораторийн зэрэглэлийн дижитал мультиметр Аналог мультиметр
 Секунд хэмжигч
 Тохируулгатай ширээний тэжээлийн эх үүсвэр
Calibrate against the pitot tube
Calibrate against the pitot tube
Use the instrument from earlier in this batch as your velocity reference.
- Mount the hot wire and the pitot tube side by side in the same airflow.
- Set several airspeeds and record both readings at each.
- Plot bridge output against pitot-derived velocity.
- Note the curve's shape.
Энэ алхмын материал:
 Нүдэлсэн цаас1 pad
Шаардлагатай багаж:
Лабораторийн зэрэглэлийн дижитал мультиметрСекунд хэмжигчДижитал штангенциркуль 6 инчSee the turbulence the cup anemometer hides
See the turbulence the cup anemometer hides
The reason this instrument exists, demonstrated against its sibling.
- Set up a steady fan flow and hold the hot wire in it, watching the output on a fast meter or scope.
- Note the reading fluctuating rapidly even though the fan speed is constant.
- Now put a rod or a mesh upstream and observe the fluctuations grow.
- Compare with a cup anemometer in the same place, which shows a steady average.
Шаардлагатай багаж:
Лабораторийн зэрэглэлийн дижитал мультиметрАналог мультиметрСекунд хэмжигчConstant current versus constant temperature, and history
Constant current versus constant temperature, and history
Louis Vessot King published his analysis of convective heat loss from a fine cylinder in 1914 at McGill University, giving the relationship still called King's law. The instrument existed in cruder forms before, but a usable calibration is what turns a phenomenon into a measurement.
The important refinement came later: the constant-temperature anemometer. In the simple version built here the current is fixed and the wire's temperature varies with flow — but the wire then has to heat and cool, and that takes time, limiting the frequency response. In the constant-temperature version a feedback amplifier instantly adjusts the current to hold the wire at a fixed resistance, and the CURRENT becomes the output. Because the wire never changes temperature, its thermal inertia stops mattering and the response extends to tens of kilohertz. It is a lovely example of feedback removing a physical limitation rather than working around it.
Against its sibling in this catalogue: the Robinson cup anemometer is robust, needs no power, works outdoors for decades and gives a reliable mean wind speed. The hot wire is delicate, needs electronics, cannot survive rain or dust, and sees things nothing else can see. Weather station versus wind tunnel — same quantity, completely different instruments, chosen by what you need to know about it.
Its honest limits: extreme fragility; contamination by dust that changes the heat transfer and hence the calibration; it senses the magnitude of flow but not its direction, so multiple wires at angles are needed for that; and it responds to temperature as well as velocity, so ambient changes must be compensated.
Материал
5- 1 боодолТүр орлуулагч
- 1 боодолТүр орлуулагч
- 1 ширхэгТүр орлуулагч
- Түр орлуулагч
- 1 padТүр орлуулагч
Шаардлагатай багаж
7- Түр орлуулагч
- Түр орлуулагч
- Түр орлуулагч
- Түр орлуулагч
- Түр орлуулагч
- Түр орлуулагч
- Түр орлуулагч
Холбоотой загварууд
Эдгээр загварууд мэдлэг хуваалцдаг — арга техник, материал эсвэл зарчим

CC0 Нийтийн домэйн
Энэ загвар CC0 дор гаргагдсан. Та зөвшөөрөл авахгүйгээр хуулах, өөрчлөх, түгээх, ашиглах боломжтой.
Загвараар дамжуулан бүтээгдэхүүн худалдаж авч Бүтээгчийг дэмжээрэй Бүтээгчийн шимтгэл Борлуулагчаар тогтоосон, эсвэл энэ загварын шинэ хувилбар үүсгэж орлогоо хуваахын тулд өөрийн загварт холбоос болгон оруулна уу.