УРЛАГ
ГОО САЙХАН БА ЭРҮҮЛ МЭНД
ГАРААР ХИЙСЭН
СОЁЛ БА ТҮҮХ
ҮЗВЭР НААДАМ
БАЙГАЛЬ ОРЧИН
ХООЛ БА УНДАА
НОГООН ИРЭЭДҮЙ
УРВУУ ИНЖЕНЕРЧЛЭЛ
ШИНЖЛЭХ УХААН
СПОРТ
ТЕХНОЛОГИ
ӨМСДӨГ ХЭРЭГСЭЛ
Building a Newtonian Reflecting Telescope — Mirrors Instead of Lenses
Astro

Зохиогч

Astro

30. Тавдугаар сар 2026IS
6
0
0
1
0

Building a Newtonian Reflecting Telescope — Mirrors Instead of Lenses

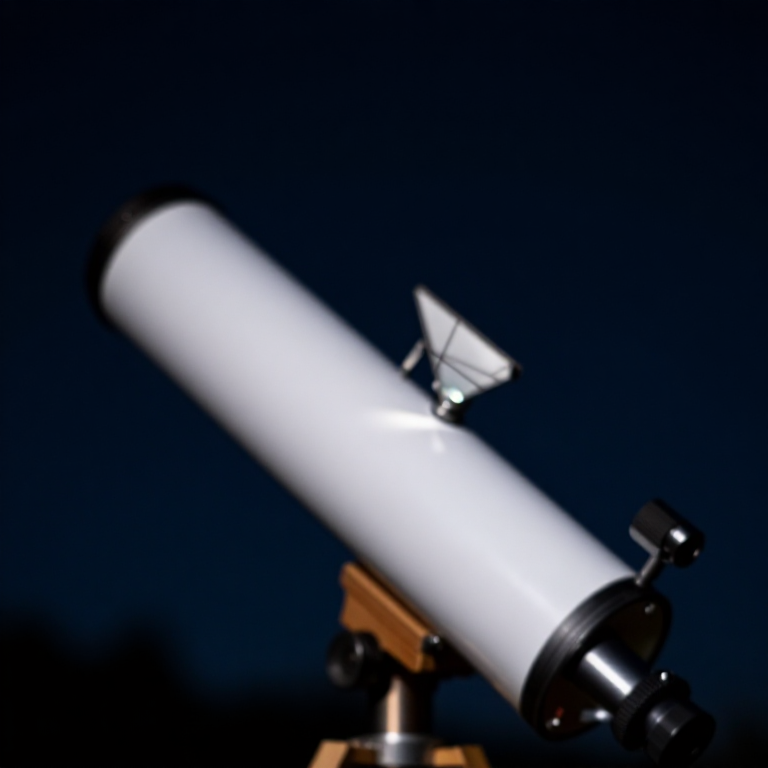
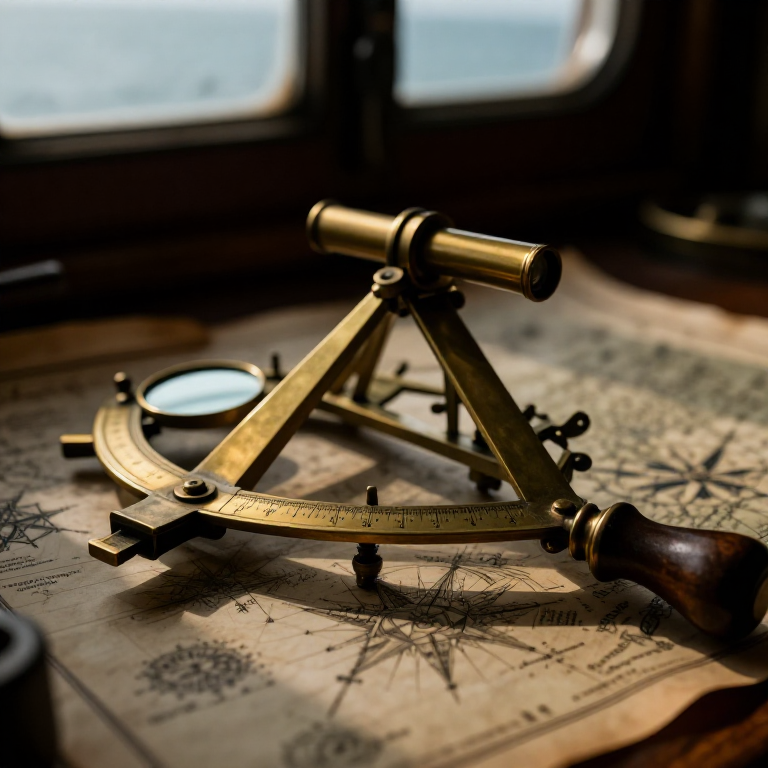
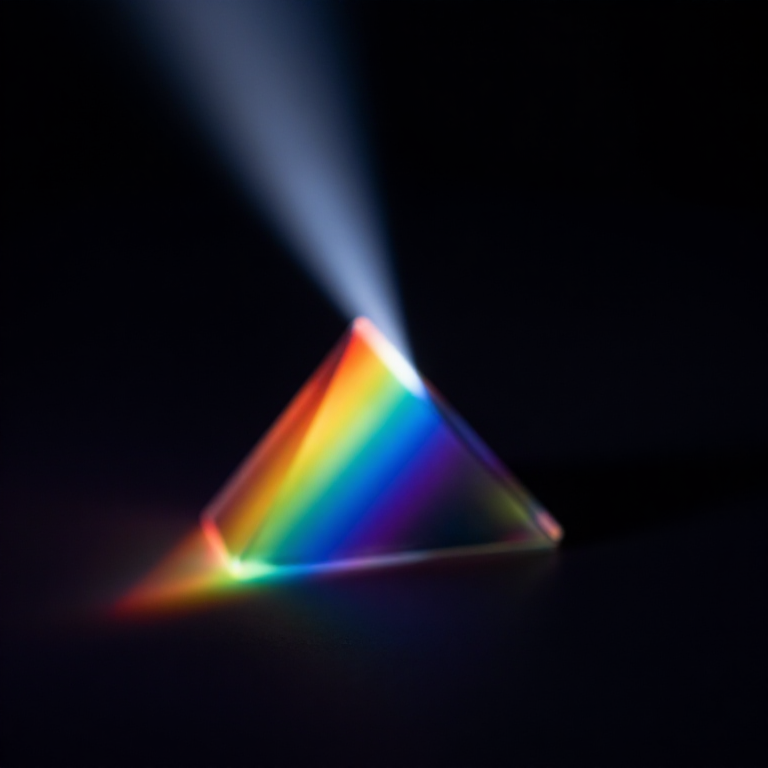
In 1668, Isaac Newton built the first practical reflecting telescope — using a curved mirror instead of a lens to gather and focus light. Newton's design solved the fundamental problem of Galileo's refractor: chromatic aberration, where a simple lens bends different colours of light by different amounts, producing coloured fringes around every bright object. A mirror reflects all colours equally, producing sharp, colour-free images. Newton's telescope uses a concave primary mirror at the bottom of a tube to gather light and reflect it to a focus. A small flat secondary mirror (the diagonal) intercepts the converging light near the top of the tube and deflects it 90 degrees out the side of the tube, where the eyepiece magnifies the image. This elegant design — now called the Newtonian reflector — remains the most popular telescope design for amateur astronomers because it delivers large apertures at low cost. This blueprint builds a functional Newtonian telescope using a concave mirror and a flat diagonal, mounted in a simple tube on a basic altitude-azimuth mount.

Дээд шат
10-20 hours

Зааварчилгаа

1

Understand the Newtonian optical design

A Newtonian telescope has two mirrors. The primary mirror is a concave parabolic (or spherical) mirror at the bottom of the tube. It gathers light from a distant object and reflects it upward to a focal point inside the tube. A small flat secondary mirror (the diagonal) is mounted near the top of the tube at a 45-degree angle, deflecting the focused light out through a hole in the side of the tube where the eyepiece sits. The focal length of the primary mirror determines the tube length, and the magnification equals the focal length of the primary divided by the focal length of the eyepiece lens.
2

Select the primary mirror

Choose a concave mirror with a diameter of at least 75-100 mm and a focal length of 500-1000 mm. A longer focal length gives a more forgiving optical system but requires a longer tube. The mirror should be front-surface coated (the reflective layer on the front, not behind glass like a bathroom mirror). To find the focal length, reflect sunlight off the mirror onto a wall and move the mirror until the spot of light is smallest and sharpest — the distance from mirror to wall is the focal length.

Materials for this step:

Concave MirrorConcave Mirror1 ширхэг
3

Select and mount the diagonal mirror

The diagonal (secondary) mirror is a small flat mirror mounted at 45 degrees near the top of the tube. It must be large enough to intercept the full cone of light converging from the primary mirror — typically about 20-25% of the primary mirror's diameter. A first-surface flat mirror about 25 mm across works well with a 100 mm primary. Mount the diagonal on a thin metal stalk (a spider vane) that crosses the open end of the tube, holding the mirror at exactly 45 degrees to the tube axis.

Materials for this step:

Flat MirrorFlat Mirror1 ширхэг
4

Build the tube

The tube holds the two mirrors at the correct separation and blocks stray light. Its length must equal the focal length of the primary mirror. Use a cardboard mailing tube, a PVC pipe, or roll a tube from sheet metal or stiff card. The inner diameter should be at least 10-15 mm larger than the primary mirror to allow air to circulate (trapped warm air causes image distortion). Paint the inside flat black to absorb stray light.

Materials for this step:

Hardwood BlockHardwood Block1 ширхэг
5

Make the mirror cell

The primary mirror sits at the bottom of the tube in a holder called the mirror cell. Cut a disc of wood or metal that fits snugly inside the tube bottom. Attach three small bolts through the tube wall behind the cell — these serve as collimation screws, allowing you to tilt the mirror precisely to align it with the secondary mirror and eyepiece. The mirror should rest on the cell with felt or cork pads beneath it and be held in place with small clips that do not press on the mirror surface.

Tools needed:

Hand SawHand Saw
6

Install the focuser

Cut a round hole in the side of the tube, positioned so that the eyepiece sits at the exact point where the diagonal redirects the focused light. This hole should be at the focal distance from the primary mirror minus the distance from the diagonal to the side of the tube. Mount a short tube (the focuser) over this hole that allows the eyepiece to slide in and out for focusing. A simple friction-fit tube works; a more refined design uses a rack-and-pinion mechanism.
7

Mount the diagonal on a spider

The spider is a set of thin metal vanes (typically three or four) that stretch across the open top of the tube and meet at the centre, holding the diagonal mirror stalk. The vanes must be thin to block as little incoming light as possible. Cut them from thin brass or steel strip — 1-2 mm wide is sufficient. The diagonal mirror must sit at the exact centre of the tube, tilted at 45 degrees, directly in front of the focuser hole. Any offset causes the image to appear off-centre.

Materials for this step:

Brass StripBrass Strip1 метр
8

Collimate the optics

Collimation is the process of aligning the primary mirror, diagonal mirror, and eyepiece so they all share the same optical axis. Look through the empty focuser hole (without an eyepiece). You should see the diagonal mirror centred in the tube, and in the diagonal you should see a reflection of the primary mirror centred in the diagonal. Adjust the diagonal's tilt and the primary mirror's collimation screws until everything is concentric. Poor collimation is the single most common cause of blurry images in reflecting telescopes.
9

Build a simple alt-azimuth mount

Build a mount that lets the telescope swing up and down in altitude (vertical) and left and right in azimuth (horizontal). The simplest design is a wooden cradle that holds the tube at its balance point, pivoting on a bolt through two upright supports. The supports sit on a base board that rotates on a central bolt. Add friction washers or felt pads at both pivot points so the telescope stays where you point it. The mount must be sturdy enough that the telescope does not vibrate when you touch the focuser.

Tools needed:

Hand SawHand Saw
Iron ChiselIron Chisel
10

First light — observe the Moon and Jupiter

Insert a low-power eyepiece (long focal length, giving low magnification and a wide field of view) and point the telescope at the Moon. You should see a sharp, colour-free image of the lunar surface — craters, mountains, and maria without the coloured fringes that plagued Galileo's refractor. This is Newton's triumph: a mirror treats all colours equally. Then find Jupiter: you should see the disc of the planet and its four Galilean moons as sharp points of light. Saturn's rings may also be visible. You are now observing the sky with the same fundamental design used by every major observatory telescope for the next three centuries.

Материал

4

Шаардлагатай багаж

2

Connected Blueprint Materials

CC0 Нийтийн домэйн

Энэ загвар CC0 дор гаргагдсан. Та зөвшөөрөл авахгүйгээр хуулах, өөрчлөх, түгээх, ашиглах боломжтой.

Загвараар дамжуулан бүтээгдэхүүн худалдаж авч Бүтээгчийг дэмжээрэй Бүтээгчийн шимтгэл Борлуулагчаар тогтоосон, эсвэл энэ загварын шинэ хувилбар үүсгэж орлогоо хуваахын тулд өөрийн загварт холбоос болгон оруулна уу.

Хэлэлцүүлэг

(0)

Нэвтрэх хэлэлцүүлэгт нэгдэхийн тулд

Loading comments...