УРЛАГ
ГОО САЙХАН БА ЭРҮҮЛ МЭНД
ГАРААР ХИЙСЭН
СОЁЛ БА ТҮҮХ
ҮЗВЭР НААДАМ
БАЙГАЛЬ ОРЧИН
ХООЛ БА УНДАА
НОГООН ИРЭЭДҮЙ
УРВУУ ИНЖЕНЕРЧЛЭЛ
ШИНЖЛЭХ УХААН
СПОРТ
ТЕХНОЛОГИ
ӨМСДӨГ ХЭРЭГСЭЛ
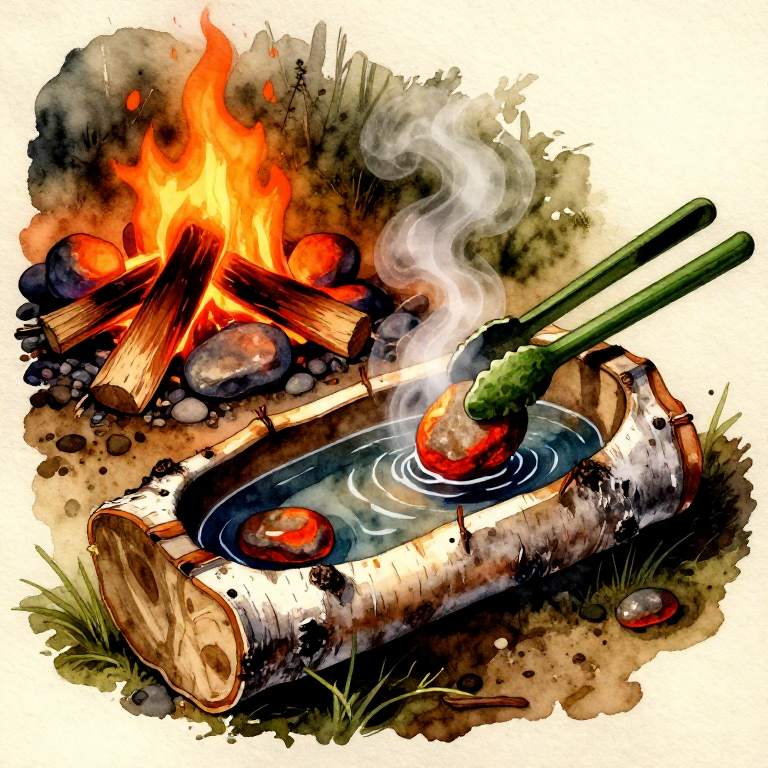
Boiling Water with Hot Stones in a Bark Container — Stone Boiling
Before pottery existed, humans needed a way to boil water for cooking, extracting nutrients from bones, rendering fat, and purifying drinking water. The solution — dating back at least 30,000 years — was stone boiling: heating rocks in a fire until glowing hot, then transferring them into water held in a non-fireproof container such as a bark trough, animal hide, or a pit lined with skin. The superheated stones release their thermal energy into the water, bringing it to a rolling boil within minutes. Archaeological evidence of fire-cracked rocks (FCR) at prehistoric sites across every continent confirms this was a universal technology. Stone boiling unlocked an entirely new category of food: soups, stews, bone broth, rendered fat, and boiled grains became possible without pottery. This blueprint teaches the complete process using only materials available to prehistoric humans: a bark container, river stones, fire, and tongs made from green wood.
Анхан шат
1 hour
Зааварчилгаа
1
1
Select Dense, Non-Porous River Stones
Select Dense, Non-Porous River Stones
Gather 8 to 12 smooth, dense stones from a riverbed, each roughly fist-sized (8 to 12 cm diameter). Choose granite, basalt, or other igneous rocks. Avoid sandstone, limestone, and any stone with visible layers or cracks — porous stones absorb water and can explode violently when heated.
Materials for this step:
 Smooth Stone10 ширхэг
2
2
Test Stones for Porosity
Test Stones for Porosity
Tap each stone sharply against another — dense stones ring with a clear tone while porous stones produce a dull thud. Discard any stone that sounds hollow or crumbles at the edges. A stone that has been sitting in water and dried without flaking is generally safe.
3
3
Build a Strong Fire
Build a Strong Fire
Build a substantial fire using hardwood fuel that will produce a deep bed of hot coals. The fire must burn for at least 30 to 45 minutes before the stones are ready. You need sustained high heat, not quick flame — oak, ash, hickory, or birch are ideal fuels.
4
4
Place Stones in the Fire
Place Stones in the Fire
Set the stones directly on the burning wood or push them into the heart of the fire using a long stick. Space them so each stone is fully surrounded by flame and coals. The stones need 20 to 30 minutes in a hot fire to heat thoroughly to their core.
5
5
Prepare a Bark Container
Prepare a Bark Container
Fold a large section of fresh birch bark, poplar bark, or thick elm bark into a trough shape. The bark must be freshly stripped and still flexible — dry bark cracks. Fold the corners upward and secure with small wooden pegs or binding to form a watertight basin.
Materials for this step:
 Birch Bark Sheets1 ширхэг
6
6
Fill the Container with Water
Fill the Container with Water
Fill the bark container with clean water to about two-thirds capacity. Leave room at the top — the hot stones will displace water and cause vigorous bubbling. Place the container on flat ground close to the fire but not so close that radiant heat dries the bark above the waterline.
Materials for this step:
 Clean Water3 литр
7
7
Make Green Wood Tongs
Make Green Wood Tongs
Split a green (live) hardwood branch about 60 cm long partway down the middle to create spring tongs. The two halves should spring apart at the split end, forming a V shape that can grip a hot stone when squeezed. Green wood will not catch fire as quickly as dry wood.
Materials for this step:
 Hardwood Sapling1 ширхэг
Tools needed:
 Flint Knife
8
8
Check That Stones Are Fully Heated
Check That Stones Are Fully Heated
After 20 to 30 minutes in the fire, the stones should glow dull red in dim light or appear chalky white in daylight. If you sprinkle a few drops of water on a stone and it instantly vaporizes with a loud hiss, the stone is ready. If the water just sizzles, heat for another 10 minutes.
9
9
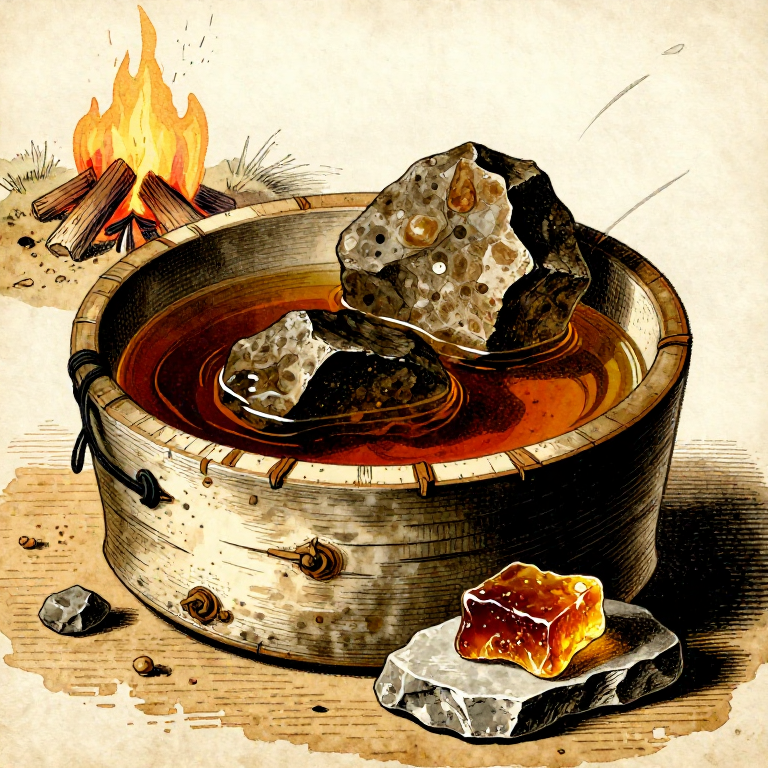
Transfer the First Stone to the Water
Transfer the First Stone to the Water
Grip a heated stone firmly with the green wood tongs. Lift it clear of the fire, knock off any loose ash by tapping against a log, and lower it steadily into the water container. The water will erupt into violent boiling on contact — keep your face and hands clear of the steam.
10
10
Add a Second and Third Stone
Add a Second and Third Stone
Wait 30 seconds, then add a second heated stone to the water. The first stone loses most of its heat within 1 to 2 minutes. A continuous rotation of hot stones maintains the boil. Add a third stone as the first one cools — the water should be at a sustained rolling boil.
11
11
Remove Cooled Stones
Remove Cooled Stones
As each stone stops producing active bubbling (usually after 2 to 3 minutes), lift it out with the tongs and return it to the fire to reheat. This rotation — hot stones in, cooled stones out and back to the fire — keeps the water boiling continuously.
12
12
Maintain the Boil by Rotating Stones
Maintain the Boil by Rotating Stones
Keep rotating stones between fire and water to sustain the boil for as long as needed. For water purification, maintain a rolling boil for at least 5 minutes. For cooking, sustain the boil for 30 minutes to several hours depending on what you are preparing.
13
13
Remove All Stones When Finished
Remove All Stones When Finished
When boiling is complete, remove all stones from the water using the tongs. Leave the hot water to cool slightly before handling the bark container. The stones can be reused many times — fire-cracked stones that split should be discarded and replaced with fresh ones.
14
14
Use the Boiled Water
Use the Boiled Water
The boiled water is now safe for drinking (once cooled) or can be used immediately for cooking soups, stews, bone broth, or softening dried foods. Stone-boiled water may contain trace minerals from the heated rocks — this is harmless and was a natural mineral supplement for prehistoric humans.
Материал
4- 10 ширхэгPlaceholder
- 1 ширхэгPlaceholder
- 3 литрPlaceholder
- 1 ширхэгPlaceholder
Шаардлагатай багаж
1- Placeholder
Холбоотой загварууд
Эдгээр загварууд мэдлэг хуваалцдаг — арга техник, материал эсвэл зарчим
Related blueprints
Other builds that share materials, tools, or techniques with this one.
Making Hide Glue by Boiling Rawhide Scraps — Prehistoric Collagen Adhesivesurvival3 shared materials
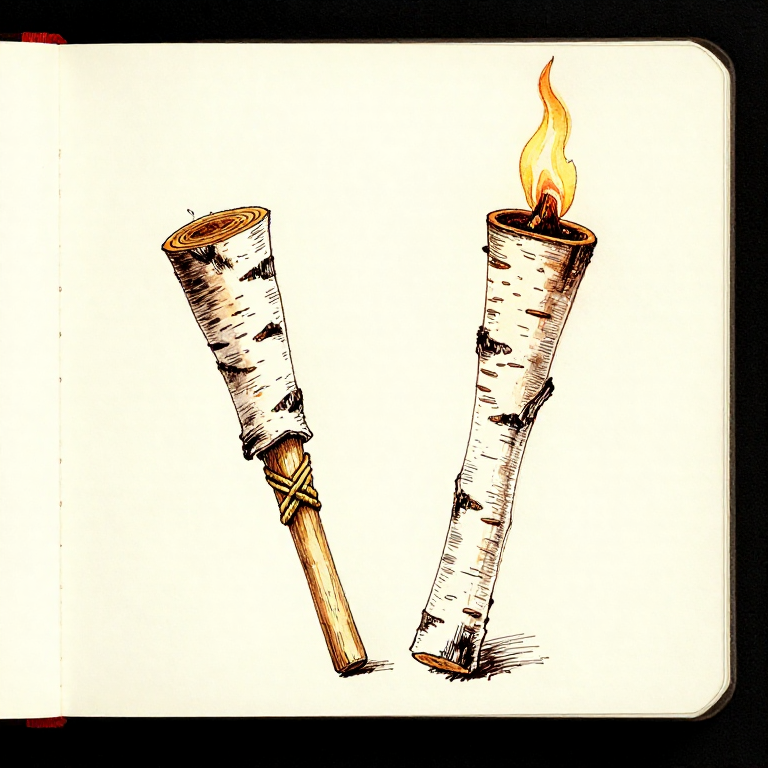
Making a Birch Bark Torch — Portable Fire Lightingwoodworking1 shared material
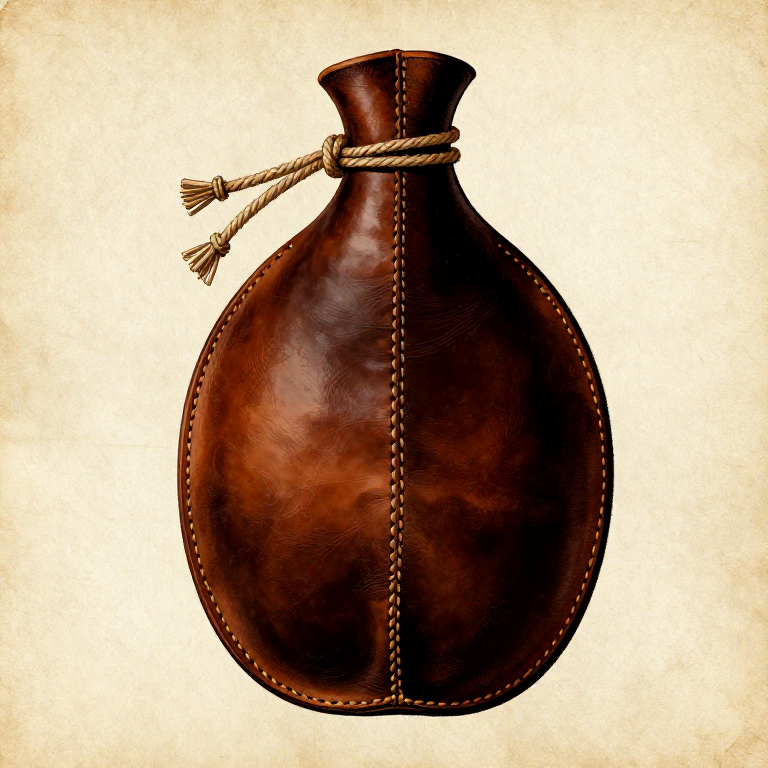
Making a Waterskin from Animal Hide — Portable Water Containersurvival
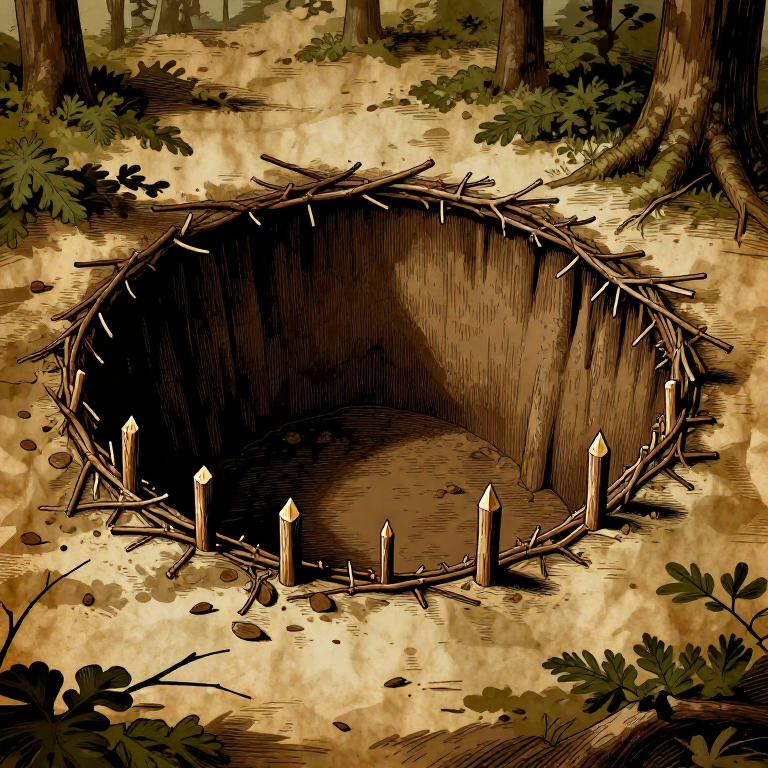
Digging a Pitfall Trap for Large Game — Concealed Pit Huntingsurvival
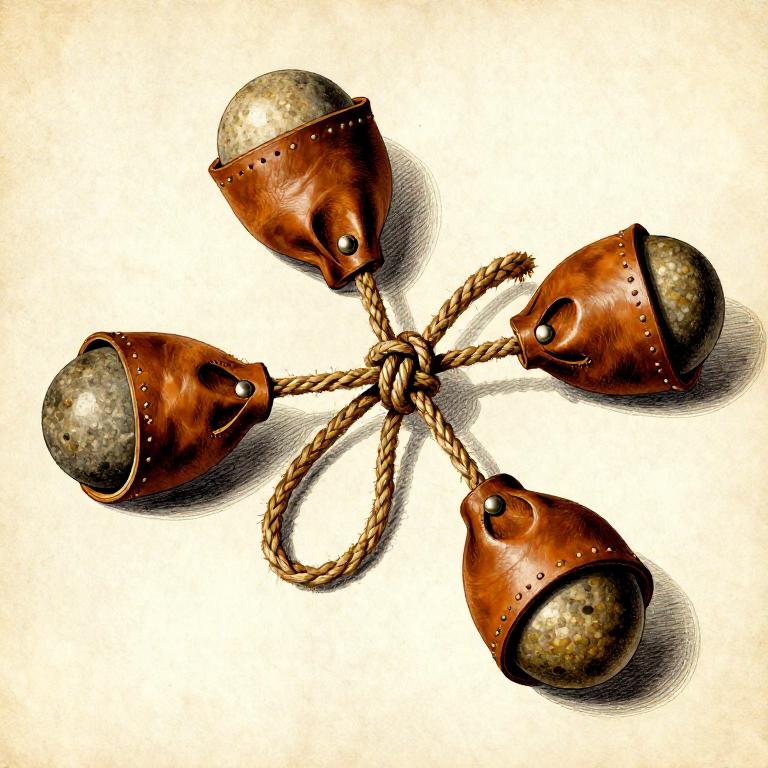
Making Bolas — Weighted Throwing Weapon for Huntingsurvival

Making a Leather Sling — The Shepherd's Projectile Weaponsurvival
CC0 Нийтийн домэйн
Энэ загвар CC0 дор гаргагдсан. Та зөвшөөрөл авахгүйгээр хуулах, өөрчлөх, түгээх, ашиглах боломжтой.
Загвараар дамжуулан бүтээгдэхүүн худалдаж авч Бүтээгчийг дэмжээрэй Бүтээгчийн шимтгэл Борлуулагчаар тогтоосон, эсвэл энэ загварын шинэ хувилбар үүсгэж орлогоо хуваахын тулд өөрийн загварт холбоос болгон оруулна уу.