УРЛАГ
ГОО САЙХАН БА ЭРҮҮЛ МЭНД
ГАРААР ХИЙСЭН
СОЁЛ БА ТҮҮХ
ҮЗВЭР НААДАМ
БАЙГАЛЬ ОРЧИН
ХООЛ БА УНДАА
НОГООН ИРЭЭДҮЙ
УРВУУ ИНЖЕНЕРЧЛЭЛ
ШИНЖЛЭХ УХААН
СПОРТ
ТЕХНОЛОГИ
ӨМСДӨГ ХЭРЭГСЭЛ
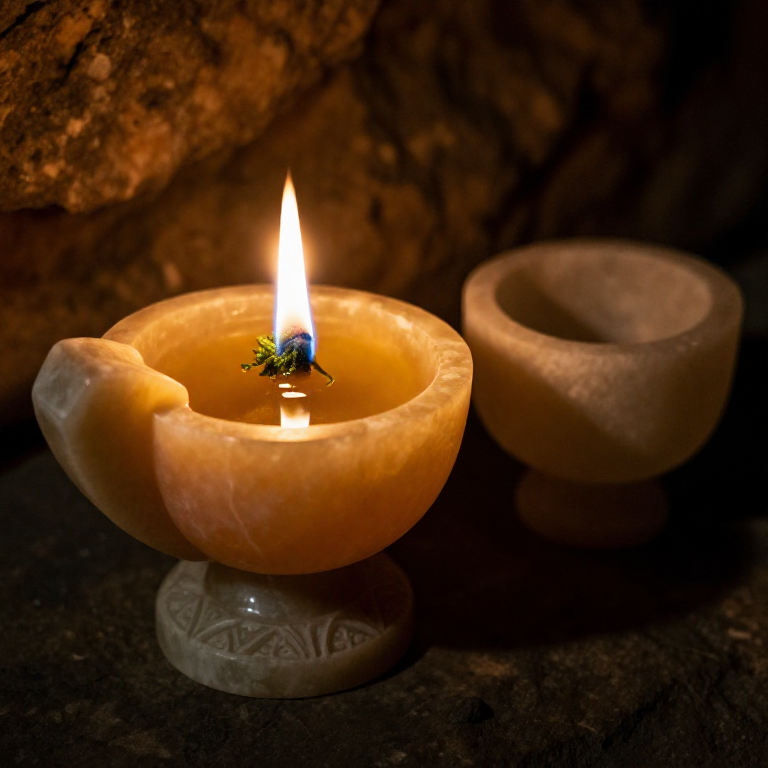
Carving a Stone Oil Lamp — Soapstone Fat Lamp with Wick Channel
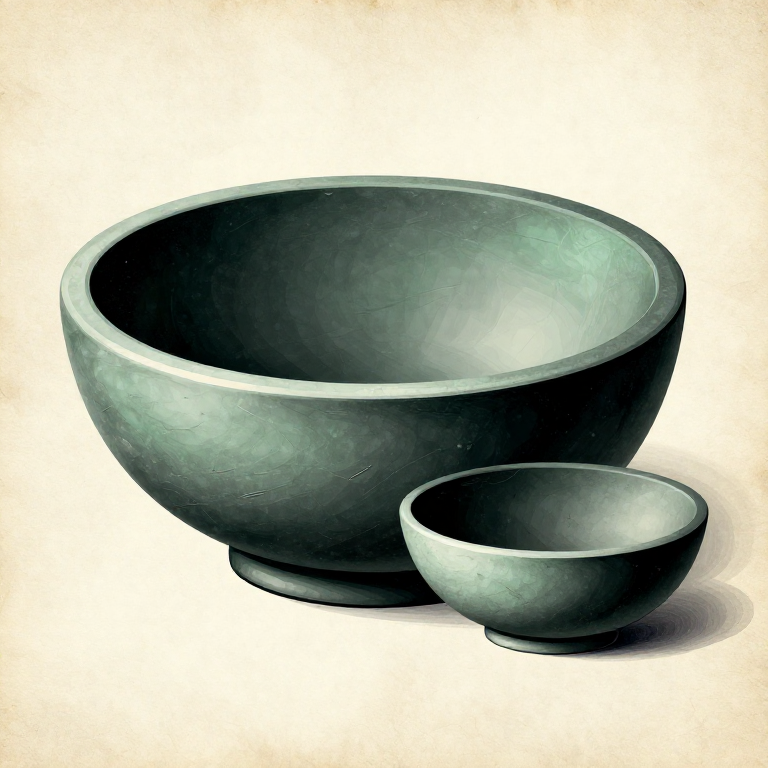
Stone oil lamps are among the oldest lighting devices known, with examples carved from soapstone (steatite) dating back over 40,000 years in Upper Palaeolithic Europe and continuing in use among Arctic peoples into the 20th century. Unlike clay oil lamps, stone lamps are virtually indestructible — they cannot crack from thermal shock, they absorb and radiate heat steadily, and they last generations. Soapstone is the ideal material because it rates only 1 to 2 on the Mohs hardness scale, making it soft enough to carve with flint tools, yet it is dense and non-porous, so it holds liquid fat without seeping. The Inuit qulliq lamp demonstrates the pinnacle of this technology: a shallow soapstone bowl filled with rendered seal fat with a wick of dried arctic cotton grass along one edge. This blueprint teaches the fundamental technique of hollowing a soapstone blank into a shallow bowl with a dedicated wick channel, suitable for burning any rendered animal fat (tallow, lard, or fish oil) with a plant-fibre wick.
Дунд шат
4-6 hours
Зааварчилгаа
1
1
Select a Soapstone Blank
Select a Soapstone Blank
Choose a piece of soapstone (steatite) approximately 15 cm long, 10 cm wide, and 5 cm thick. Soapstone has a distinctive greasy or soapy feel and can be scratched with a fingernail. Test by pressing your thumbnail into the surface — it should leave a visible mark. Avoid pieces with visible veins of harder mineral inclusions (quartz or pyrite) as these will resist carving and cause uneven work.
Materials for this step:
 Soapstone1 ширхэг
2
2
Rough Shape the Exterior
Rough Shape the Exterior
Using a hammerstone, carefully chip away excess material from the exterior to form a rough oval shape approximately 14 cm by 9 cm. Work with controlled strikes along the edges — soapstone is soft but can fracture along hidden grain lines if struck too hard. Leave the bottom slightly convex so the lamp sits stable on uneven surfaces.
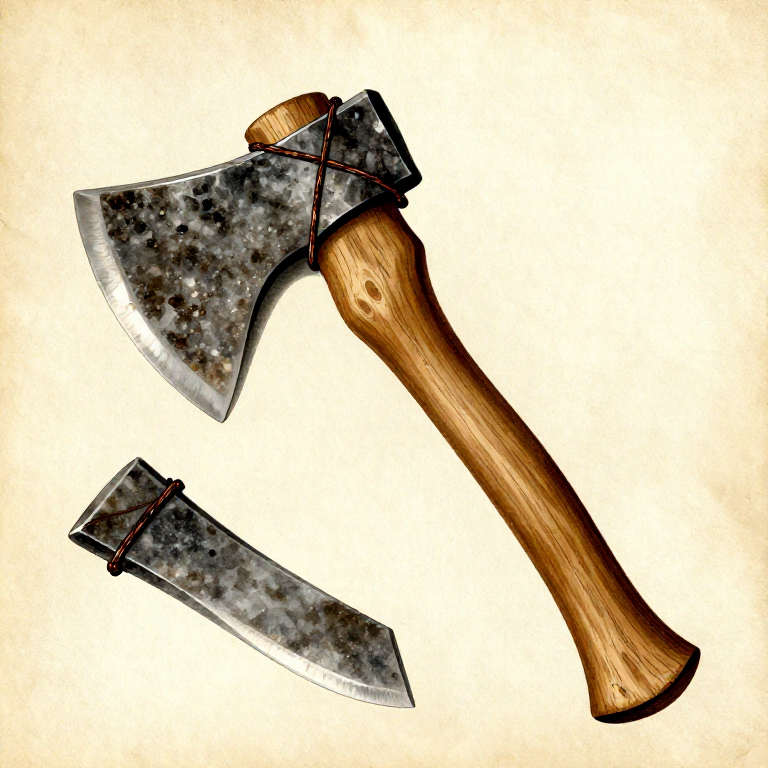
Tools needed:
 Hammerstone
3
3
Mark the Bowl Depression
Mark the Bowl Depression
Using a sharp flint point, scratch an oval outline on the top surface of the soapstone blank, leaving a rim of at least 15 mm on all sides. The bowl cavity should measure approximately 10 cm by 6 cm. Mark one narrow end with a notch — this is where the wick channel will be carved.
Tools needed:
 Flint Nodule
4
4
Begin Hollowing with a Flint Scraper
Begin Hollowing with a Flint Scraper
Using a sturdy flint scraper, gouge out material from the centre of the marked oval. Apply firm downward pressure and scrape toward you, removing thin curls of soapstone with each stroke. Work from the centre outward to avoid chipping the rim. Soapstone carves easily — each stroke should remove a visible ribbon of material.
Tools needed:
Flint Nodule5
5
Deepen the Bowl Cavity
Deepen the Bowl Cavity
Continue scraping and gouging to deepen the bowl to approximately 20 to 25 mm. The bottom should be slightly concave with smooth, even walls that taper from the rim downward. Check depth by inserting a finger — you need enough volume to hold approximately 50 to 80 ml of liquid fat. Keep the walls at least 10 mm thick to prevent cracking.
Tools needed:
Flint Nodule6
6
Carve the Wick Channel
Carve the Wick Channel
At the marked end of the bowl, carve a shallow groove (the wick channel) approximately 8 mm wide and 5 mm deep, extending from the bowl cavity to the outer rim edge. This channel holds the wick in position and allows the wick to rest partly in the fat and partly exposed to air. The channel should slope slightly downward toward the bowl so melted fat flows back into the reservoir.
Tools needed:
Flint Nodule7
7
Smooth the Bowl Interior
Smooth the Bowl Interior
Using a piece of sandstone, sand the entire interior of the bowl with circular motions. Remove all gouge marks and rough patches. A smooth interior is essential — rough surfaces trap debris that contaminates the fat and produces a smoky, foul-smelling flame. Work until the surface feels uniformly smooth to the fingertip.
Tools needed:
 Sandstone
8
8
Smooth and Shape the Exterior
Smooth and Shape the Exterior
Sand the exterior of the lamp with sandstone to remove all chisel marks and create a finished appearance. Round all edges so the lamp is comfortable to pick up and carry. Flatten the bottom slightly by rubbing it in circles on a flat sandstone surface to ensure the lamp sits level without rocking.
Tools needed:
Sandstone9
9
Season the Lamp with Tallow
Season the Lamp with Tallow
Rub a small amount of rendered tallow (approximately 10 g) into the bowl interior and wick channel. Let it soak in for 30 minutes. This seasoning fills the micro-pores in the soapstone surface, creating a non-stick layer that prevents fat from being absorbed into the stone. Wipe off any excess with a soft piece of leather.
Materials for this step:
 Tallow10 г
10
10
Prepare a Plant Fibre Wick
Prepare a Plant Fibre Wick
Twist a wick from dried plant material — cattail fluff, milkweed seed fibres, dried moss, or twisted bark inner fibres all work. The wick should be approximately 8 cm long and 5 to 6 mm in diameter. A loosely twisted wick draws fat more effectively than a tight one. Avoid using green plant material as the moisture will cause sputtering.
Materials for this step:
 Cordage1 ширхэг
11
11
Fill the Bowl with Rendered Fat
Fill the Bowl with Rendered Fat
Fill the bowl cavity approximately three-quarters full with rendered tallow, lard, or any clean animal fat. Solid fat can be placed as chunks — the heat from the flame will melt it as the lamp burns. Do not overfill; the fat level must remain below the wick channel rim to prevent overflow when the fat liquefies.
Materials for this step:
Tallow50 г12
12
Set the Wick and Light the Lamp
Set the Wick and Light the Lamp
Lay the prepared wick along the wick channel with one end submerged in the fat pool and approximately 10 mm extending past the rim edge. Allow the wick to absorb fat by capillary action for 2 to 3 minutes. Light the exposed end with an ember or burning splint. The flame should be steady and nearly smokeless — a smoking flame means the wick is too long or the fat is impure. Trim the wick shorter if needed. A well-made soapstone lamp burning clean tallow produces a warm, steady light for 6 to 8 hours on a single filling.
Материал
3- 1 ширхэгPlaceholder
- Placeholder
Connected Blueprint Materials
Холбоотой загварууд
Эдгээр загварууд мэдлэг хуваалцдаг — арга техник, материал эсвэл зарчим
Related blueprints
Other builds that share materials, tools, or techniques with this one.

Making a Stone Chisel — Splitting and Grooving Toolstoneworking
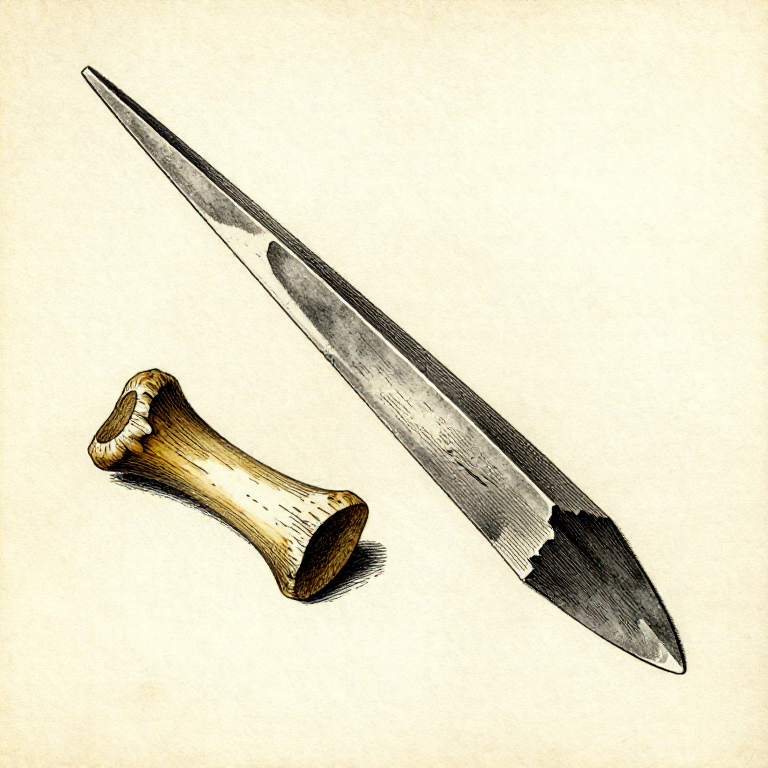
Hafting Stone Tools — Attaching Blades to Handles with Pitch and Sinewstoneworking
Carving a Stone Bowl by Pecking and Grinding — Soapstone Vesselstoneworking
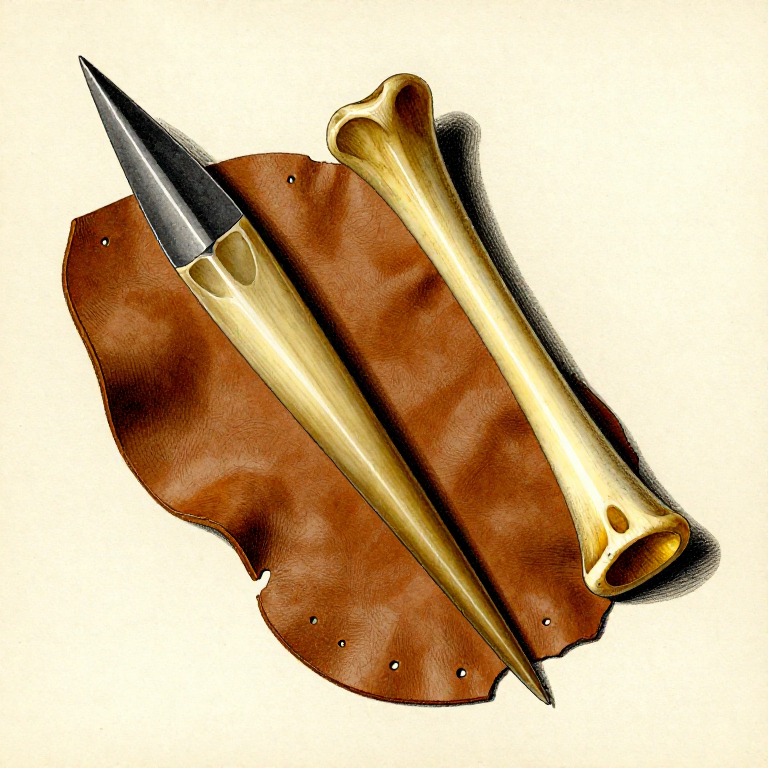
Making a Bone Awl — Piercing Tool for Sewing and Basketrystoneworking
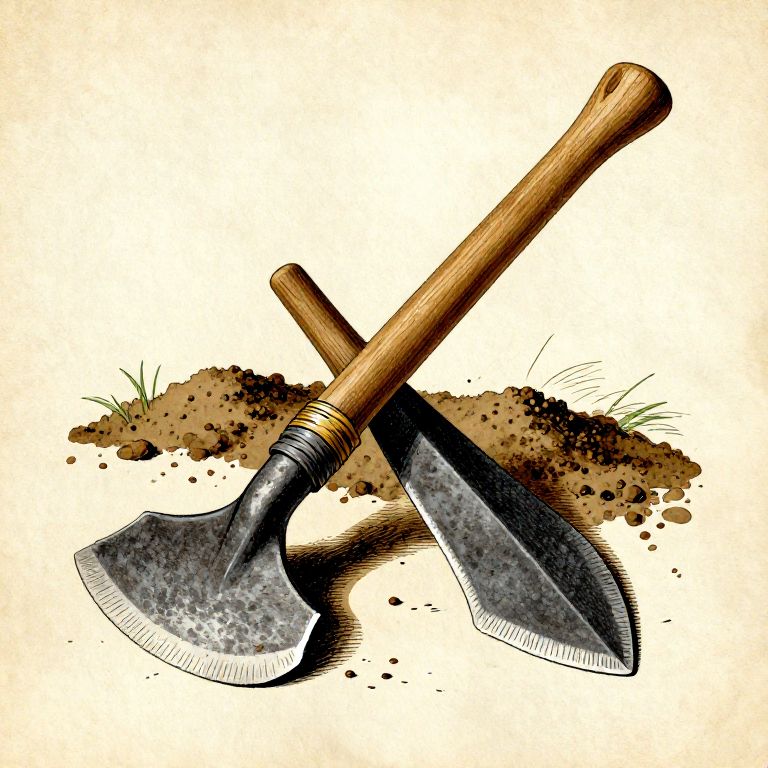
Making a Stone Hoe — The First Agricultural Toolstoneworking
Making a Stone Burin — The Engraving Chisel That Enabled Bone and Antler Workstoneworking
CC0 Нийтийн домэйн
Энэ загвар CC0 дор гаргагдсан. Та зөвшөөрөл авахгүйгээр хуулах, өөрчлөх, түгээх, ашиглах боломжтой.
Загвараар дамжуулан бүтээгдэхүүн худалдаж авч Бүтээгчийг дэмжээрэй Бүтээгчийн шимтгэл Борлуулагчаар тогтоосон, эсвэл энэ загварын шинэ хувилбар үүсгэж орлогоо хуваахын тулд өөрийн загварт холбоос болгон оруулна уу.