


Casting a Bronze Socketed Spearhead — Bivalve Mould Method
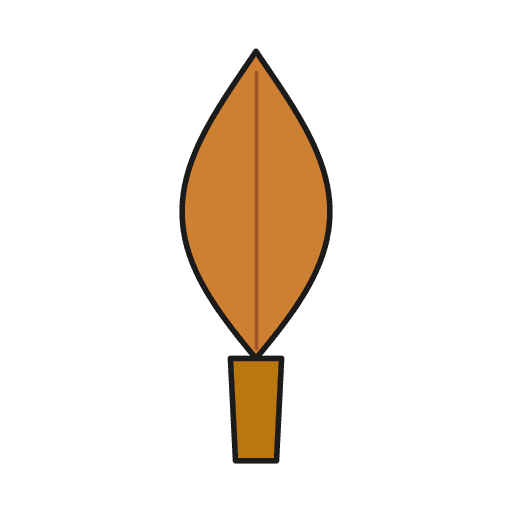
The socketed spearhead was a major advance over the flat tanged point — the hollow socket allowed the shaft to be inserted directly into the head, creating a stronger and more aerodynamic weapon. This design appeared across the Bronze Age world from approximately 2000 BCE and remained in use for over a thousand years.
Creating the socket requires a bivalve mould with a clay core inserted between the two stone halves. The core occupies the space where the socket will be, so when the bronze solidifies around it and the core is broken out, a hollow tube remains. This is one of the earliest examples of core-casting — a technique that later evolved into the lost-wax process for complex hollow sculptures.
The leaf-shaped blade is cast with a raised midrib for rigidity, then the edges are cold-hammered and ground sharp. Two small holes at the socket base allow a pin or binding to lock the shaft in place.
Instrucciones
Prepare the bivalve mould
Prepare the bivalve mould
Materiales para este paso:
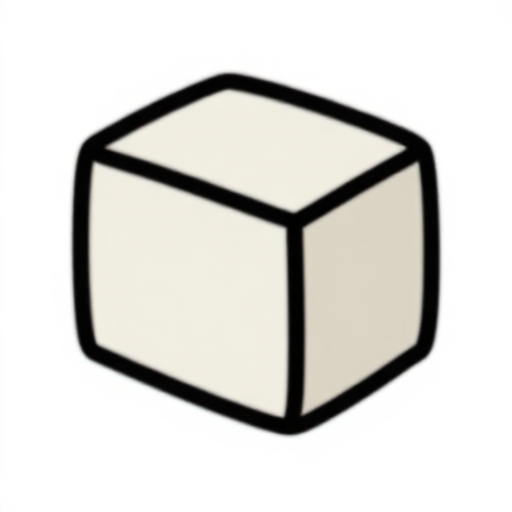 Bloque de esteatita2 piezas
Form the clay core for the socket
Form the clay core for the socket
Materiales para este paso:
 Arcilla refractaria200 g
 Arena fina100 g
Assemble the mould with core
Assemble the mould with core
Materiales para este paso:
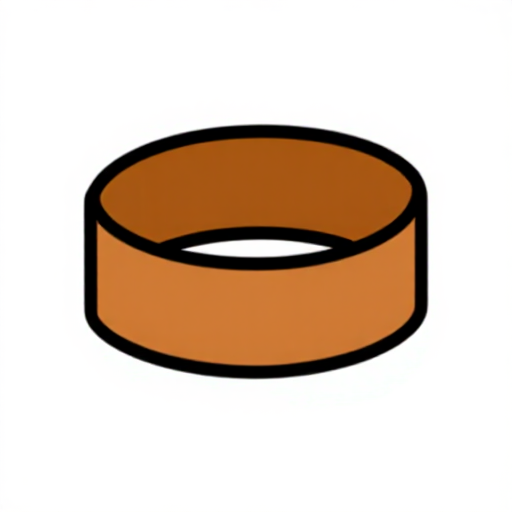 Tiras de cuero crudo1 m
Pre-heat the assembled mould
Pre-heat the assembled mould
Melt and pour the bronze
Melt and pour the bronze
Materiales para este paso:
 Carbón vegetal4 kg
Herramientas necesarias:
 Tenazas para crisol
Cool and separate the mould halves
Cool and separate the mould halves
Remove the clay core
Remove the clay core
Herramientas necesarias:
 Punta de asta
Remove sprue and grind the parting line
Remove sprue and grind the parting line
Herramientas necesarias:
 Arenisca (abrasiva)
Cold-hammer and sharpen the blade edges
Cold-hammer and sharpen the blade edges
Herramientas necesarias:
 Percutor de piedra
 Losa de piedra plana
 Piedra de afilar
Drill the rivet holes and haft
Drill the rivet holes and haft
Materiales
6- 2 piezasMarcador de posición
- 200 gMarcador de posición
- 100 gMarcador de posición
- Marcador de posición
- 4 kgMarcador de posición
- 1 piezaMarcador de posición
Herramientas requeridas
6- Marcador de posición
- Marcador de posición
- Marcador de posición
- Marcador de posición
- Marcador de posición
- Marcador de posición
Materiales de Blueprints conectados
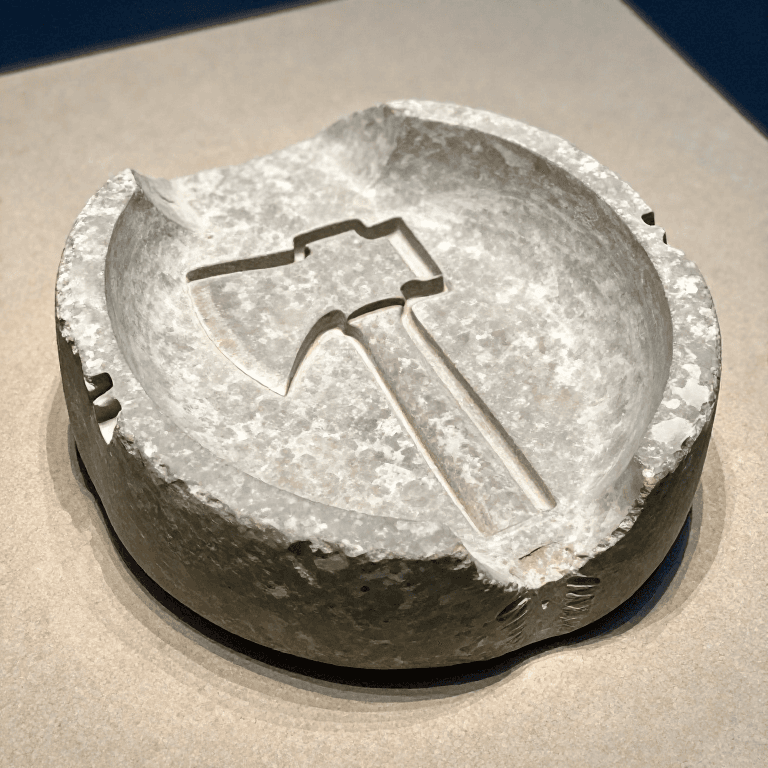
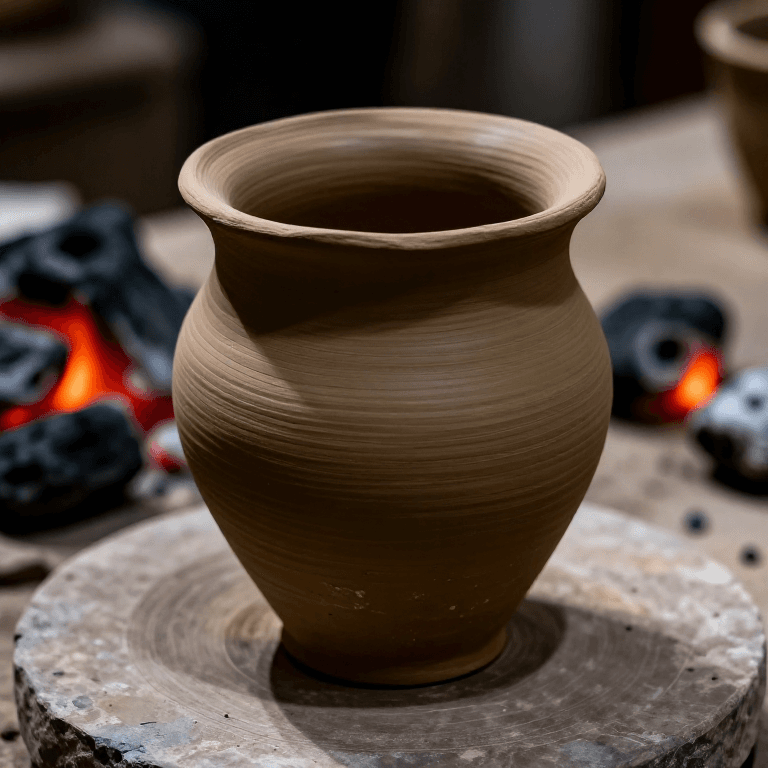
Este plano hace
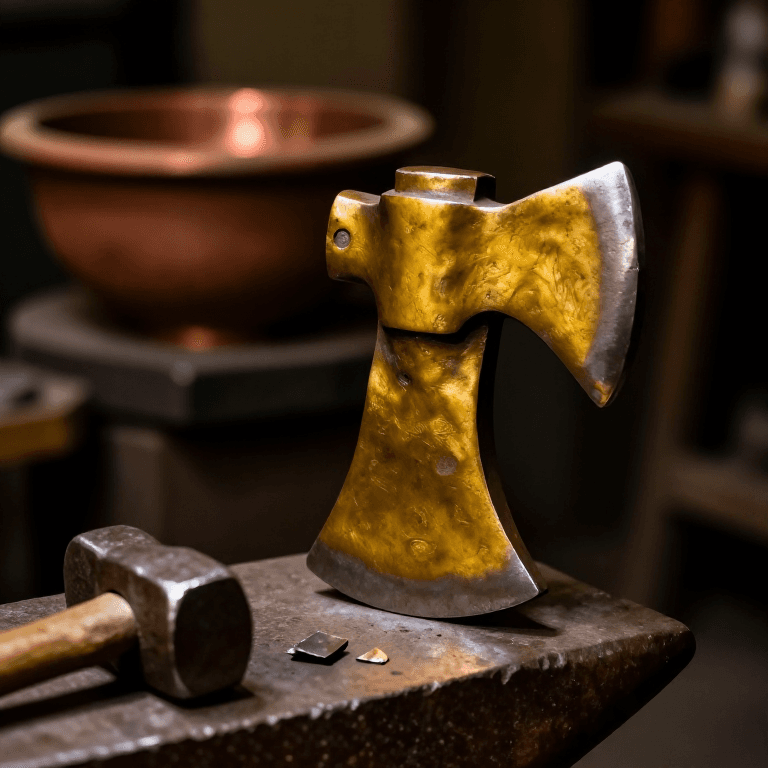
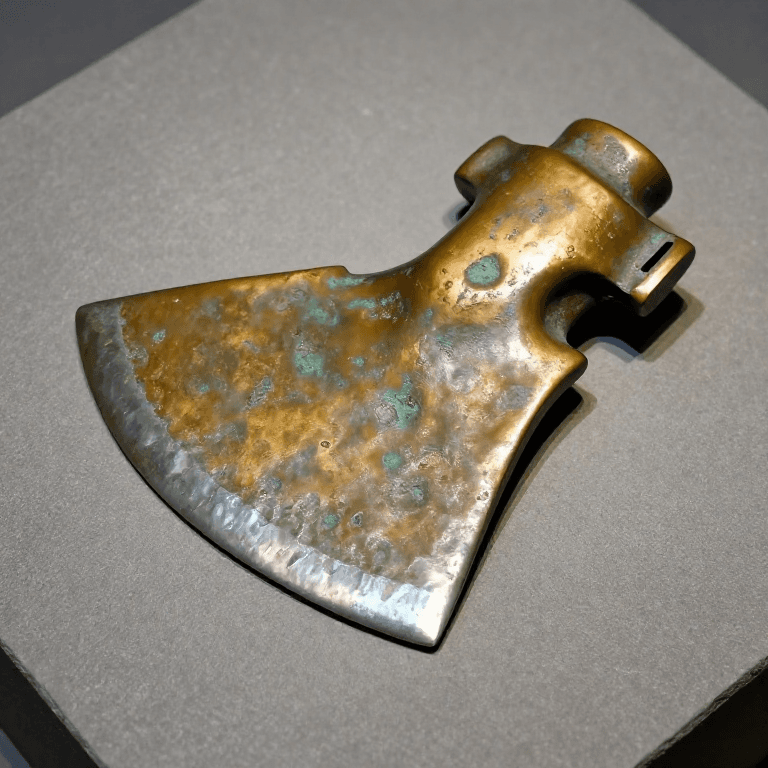
Blueprints relacionados
Estos blueprints comparten conocimiento — técnicas, materiales o principios
CC0 Dominio público
Este Blueprint se publica bajo CC0. Eres libre de copiar, modificar, distribuir y usar este trabajo para cualquier propósito, sin pedir permiso.
Apoya al Maker comprando productos a través de su Blueprint, donde gana una Comisión del Maker establecida por los vendedores, o crea una nueva iteración de este Blueprint e inclúyela como conexión en tu propio Blueprint para compartir ingresos.