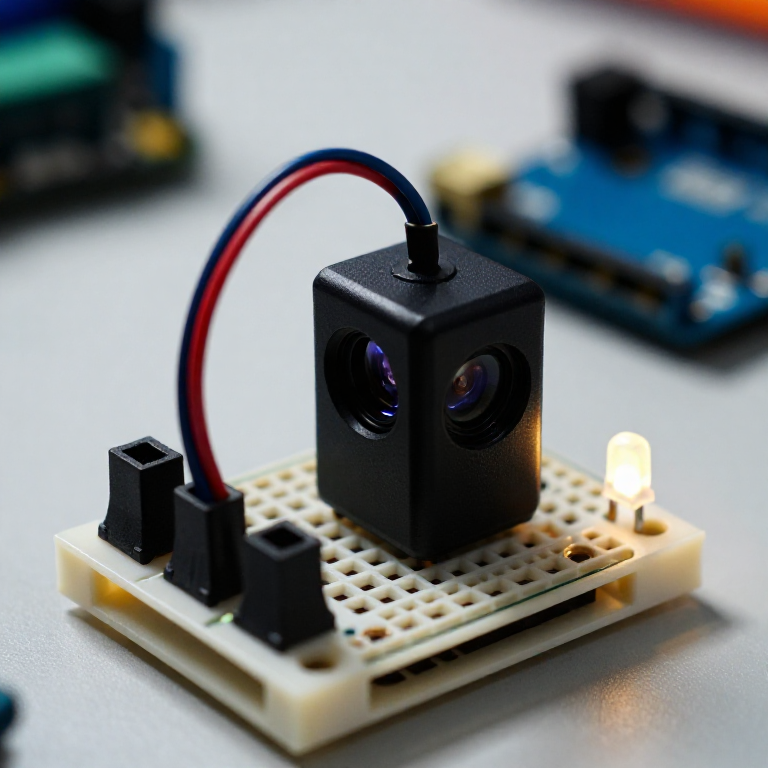


Building an Infrared Distance Sensor
Measure distance with light. A Sharp infrared sensor bounces a beam off an object and reports, as a voltage, the angle it returns at — closer objects give a higher reading. The Arduino turns that into an approximate distance and lights an LED when something comes near: a touchless switch, a hand-wave trigger, or a robot's eyes. Unlike the ultrasonic sensor, this uses infrared light, works at short range, and makes no sound.
Instrucciones
Wire the sensor and LED
Wire the sensor and LED
The Sharp sensor has a 3-wire cable: VCC (red) to Arduino 5V, GND (black) to GND, and signal (white or yellow) to A0. On the breadboard, wire an LED from pin 7 through a 330 Ω resistor to GND (long leg to the pin).
Materiales para este paso:
 Arduino Uno R31 pieza
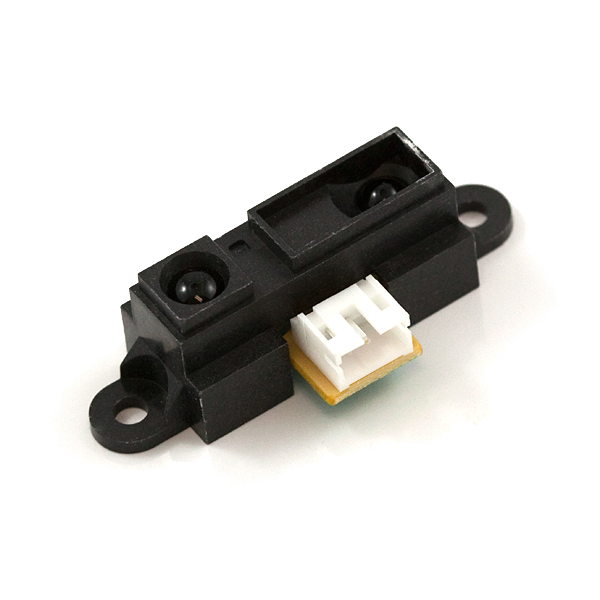 Infrared Proximity Sensor - Sharp GP2Y0A21YK1 pieza
 LED de 5 mm1 pieza
 Resistencia de 330 ohmios1 paquete
 Placa de pruebas1 pieza
 Cables de puente1 paquete
Connect and open the IDE
Connect and open the IDE
Plug the Arduino into your computer with the USB cable, open the Arduino IDE, and select Arduino Uno and its serial port.
Herramientas necesarias:
 Ordenador con el IDE de Arduino
 Cable USB-B
Upload the distance sketch
Upload the distance sketch
Paste this sketch and upload, then open the Serial Monitor. It reads the sensor, estimates the distance, and lights the LED when something is within 20 cm.
Test and understand the curve
Test and understand the curve
Open the Serial Monitor and move your hand between about 10 and 80 cm — the printed distance should track it, and the LED lights inside 20 cm. Two things to know: below ~10 cm the reading becomes ambiguous (the sensor's curve folds back), and the output is non-linear, so for real accuracy note the raw value at a few known distances and fit your own curve.
Put it to work
Put it to work
Use it as a touchless switch (wave to trigger), a shelf or drawer 'is-it-open' sensor, or an obstacle detector for a small robot. Change NEAR_CM to set the trigger distance, or swap in the short-range (4–30 cm) or long-range (20–150 cm) Sharp sensor for a different span.
Materiales
6- Marcador de posición
- Infrared Proximity Sensor - Sharp GP2Y0A21YK10% de comisión1 piezaMX$250.66
- Marcador de posición
- 1 paqueteMarcador de posición
- Marcador de posición
- Marcador de posición
Herramientas requeridas
3- Marcador de posición
- 1 vendor sell this, none ship to you yetMarcador de posición
- 1 vendor sell this, none ship to you yetMarcador de posición
Blueprints relacionados
Estos blueprints comparten conocimiento — técnicas, materiales o principios


CC0 Dominio público
Este Blueprint se publica bajo CC0. Eres libre de copiar, modificar, distribuir y usar este trabajo para cualquier propósito, sin pedir permiso.
Apoya al Maker comprando productos a través de su Blueprint, donde gana una Comisión del Maker establecida por los vendedores, o crea una nueva iteración de este Blueprint e inclúyela como conexión en tu propio Blueprint para compartir ingresos.