ARTE
BELLEZA Y BIENESTAR
ARTESANÍA
CULTURA E HISTORIA
ENTRETENIMIENTO
MEDIO AMBIENTE
COMIDA Y BEBIDAS
INGENIERÍA INVERSA
CIENCIAS
DEPORTES
TECNOLOGÍA
TECNOLOGÍA VESTIBLE



Clamping Pressure: Enough, Even, and Not Too Much
Clamps do three jobs: bring the surfaces into contact, squeeze the glue film thin, and hold everything still while it cures. None of those needs enormous force.
Too little and the film stays thick and the joint is weak. Too much and you squeeze the glue out entirely — a STARVED joint, which is the one failure that looks like you did everything right. Cranking harder is the instinctive response to doubt and it is the wrong one.
The harder problem is EVENNESS. One clamp in the middle of a wide panel presses a small area hard and the edges not at all, and that is what cauls are for.
Intermedio
3 hours
Instrucciones
1
1
Snug, then a bit more — and watch the squeeze-out
Snug, then a bit more — and watch the squeeze-out
Tighten until the joint closes and a continuous fine bead of glue appears along the whole line, then give it a little more and stop.
That continuous bead is the indicator you are looking for. A bead along part of the joint and nothing along the rest means the pressure is uneven or the fit is poor. No bead at all means either too little glue or too little pressure — and you cannot tell which after the clamps are on, which is why the dry run matters.
Heavy glue running out in streams means too much pressure, too much glue, or both. The joint is being starved while it looks generous.
Materiales para este paso:
 Tabla de madera blanda seca2 piezas
 Cola blanca para madera (PVA)1 pieza
Herramientas necesarias:
 Sargento
 Gato de tornillo en C
 Brocha para cola
2
2
Cauls and blocks: spreading the pressure
Cauls and blocks: spreading the pressure
A clamp presses hard in a small circle. Put a wooden block under the jaw and it spreads over the block; put a long CAUL across the work and it spreads along the whole caul.
A caul is made very slightly convex on its working edge — a millimetre or two of curve over its length. Clamped at the ends, the high middle touches first and the curve flattens as the clamps tighten, which presses the centre of the panel as firmly as the edges. A straight caul presses the ends and leaves the middle open.
Blocks also stop the jaws marking the work, exactly as soft jaws do in a vice. Keep a box of scrap offcuts by the bench for this and it becomes automatic.
Materiales para este paso:
 Tabla de madera dura2 piezasTabla de madera blanda seca1 pieza
Herramientas necesarias:
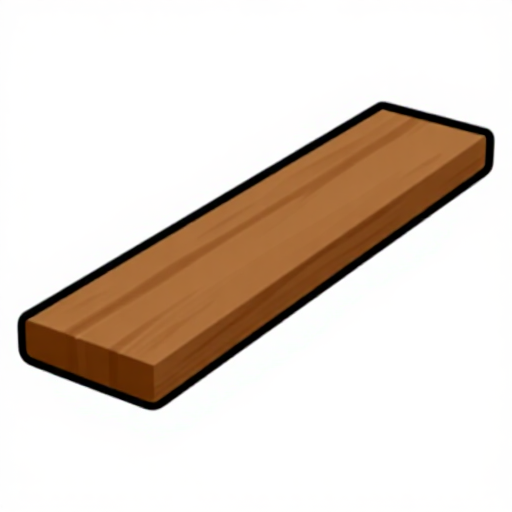 Listón repartidor de presión
 Tacos de apriete de maderaSargento
3
3
Clamp square, and check the diagonals
Clamp square, and check the diagonals
A clamp applies force along its bar. If that line is not square to the joint, it pushes the assembly sideways — and a frame that was square dry comes out of the clamps a parallelogram.
Measure both diagonals of any rectangular assembly while the glue is still wet. If they differ, the frame is out of square, and angling the clamp slightly along the longer diagonal will pull it back. Check again after adjusting.
Do this within the open time, not after. A frame that cures out of square is out of square permanently, and every part fitted to it afterwards inherits the error — which is how a cabinet ends up with a door that will not close.
Materiales para este paso:
Tabla de madera dura4 piezasCola blanca para madera (PVA)1 piezaHerramientas necesarias:
Sargento Escuadra fija
 Regla de trazar
4
4
How long to leave it: clamp time is not cure time
How long to leave it: clamp time is not cure time
CLAMP TIME is how long before the joint can be unclamped and handled gently. CURE TIME is how long before it reaches full strength. For PVA those are roughly thirty minutes and twenty-four hours.
Unclamping at clamp time is fine, but do not machine, stress or finish the joint until it has cured. A joint planed flush an hour after gluing can sink slightly as the glue line finishes shrinking, and the depression shows up under a finish weeks later.
Cold slows everything. Below about 10 C most PVAs do not cure properly at all — they chalk and stay weak — so a winter workshop needs either heat or an adhesive rated for it. Leaving it longer does not fix a joint that was too cold to cure.
Materiales para este paso:
Cola blanca para madera (PVA)1 piezaHerramientas necesarias:
SargentoMateriales
3- 2 piezasMarcador de posición
- 3 piezasMarcador de posición
- 4 piezasMarcador de posición
Herramientas requeridas
7- Marcador de posición
- Marcador de posición
- Marcador de posición
- Marcador de posición
- Marcador de posición
- Marcador de posición
- Marcador de posición
Blueprints relacionados
Estos blueprints comparten conocimiento — técnicas, materiales o principios
CC0 Dominio público
Este Blueprint se publica bajo CC0. Eres libre de copiar, modificar, distribuir y usar este trabajo para cualquier propósito, sin pedir permiso.
Apoya al Maker comprando productos a través de su Blueprint, donde gana una Comisión del Maker establecida por los vendedores, o crea una nueva iteración de este Blueprint e inclúyela como conexión en tu propio Blueprint para compartir ingresos.