ARTE
BELLEZA Y BIENESTAR
ARTESANÍA
CULTURA E HISTORIA
ENTRETENIMIENTO
MEDIO AMBIENTE
COMIDA Y BEBIDAS
INGENIERÍA INVERSA
CIENCIAS
DEPORTES
TECNOLOGÍA
TECNOLOGÍA VESTIBLE
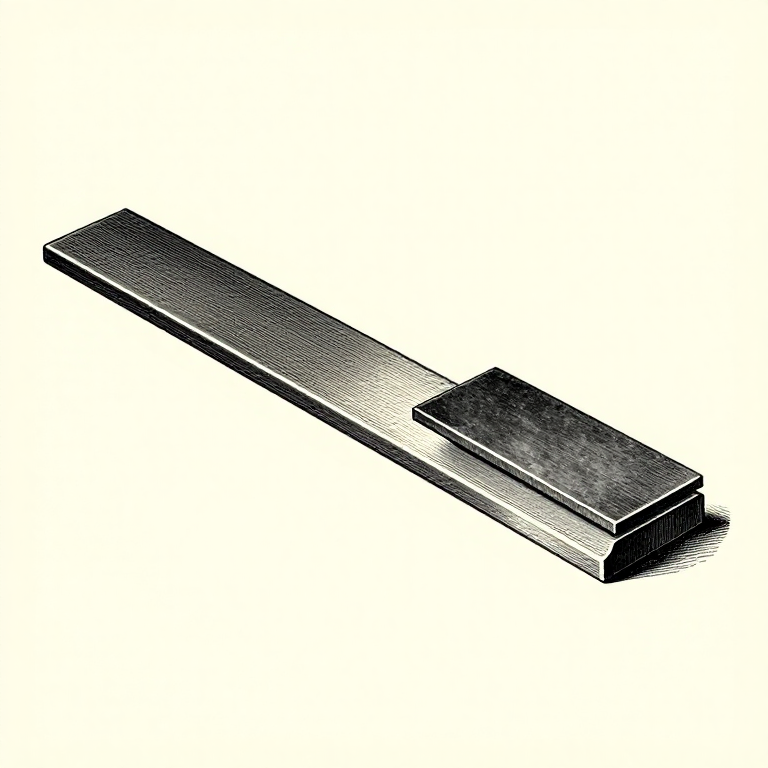


Draw-Filing: The Finish a File Can Leave
Turn the file sideways, hold it in both hands like a spokeshave, and push and pull it along the work rather than across it. That is draw-filing, and it leaves a surface a cross-filed face cannot approach.
The reason is geometry. Held sideways, the teeth meet the work almost square instead of at their cutting angle, so each takes a much finer shaving — and the scratches all run along the length of the part, where the eye reads them as a finish rather than as damage.
It is the bridge between the file and abrasive paper: a draw-filed surface is already fine enough that emery cloth has almost nothing left to do.
Intermedio
2 hours
Instrucciones
1
1
The grip, and why it is nothing like cross-filing
The grip, and why it is nothing like cross-filing
Hold the file across the work with a hand near each end, thumbs behind it, and move it along the length of the part. Both directions cut a little, though the push still does most of the work.
The pressure is far lighter than cross-filing — enough to keep the file in contact and no more. Leaning on a draw-file makes it chatter and dig, because the teeth are not presented at an angle that lets them clear a chip.
Keep the file flat on the work along its whole width. Tipping it puts all the load on one edge, which cuts a groove instead of a face and is the reason a first attempt often looks worse than what it started from.
Herramientas necesarias:
 Limas (lima de mano)
 Tornillo de banco pesado
 Barra de acero dulce
2
2
Use a smooth file, and a wide one
Use a smooth file, and a wide one
Draw-file with a single cut smooth or second cut file, and choose one wider than the face you are finishing if you can.
A wide file bridges the whole surface, so it cannot follow a dip — it cuts the high ground until the face is level. A narrow file sinks into every hollow and faithfully reproduces whatever shape was already there, which is why a small file feels like it is polishing but never gets the part straight.
A double cut file draw-files badly: the crossing rows leave a torn surface rather than a clean one. If a double cut is all you have, follow it with emery cloth wrapped around the same file.
Herramientas necesarias:
 Lima fina
 Limas de mano
3
3
Chalk the file and clean it constantly
Chalk the file and clean it constantly
Rub chalk along the file face before starting and again whenever it stops cutting cleanly. Chalk fills the gullets just enough that chips cannot wedge themselves in.
This matters far more in draw-filing than cross-filing, because a single pinned tooth drags a deep scratch down the entire length of the work — the exact surface you are trying to perfect. One trapped chip can undo twenty minutes.
Clear the file with a file card every few passes, brushing along the rows rather than across them. A quick look down the face against the light will show a pinned tooth as a bright point before it does any damage.
Materiales para este paso:
 Tiza de marcar1 pieza
Herramientas necesarias:
 Cepillo para limasLima fina
 Lupa de relojero
4
4
Finish with emery on the file, and break the edges
Finish with emery on the file, and break the edges
Wrap emery cloth around the file and repeat the same draw-filing motion. The file becomes a perfectly flat backing, which is exactly what abrasive paper needs and never has when held in the fingers.
Work up through the grades the same way the sharpening progression does — each one removing the previous scratches, changing direction slightly so you can see when they are gone. The grit rung published on Youblob covers the reasoning in full and applies unchanged here.
Finish by breaking every sharp edge with two or three light strokes of a fine file at 45 degrees. A filed edge is genuinely sharp, it cuts hands, and on a finished part a crisp tiny chamfer looks deliberate where a raw edge looks unfinished.
Herramientas necesarias:
Lima fina Tela de algodón
 Surtido de papel de lija
 Tela de esmeril
Materiales
1- 1 piezaMarcador de posición
Herramientas requeridas
10- Marcador de posición
- Marcador de posición
- Marcador de posición
- Marcador de posición
- Marcador de posición
- Marcador de posición
- Marcador de posición
- Marcador de posición
- Marcador de posición
- Marcador de posición
Blueprints relacionados
Estos blueprints comparten conocimiento — técnicas, materiales o principios
CC0 Dominio público
Este Blueprint se publica bajo CC0. Eres libre de copiar, modificar, distribuir y usar este trabajo para cualquier propósito, sin pedir permiso.
Apoya al Maker comprando productos a través de su Blueprint, donde gana una Comisión del Maker establecida por los vendedores, o crea una nueva iteración de este Blueprint e inclúyela como conexión en tu propio Blueprint para compartir ingresos.