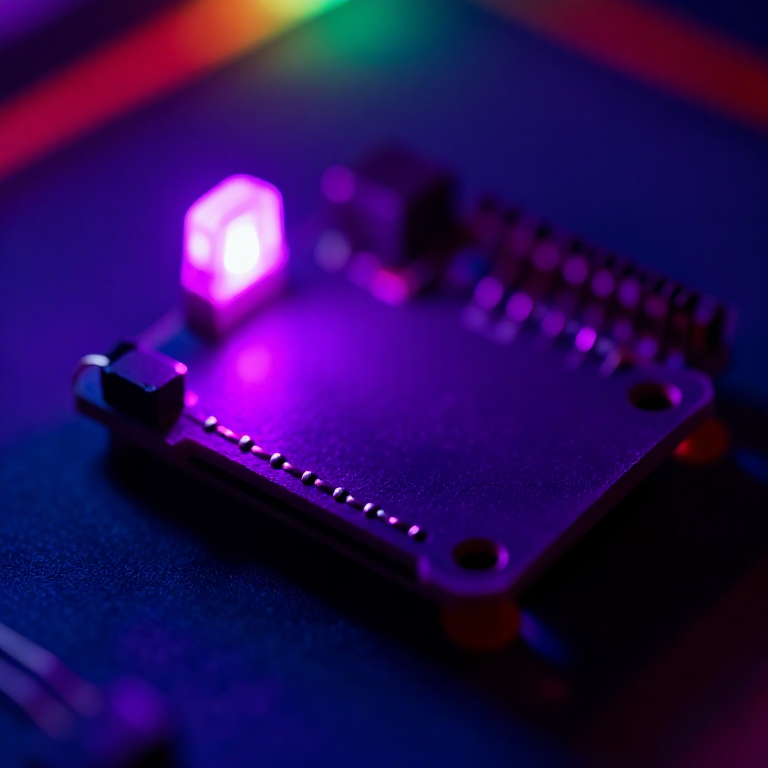


Making a Color-Changing LilyPad Patch
Sew a patch that glows in any color. A single RGB LED holds red, green and blue elements; by fading each one with the microcontroller's PWM pins you mix millions of colors and cycle through the rainbow. The e-textile version of the classic RGB colour-mixing project.
Instrucciones
Sew the board and RGB LED
Sew the board and RGB LED
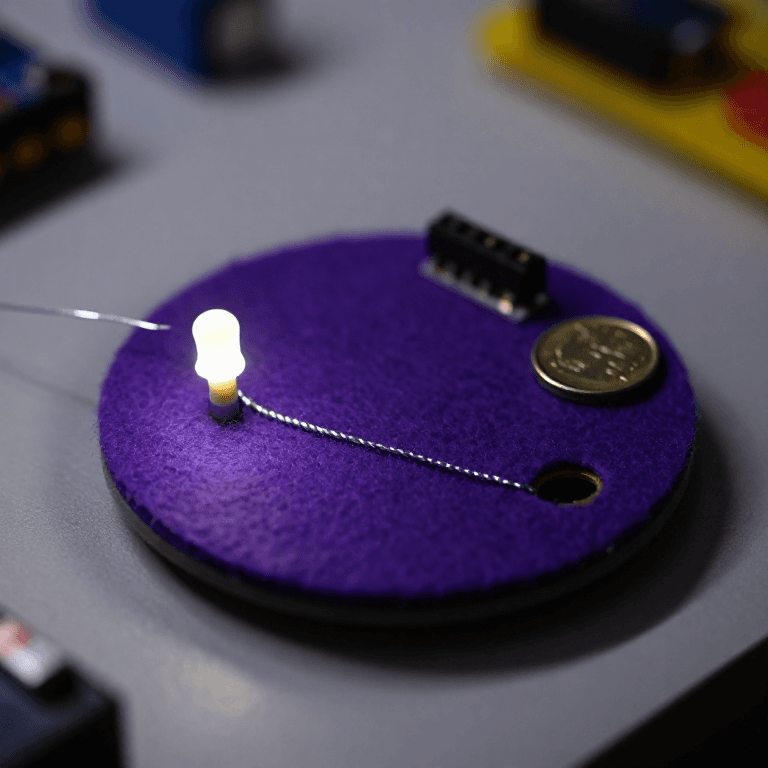
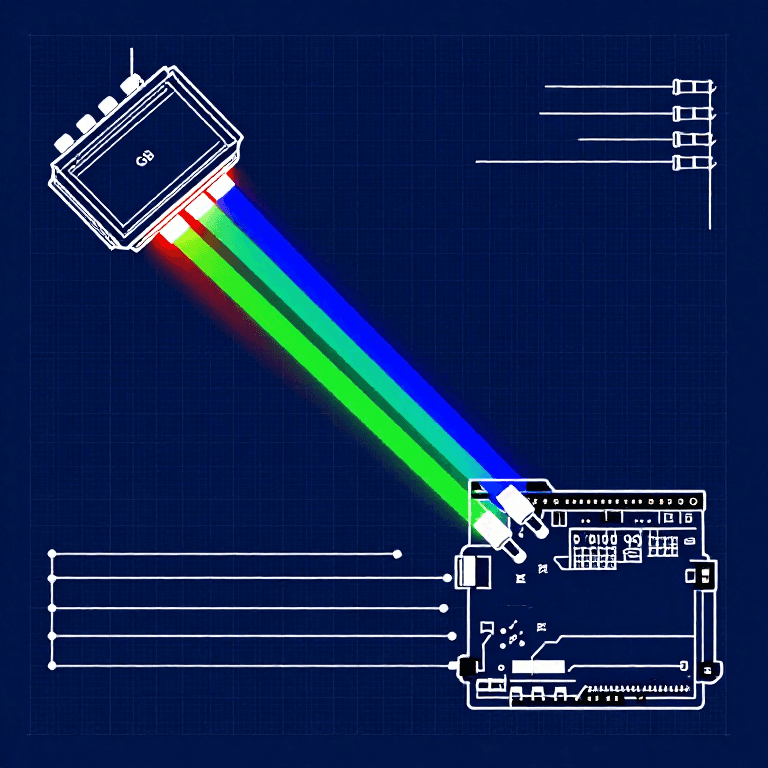
Sew a LilyPad Arduino onto felt. The RGB LED has four legs — bend each into a small loop so it can be sewn. Wire the common cathode (the longest leg) to -, and the red, green and blue legs to pins 5, 6 and 9. Keep the four lines from touching each other.
Materiales para este paso:
 LilyPad Arduino Simple Board1 pieza
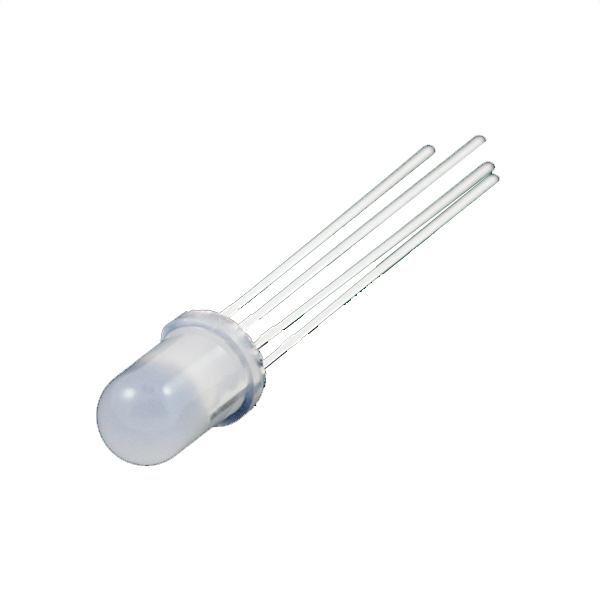 LED - RGB Diffused Common Cathode - 5mm1 pieza
 Conductive Thread - 60g (Stainless Steel)1 bobina
 Plancha de fieltro de lana1 hoja
Herramientas necesarias:
 Agujas de coser a mano
Connect the programmer
Connect the programmer
Plug the LilyPad FTDI onto the programming header and connect the USB cable. Open the Arduino IDE and select the LilyPad Arduino board and its serial port.
Herramientas necesarias:
 Ordenador con el IDE de Arduino
 LilyPad FTDI Basic Breakout - 5V
 Cable USB-B
Upload the color-mixing sketch
Upload the color-mixing sketch
Paste this sketch and upload. It fades the LED through red, green, blue and the mixes using analogWrite (PWM).
Watch it cycle, then mix your own
Watch it cycle, then mix your own
The LED fades through the colors on its own. Make your own by changing the three numbers in setColor(red, green, blue) — each 0–255. Note: at the LilyPad's lower voltage blue and green look a little dimmer than red, which is normal for RGB LEDs.
Go wireless and wear it
Go wireless and wear it
Plug a 3.7 V LiPo into the LilyPad Arduino's JST connector and switch on — the higher voltage also makes the colors brighter. Sew the felt onto a bag or costume for a colour-changing glow.
Materiales para este paso:
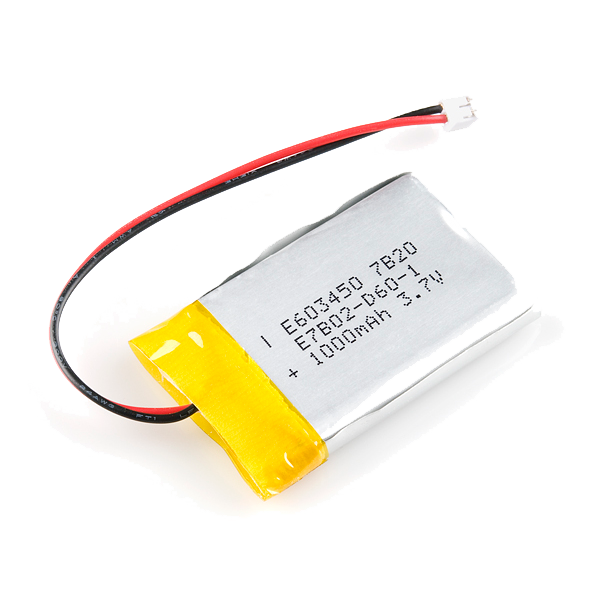 LiPo Battery 3.7V 1000mAh (JST Connector)1 pieza
Materiales
5- LilyPad Arduino Simple Board10% de comisión1 piezaMX$367.95
- LED - RGB Diffused Common Cathode - 5mm10% de comisión1 piezaMX$367.95
- Conductive Thread - 60g (Stainless Steel)10% de comisión1 bobinaMX$753.57
- Marcador de posición
- Polymer Lithium Ion Battery - 1000mAh10% de comisión1 piezaMX$179.96
Herramientas requeridas
4- Marcador de posición
- Marcador de posición
- LilyPad FTDI Basic Breakout - 5V10% de comisiónMX$269.94
- 1 vendor sell this, none ship to you yetMarcador de posición
Blueprints relacionados
Estos blueprints comparten conocimiento — técnicas, materiales o principios
CC0 Dominio público
Este Blueprint se publica bajo CC0. Eres libre de copiar, modificar, distribuir y usar este trabajo para cualquier propósito, sin pedir permiso.
Apoya al Maker comprando productos a través de su Blueprint, donde gana una Comisión del Maker establecida por los vendedores, o crea una nueva iteración de este Blueprint e inclúyela como conexión en tu propio Blueprint para compartir ingresos.