ARTE
BELLEZA Y BIENESTAR
ARTESANÍA
CULTURA E HISTORIA
ENTRETENIMIENTO
MEDIO AMBIENTE
COMIDA Y BEBIDAS
INGENIERÍA INVERSA
CIENCIAS
DEPORTES
TECNOLOGÍA
TECNOLOGÍA VESTIBLE
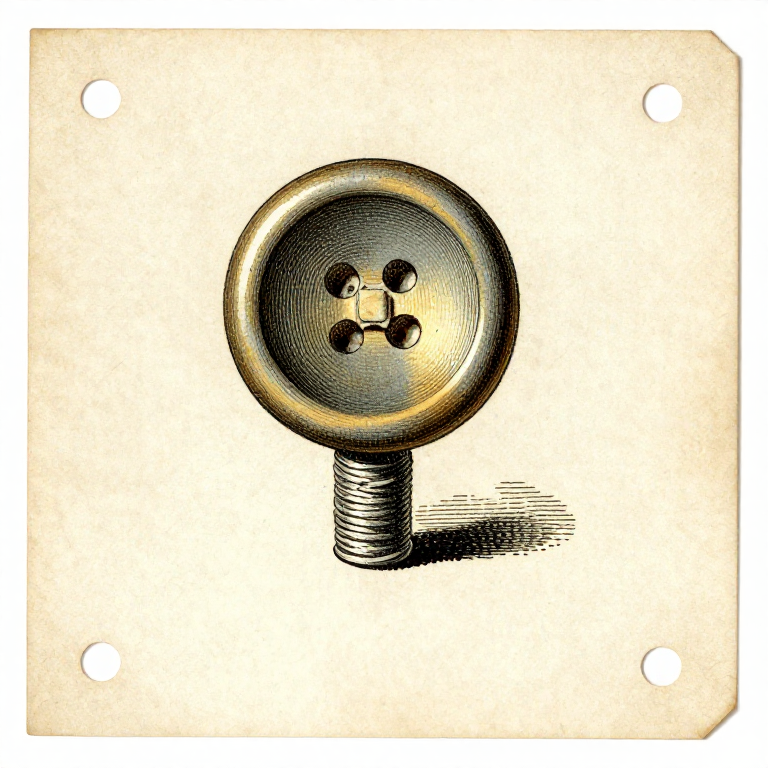


Sewing On a Button So It Stays On: The Shank Is the Whole Trick
A button sewn flat against the cloth has nowhere to sit when the buttonhole layer comes under it. It pulls, the fabric distorts, the threads take all the strain at one point, and it comes off again.
The fix is a SHANK: a short stem of thread between the button and the fabric, long enough for the other layer to fit underneath. It takes an extra fifteen seconds and it is the difference between a button that lasts years and one that falls off in a month.
This is the most-performed repair in the world and it is almost always done without the shank.
Principiante
2 hours
Instrucciones
1
1
Position it from the buttonhole, not from the old marks
Position it from the buttonhole, not from the old marks
Do up the other buttons, lay the two edges as they should sit, and push a pin through the buttonhole to mark where the button's centre belongs.
The old thread marks are where the button WAS, and if it pulled off because it was in the wrong place, putting it back there repeats the problem. The buttonhole is the authority.
For a row of new buttons, mark them all from a story stick or a gauge rather than measuring each — same reasoning as the woodworking layout rungs, and the same failure if you chain-measure them: the last one ends up visibly out.
Materiales para este paso:
 Tejido de lino1 pieza
Herramientas necesarias:
 Alfileres de costura
 Jaboncillo de sastre
 Regla para dobladillos
2
2
Double the thread, anchor it, and lay a spacer
Double the thread, anchor it, and lay a spacer
Use a doubled waxed thread for strength. Anchor it with two tiny stitches on the spot where the button goes rather than a knot, so there is no lump under the button.
Lay a pin, a matchstick or a second needle across the top of the button and sew over it. That spacer holds the stitches loose by exactly its own thickness, which is what creates the shank.
Six passes through each pair of holes is plenty. More thread is not stronger — the holes fill, the button sits crooked, and the bulk is what starts abrading the buttonhole opposite.
Materiales para este paso:
 Hilo de coser1 pieza
 Cera de abeja1 pieza
Herramientas necesarias:
 Agujas de coser a manoAlfileres de costura
 Dedal (metálico)
3
3
Make the shank and whip it
Make the shank and whip it
Pull the spacer out. The stitches are now loose, and the button lifts away from the cloth on a small bundle of threads.
Bring the needle up under the button but above the fabric and wind the thread tightly around that bundle five or six times, then take the needle through to the back and fasten off. The winding binds the loose threads into one firm stem.
Check the length against the fabric it must accommodate. A shirt needs barely any shank; a coat needs several millimetres, because the layer coming under it is thick. A shank-back button — one with a metal loop built in — already has this and is sewn down flat.
Materiales para este paso:
Hilo de coser1 piezaHerramientas necesarias:
Agujas de coser a mano Tijeras de sastre
 Lupa de relojero
4
4
Reinforce the back on anything that pulls
Reinforce the back on anything that pulls
On a coat, a waistband or any button that takes real load, sew a small flat button on the INSIDE directly behind the main one, passing the same stitches through both.
That spreads the load across the backing button instead of concentrating it in four small holes in the cloth. Without it, the usual failure is not the thread breaking at all — it is the button tearing a hole clean out of the fabric, taking the threads with it.
A patch of interfacing or a scrap of firm fabric behind the button does the same job where a backing button would show. Either way, the principle is the one from the fastener rung: spread the load rather than trusting the material at a point.
Materiales para este paso:
Tejido de lino1 piezaHilo de coser1 piezaHerramientas necesarias:
Agujas de coser a manoDedal (metálico)Materiales
3- 2 piezasMarcador de posición
- 3 piezasMarcador de posición
- 1 piezaMarcador de posición
Herramientas requeridas
7- Marcador de posición
- Marcador de posición
- Marcador de posición
- Marcador de posición
- Marcador de posición
- Marcador de posición
- Marcador de posición
Este plano hace
Blueprints relacionados
Estos blueprints comparten conocimiento — técnicas, materiales o principios
CC0 Dominio público
Este Blueprint se publica bajo CC0. Eres libre de copiar, modificar, distribuir y usar este trabajo para cualquier propósito, sin pedir permiso.
Apoya al Maker comprando productos a través de su Blueprint, donde gana una Comisión del Maker establecida por los vendedores, o crea una nueva iteración de este Blueprint e inclúyela como conexión en tu propio Blueprint para compartir ingresos.