SENI
KECANTIKAN & KESEJAHTERAAN
KRAFTANGAN
BUDAYA & SEJARAH
HIBURAN
ALAM SEKITAR
MAKANAN & MINUMAN
KEJURUTERAAN TERBALIK
SAINS
SUKAN
TEKNOLOGI
BOLEH PAKAI
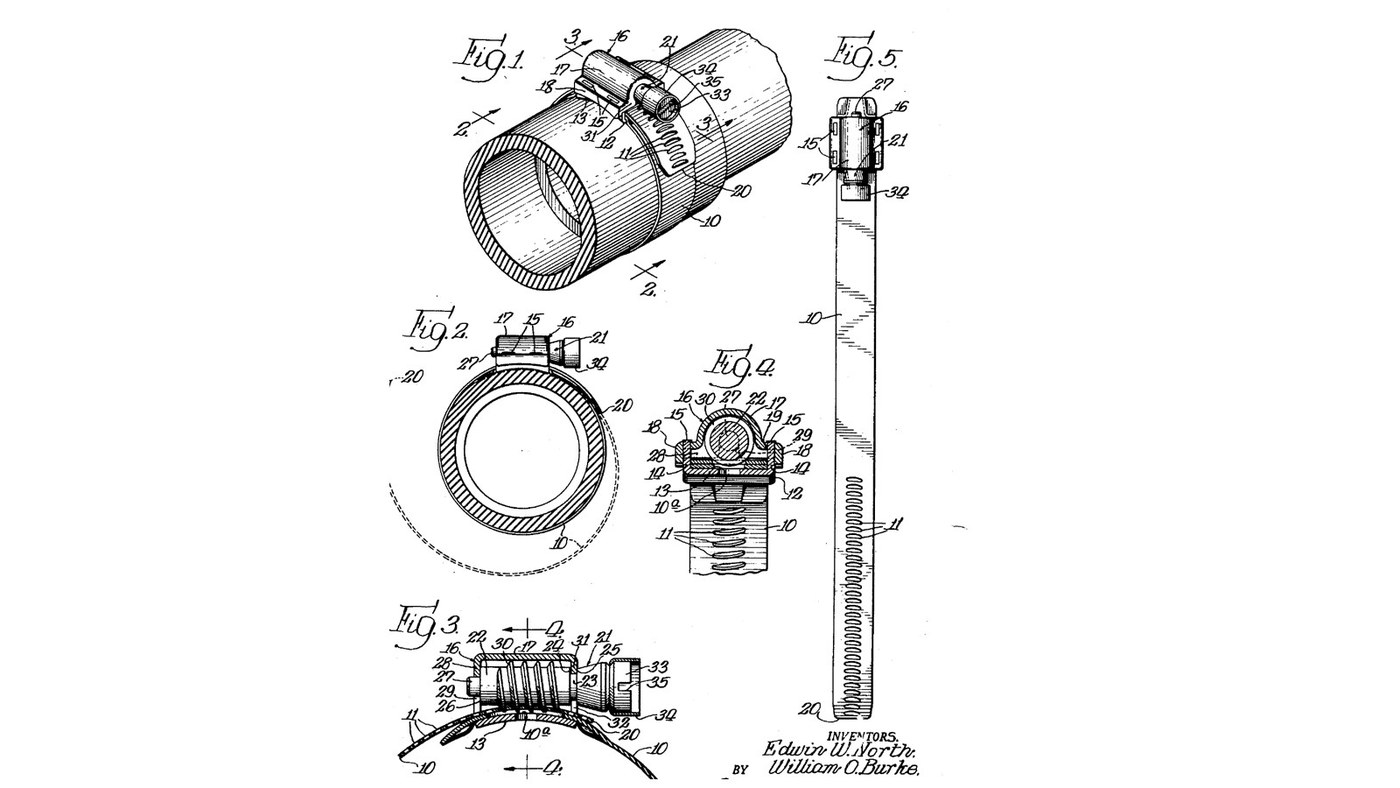


Hose-Clamp Saddle, Screw Housing and Worm Screw (North & Burke, 1945)
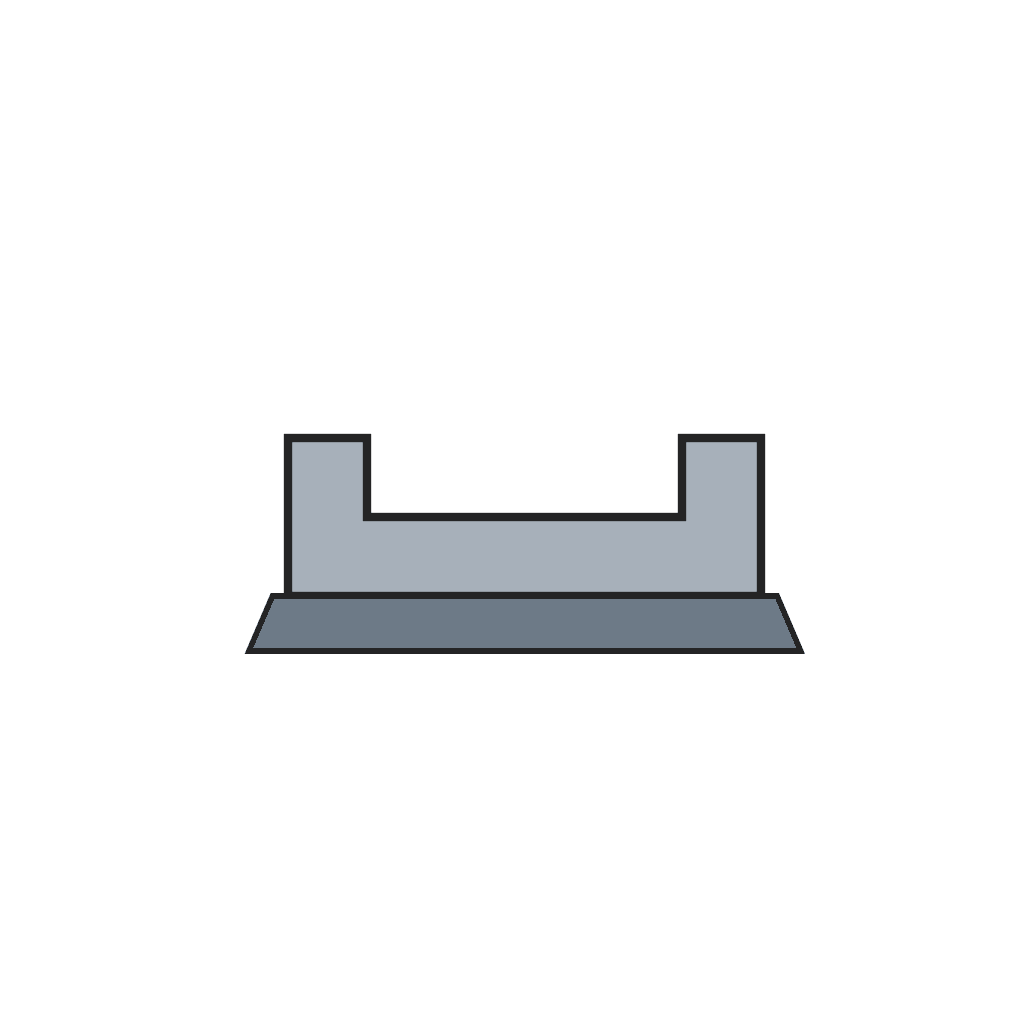
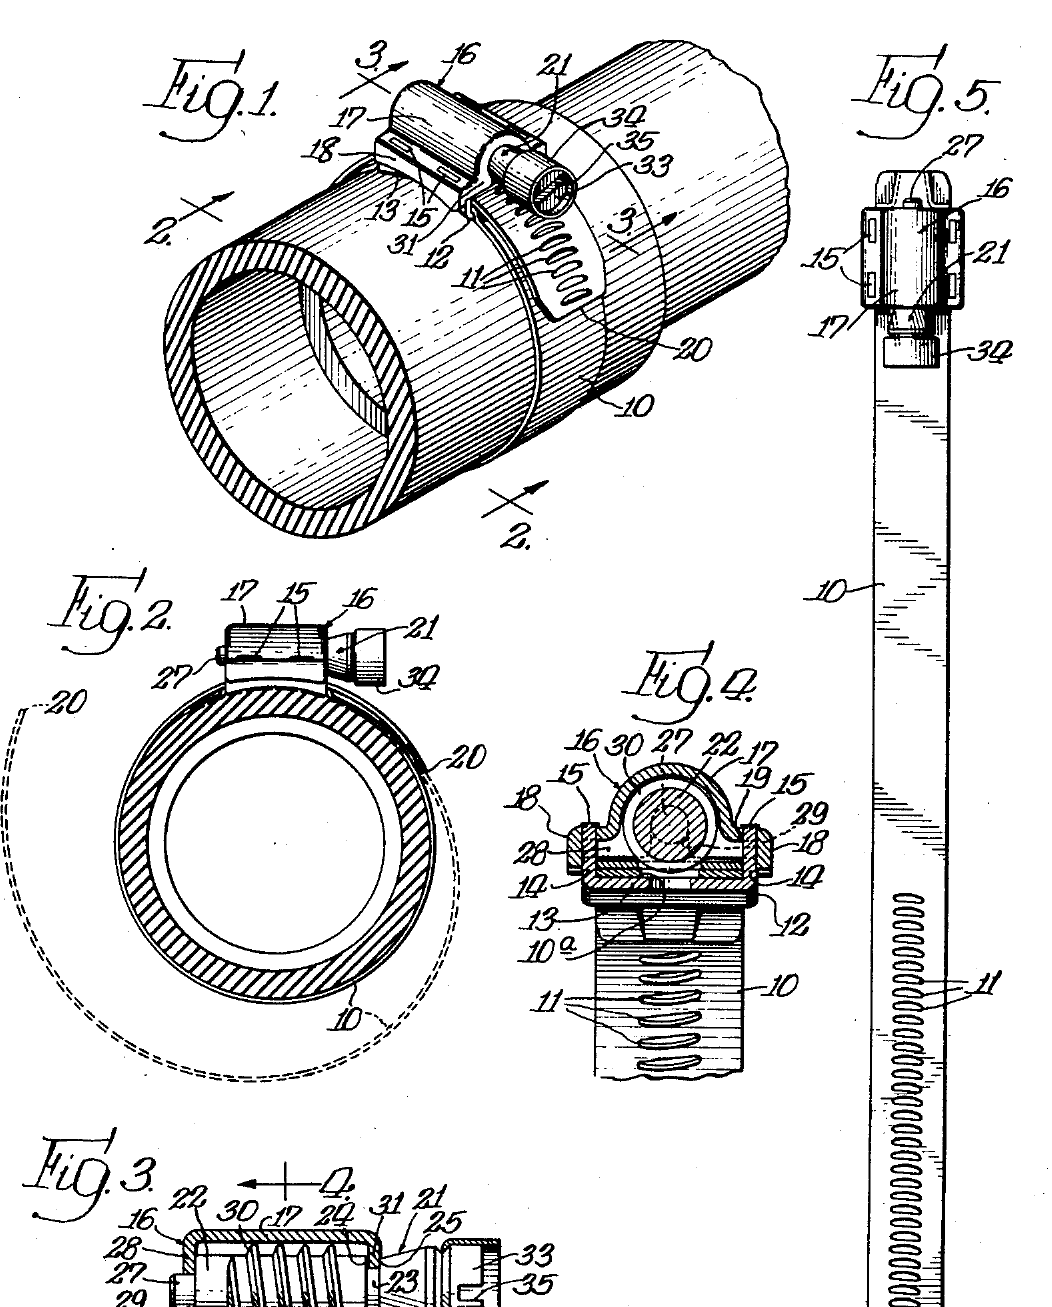
North and Burke's worm-drive hose clamp of 1945 has three small parts on the band: a U-shaped saddle welded to it, a housing that fits over the saddle as the screw's casing, held by prongs riveted through its flanges, and a screw with one continuous thread whose reduced ends sit in slots in the housing's end walls. Here they are made by hand from mild steel sheet and bar instead of being stamped; method and sizes are ours.
The picture: North and Burke's patent drawing, US 2,386,629.
Lanjutan
1 day
Arahan
1
1
Saddle
Saddle
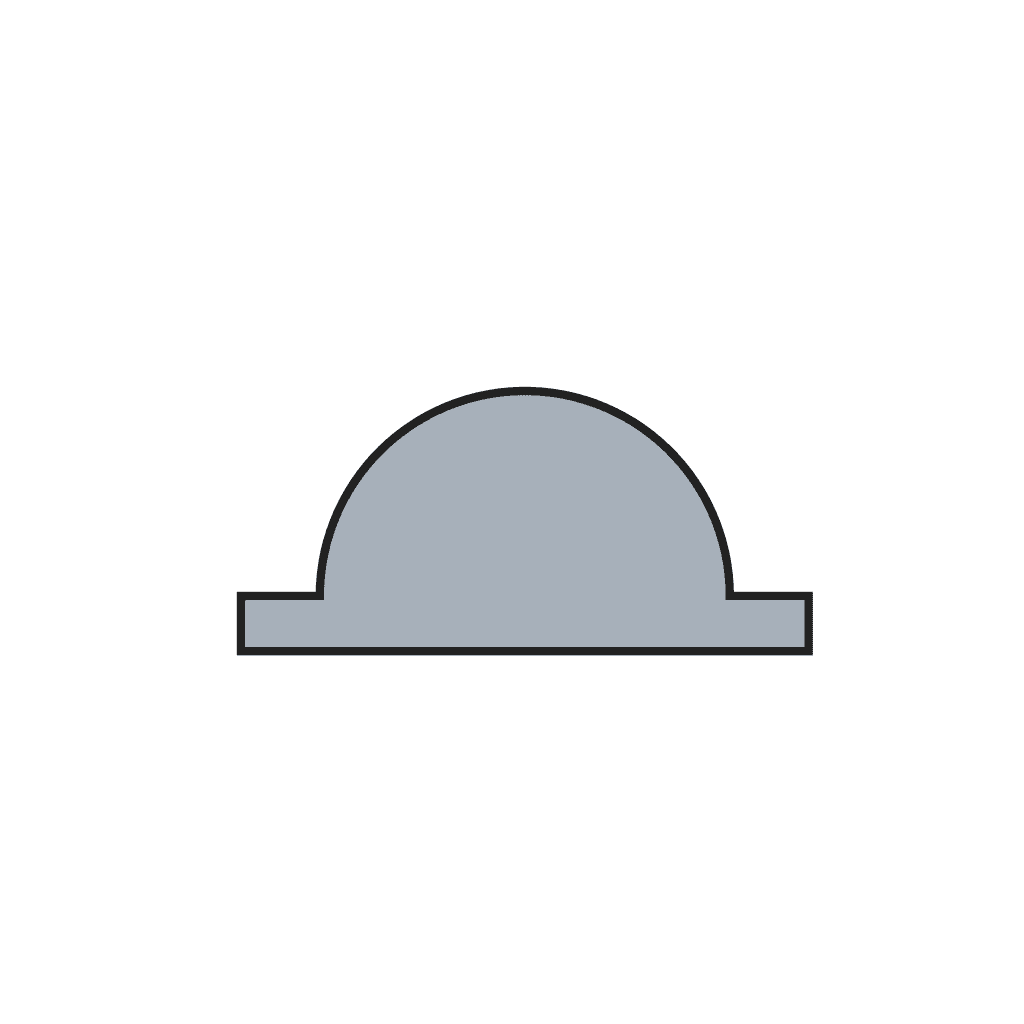
From 0.8 mm mild steel sheet cut a strip as wide as the band, with two narrow tabs on each long edge for the prongs. Bend the long edges up into a U and curve the base slightly along its length to match the band.
Bahan untuk langkah ini:
 Kepingan Keluli Lembut1 keping
Alatan diperlukan:
 Penyurat
 Pembaris
 Gunting kepingan logam
 Set Kikir
 Ragum Bangku
 Tukul kepala baji lintang
 Sarung Tangan Kerja Kulit
2
2
Screw housing
Screw housing
Cut a blank for the casing that fits over the saddle, with a flange along each side and an end wall at each end. Drill a hole in each flange where a prong will pass, and cut a slot down into each end wall for the screw's reduced ends. Bend it to shape.
Alatan diperlukan:
PenyuratGunting kepingan logam Gerimit tanganSet KikirRagum BangkuTukul kepala baji lintangSarung Tangan Kerja Kulit
3
3
Turn the worm screw
Turn the worm screw
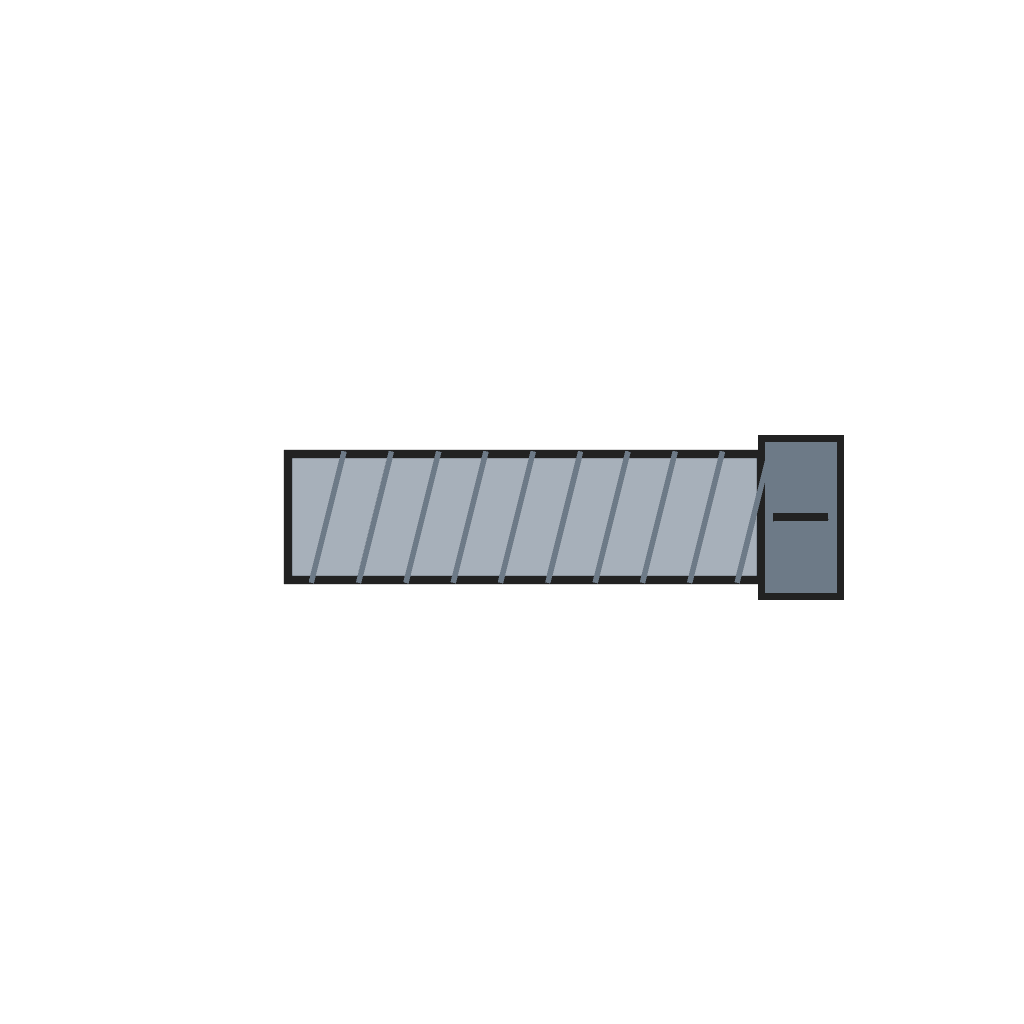
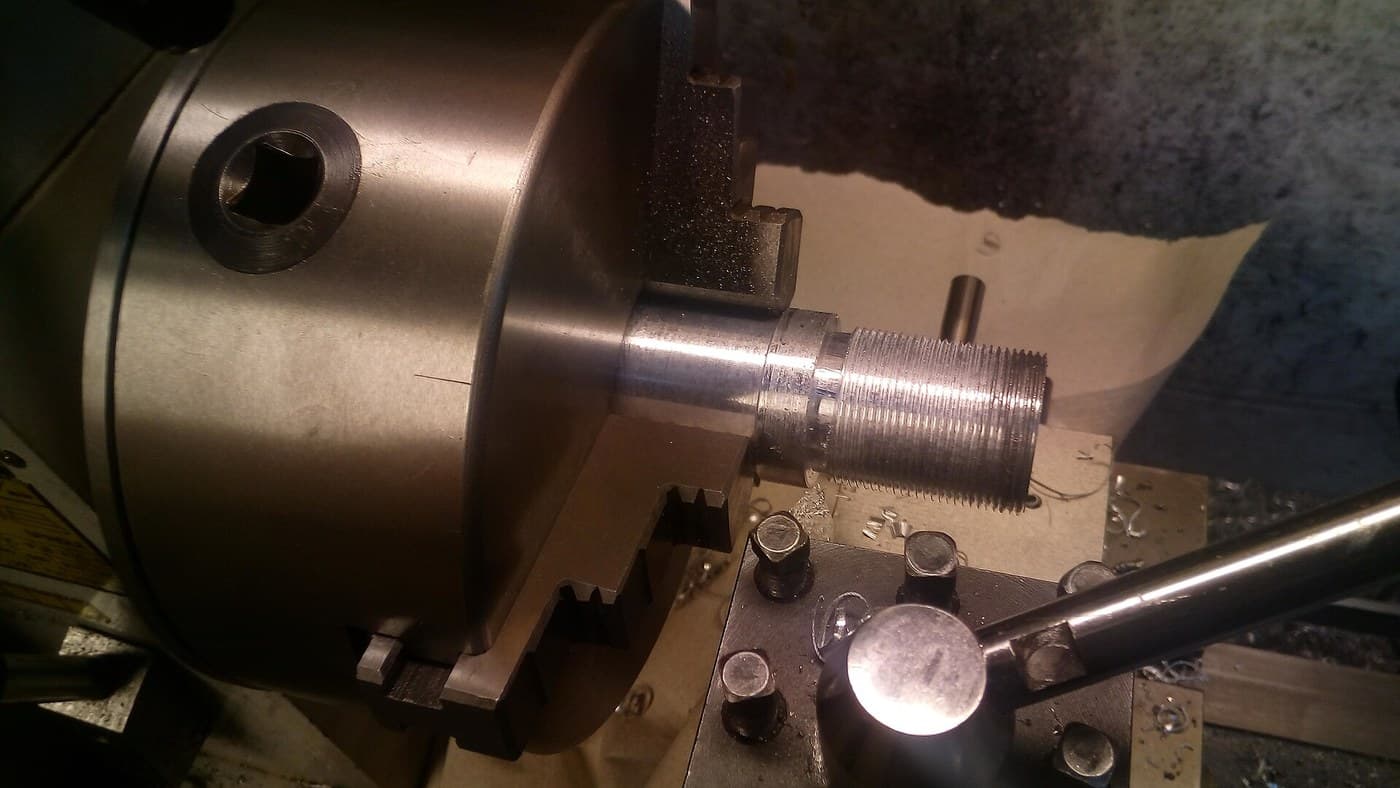
Chuck mild steel bar and turn the screw: a head with a screwdriver slot, a shoulder, the threaded body, and a reduced end at each end that drops into the housing's slots, with shoulders that bear on the end walls.
Bahan untuk langkah ini:
 Bar keluli lembut1 keping
Alatan diperlukan:
 Mesin Pelarik Logam
 Cuk pelarik 3 rahang
 Mata alat pelarik
 Pahat pemotong pelarik
 Gergaji Besi
 Angkup Digital 6 Inci
 Minyak pemotong
 Cermin mata keselamatan
4
4
Cut the thread
Cut the thread
Single-point cut one continuous thread along the body, its pitch matching the spacing of the band's slots, with a flat working face and a rounded back so it fills the slots.
Alatan diperlukan:
Mesin Pelarik LogamMata alat pelarik Tolok pic benangMinyak pemotong
5
5
Trial fit
Trial fit
Lay the screw in the saddle with its ends in the housing's slots, fit the housing over it and check the prongs pass through the flange holes and the screw turns freely without end play. The clamp blueprint then welds, rivets and assembles them.
Alatan diperlukan:
Angkup Digital 6 InciSet KikirBahan
2- 1 kepingPemegang Tempat
- 1 kepingPemegang Tempat
Alatan Diperlukan
17- Pemegang Tempat
- Pemegang Tempat
- Pemegang Tempat
- Pemegang Tempat
- Pemegang Tempat
- Pemegang Tempat
- Pemegang Tempat
- Pemegang Tempat
- Pemegang Tempat
- Pemegang Tempat
- Pemegang Tempat
- Pemegang Tempat
- Pemegang Tempat
- Pemegang Tempat
- Pemegang Tempat
- Pemegang Tempat
- Pemegang Tempat
Blueprint ini membuat
Blueprint berkaitan
Blueprint ini berkongsi pengetahuan — teknik, bahan atau prinsip

CC0 Domain Awam
Blueprint ini dikeluarkan di bawah CC0. Anda bebas menyalin, mengubah, mengedar, dan menggunakan karya ini untuk sebarang tujuan, tanpa meminta kebenaran.
Sokong Pembuat dengan membeli produk melalui Blueprint mereka di mana mereka memperoleh Komisen Pembuat ditetapkan oleh Penjual, atau cipta iterasi baru Blueprint ini dan sertakan ia sebagai sambungan dalam Blueprint anda sendiri untuk berkongsi hasil.