Kerjasama
SENI
KECANTIKAN & KESEJAHTERAAN
KRAFTANGAN
BUDAYA & SEJARAH
HIBURAN
ALAM SEKITAR
MAKANAN & MINUMAN
KEJURUTERAAN TERBALIK
SAINS
SUKAN
TEKNOLOGI
BOLEH PAKAI
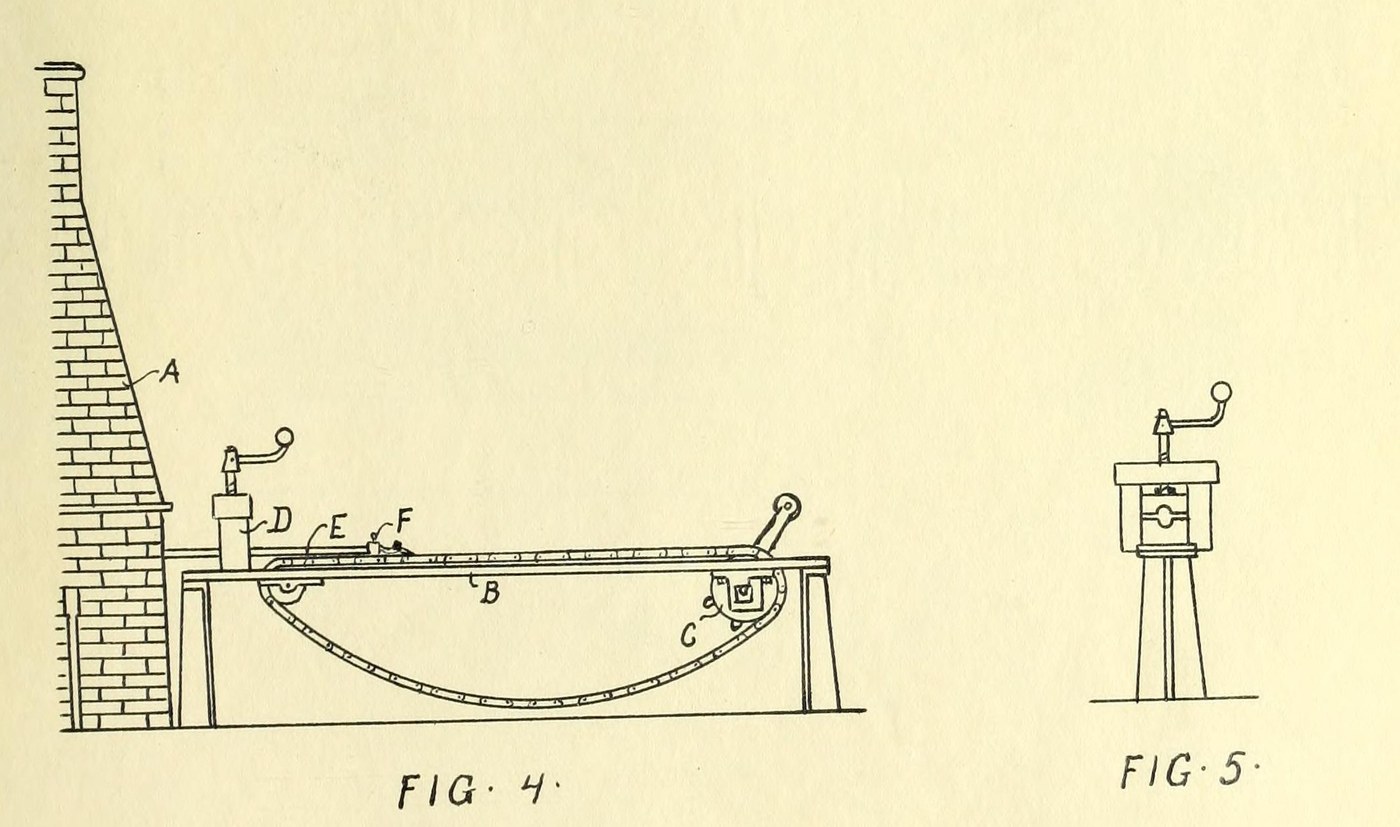


Iron Tube: Butt-Welded by Drawing Through Dies on a Draw Bench (Whitehouse, 1825)
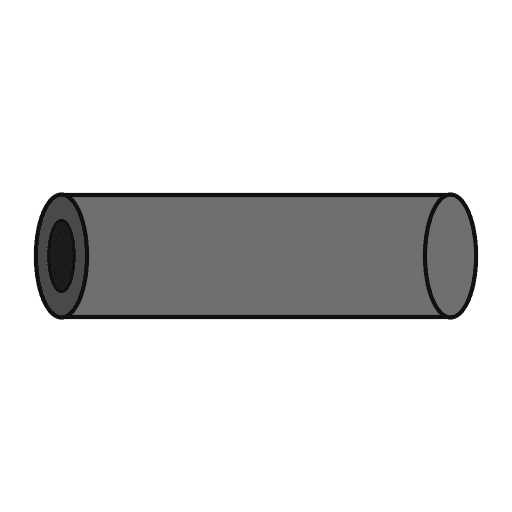
Cornelius Whitehouse's way of making welded iron tubes, the basis of butt-weld pipe ever since: a strip of flat iron is turned up into a tube with its edges meeting, heated nearly to fusion in a hollow fire, and pulled by the chain of a draw bench through a pair of dies, which press the hot edges together and weld them.
The tube is welded in two halves, one end at a time. Whitehouse made tubes 2 to 8 ft long in one piece, smooth inside and out.
Unknown: plate thickness, width and tube sizes. The source does not give them.
Source: Whitehouse's specification of 1825, quoted in C. D. Terry, Butt Weld Pipe (1907). Picture: Terry's Figs. 4 and 5.
Lanjutan
Unknown
Arahan
1
1
Turn the plate over
Turn the plate over
Take a piece of flat iron (plough-plate iron) of a thickness and width to suit the intended bore. Bend up its sides ('turn it over') until the edges meet, or nearly so, and it forms a long tube. Ours: hammer and anvil for the bending.
Bahan untuk langkah ini:
 Bar besi tempa1 flat plough-plate iron
 Dimensi tidak diketahui1 keping
Alatan diperlukan:
 Tukul Tempa
 Andas rata
2
2
Heat in the hollow fire
Heat in the hollow fire
Put the tube into a hollow fire, urged by a blast, and heat it until the iron is on the point of fusion. Ours: a smith's forge as the hollow fire.
Alatan diperlukan:
 Relau tukang besi
 Penyepit Tukang Besi
3
3
Draw it through the dies
Draw it through the dies
Clamp the end of the tube to the chain of the draw bench, driven by a hand winch or an engine. Draw it out of the fire through a pair of dies of the size wanted, set in a screw press and closed to their bearing, so that the hot edges are pressed together and welded. A pair of pinchers with a conical hole, held against a standard, may be used instead of the press and dies.
Alatan diperlukan:
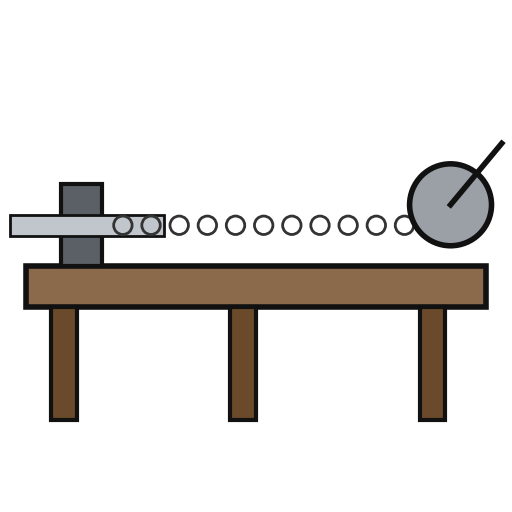 Bangku tarikPenyepit Tukang Besi
4
4
Weld the other half
Weld the other half
Open the clamp and take the tube off. Grip the other end, put the unwelded part into the fire, heat it, and draw it through the dies in the same way.
Alatan diperlukan:
Relau tukang besiBangku tarikPenyepit Tukang BesiBahan
2- 1 flat plough-plate ironPemegang Tempat
- 1 kepingPemegang Tempat
Alatan Diperlukan
5- Pemegang Tempat
- Pemegang Tempat
- Pemegang Tempat
- Pemegang Tempat
- Pemegang Tempat
Bahan Blueprint Bersambung


Blueprint ini membuat
CC0 Domain Awam
Blueprint ini dikeluarkan di bawah CC0. Anda bebas menyalin, mengubah, mengedar, dan menggunakan karya ini untuk sebarang tujuan, tanpa meminta kebenaran.
Sokong Pembuat dengan membeli produk melalui Blueprint mereka di mana mereka memperoleh Komisen Pembuat ditetapkan oleh Penjual, atau cipta iterasi baru Blueprint ini dan sertakan ia sebagai sambungan dalam Blueprint anda sendiri untuk berkongsi hasil.