Kerjasama
SENI
KECANTIKAN & KESEJAHTERAAN
KRAFTANGAN
BUDAYA & SEJARAH
HIBURAN
ALAM SEKITAR
MAKANAN & MINUMAN
KEJURUTERAAN TERBALIK
SAINS
SUKAN
TEKNOLOGI
BOLEH PAKAI
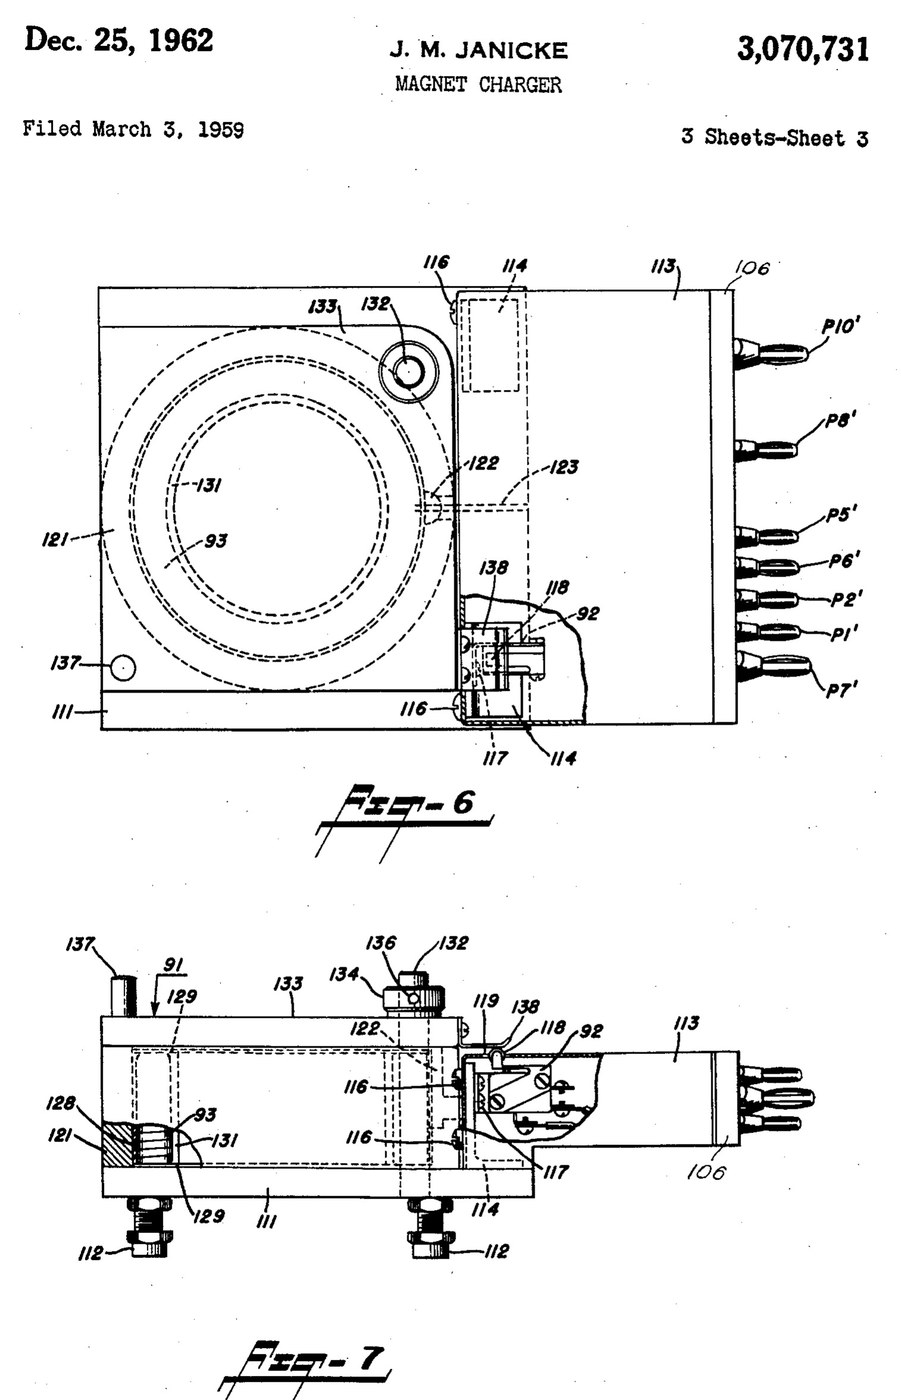


Magnetiser: Capacitor-Discharge Magnet Charger with a Wire-Wound Fixture (Janicke, US 3,070,731, 1962)
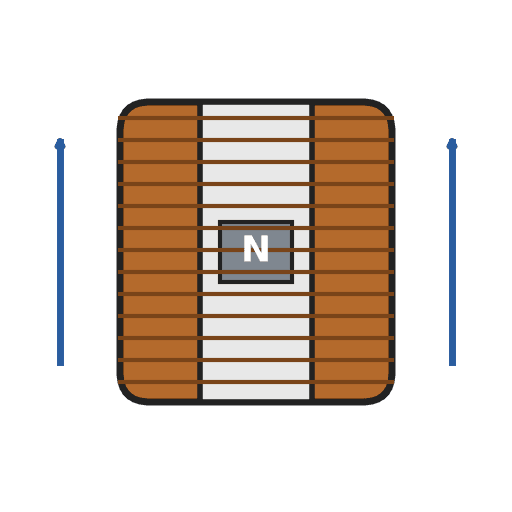
An impulse magnetiser. A capacitor is charged to a high voltage, then an ignitron dumps it all at once through a coil. The magnet sits inside the coil in a closed steel pot, so almost all of the flux goes through it.
Result: a magnet charger that magnetises rods, bars and blocks in one pulse, with an interlocked lid.
Source: J. M. Janicke, US 3,070,731 (1962). Unknown: voltages, capacitance, coil windings, field strength and sizes. Picture: the patent drawing.
Pakar
Unknown
Arahan
1
1
Build the charging supply
Build the charging supply
Feed a line switch from the mains through two fuses, with a pilot lamp. Wire a high-voltage transformer with two primaries, which a high-low switch puts in series or in parallel. Run its centre-tapped secondary to two mercury-vapour rectifier tubes, "or the like", with their own filament transformer, so they charge the energy-storage capacitor. A charging on-off switch with a red lamp switches the high-voltage side. A meter with multiplier resistors across the capacitor shows its voltage. Ours: toggle switches, neon lamps, a moving-coil meter. Not given: any voltage or value.
Bahan untuk langkah ini:
 Transformer voltan tinggi1 high-voltage transformer
 Tiub penerus wap merkuri2 rectifier tubes
 Transformer Penurun1 filament transformer
 Kapasitor simpanan tenaga1 storage capacitor
 Meter panel gegelung bergerak1 voltage meter
 Perintang tidak diketahui2 meter multipliers
 Suis togol3 line, charging and high-low switches
 Fius2 fuses
 Lampu penunjuk neon2 pilot and red lamps
Alatan diperlukan:
 Alat pematerian
 Playar pelucut wayar
2
2
Add the delay and the bleeder
Add the delay and the bleeder
Put a thermal time-delay relay before the charging switch: about thirty seconds after switch-on it energises a control relay, which feeds the charging switch and holds itself on. A third contact of the control relay lifts a bleeder resistor off the capacitor while the charger runs. When the charger is shut down the relay drops out and the bleeder drains the dangerous high-voltage charge from the capacitor.
Bahan untuk langkah ini:
 Geganti tunda masa1 thermal delay relay
 Geganti1 control relay, three contact setsPerintang tidak diketahui1 bleeder resistor
Alatan diperlukan:
Alat pematerianPlayar pelucut wayar3
3
Fit the ignitron firing circuit
Fit the ignitron firing circuit
Put an ignitron in the discharge path of the storage capacitor, as its switch. The meter's multiplier resistors also form a divider that charges a small firing capacitor. Pressing the push button discharges the firing capacitor through a small limiting resistor into the ignitron's igniter, and the ignitron conducts. Not given: the firing capacitor's type and value.
Bahan untuk langkah ini:
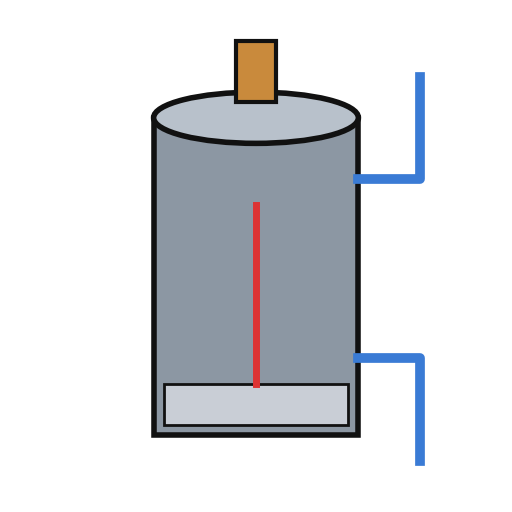 Ignitron1 discharge switch
 Bahan tidak diketahui1 firing capacitorPerintang tidak diketahui1 limiting resistor
 Butang tekan1 charge button
Alatan diperlukan:
Alat pematerianPlayar pelucut wayar4
4
Build the wire-wound fixture
Build the wire-wound fixture
Weld a hollow cylindrical shell onto a base plate on levelling legs, both of magnetic material, to make a pot. Cut slots through the shell and the base plate so they cannot act as a shorted single-turn winding. Set the coil inside the shell in potting compound, with ring-shaped end pieces and a hollow cylindrical core in it. Hinge a square magnetic cover on a post beside the shell, held by a collar and set screw, with a handle. An L-shaped plate on the cover closes a switch in the igniter circuit only when the cover is shut. Wire the coil between the storage capacitor and the ignitron anode. Ours: mild steel, enamelled copper wire, casting epoxy. Not given: sizes, turns.
Bahan untuk langkah ini:
 Plat keluli lembut1 base plate and cover
 Tiub bulat keluli lembut1 shell
 Dawai Kuprum Bersalut Enamel1 coil
 Epoksi tuangan hitam1 potting compound
 Logam tidak diketahui1 end pieces, core, post, legs
 Mikrosuis (digerakkan tuas)1 lid interlock switch
Alatan diperlukan:
 Mesin kimpalan arka
 Gerudi Tiang
 Set pemutar skru
 Dimensi tidak diketahui
5
5
Charge a magnet
Charge a magnet
Put the magnet inside the core. Fill most of the air gap between it and the base plate and cover with soft iron, but leave a small gap near the cover, or the cover will be hard to swing open afterwards. Lay insulating material about 1/16 inch thick on top of the magnet. Close the cover, which arms the igniter switch, charge the capacitor, and press the button: one pulse magnetises it. Ours: wrought iron for the soft iron.
Alatan diperlukan:
 Bar besi tempa
 Bahan penebat tidak diketahui
Bahan
20- 1 high-voltage transformerPemegang Tempat
- 2 rectifier tubesPemegang Tempat
- 1 filament transformerPemegang Tempat
- 1 storage capacitorPemegang Tempat
- 1 voltage meterPemegang Tempat
- 1 limiting resistorPemegang Tempat
- Pemegang Tempat
- 2 fusesPemegang Tempat
- 2 pilot and red lampsPemegang Tempat
- 1 thermal delay relayPemegang Tempat
- 1 control relay, three contact setsPemegang Tempat
- 1 discharge switchPemegang Tempat
- 1 firing capacitorPemegang Tempat
- Pemegang Tempat
- 1 base plate and coverPemegang Tempat
- 1 shellPemegang Tempat
- Pemegang Tempat
- 1 potting compoundPemegang Tempat
- 1 end pieces, core, post, legsPemegang Tempat
- 1 lid interlock switchPemegang Tempat
Alatan Diperlukan
8- 2 vendors sell this, none ship to you yetPemegang Tempat
- Pemegang Tempat
- Pemegang Tempat
- Pemegang Tempat
- Pemegang Tempat
- Pemegang Tempat
- Pemegang Tempat
- Pemegang Tempat
Bahan Blueprint Bersambung


Blueprint ini membuat
CC0 Domain Awam
Blueprint ini dikeluarkan di bawah CC0. Anda bebas menyalin, mengubah, mengedar, dan menggunakan karya ini untuk sebarang tujuan, tanpa meminta kebenaran.
Sokong Pembuat dengan membeli produk melalui Blueprint mereka di mana mereka memperoleh Komisen Pembuat ditetapkan oleh Penjual, atau cipta iterasi baru Blueprint ini dan sertakan ia sebagai sambungan dalam Blueprint anda sendiri untuk berkongsi hasil.