Membuat Arang dari Kayu Keras — Pirolisis dalam Relau Pit
Arahan
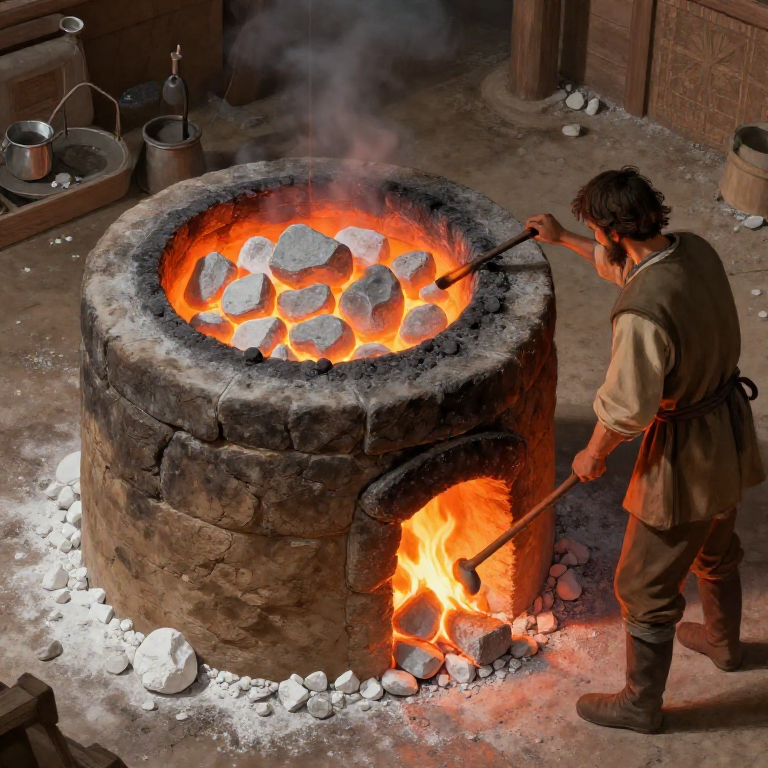
Memahami pirolisis
Memahami pirolisis
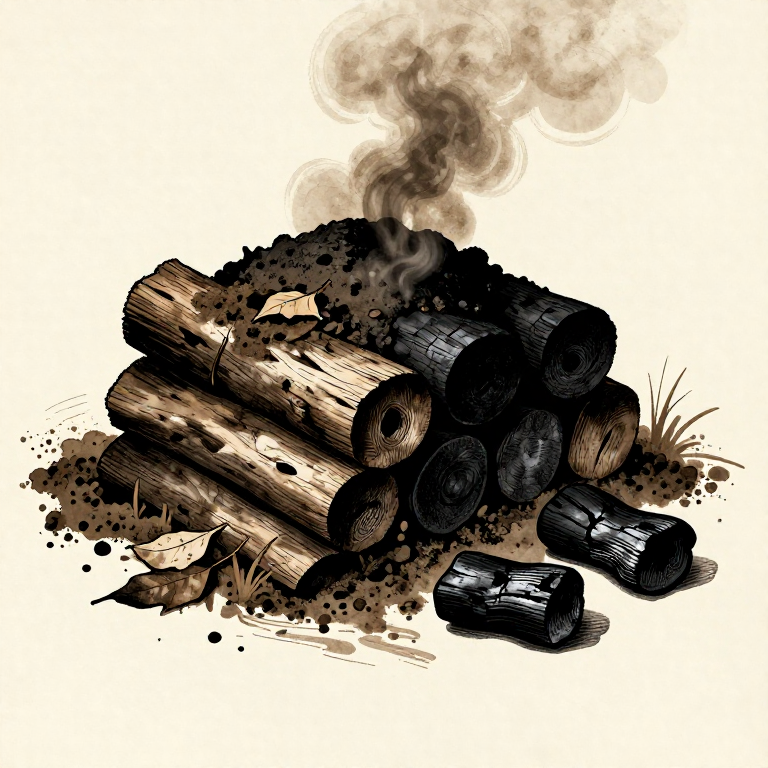
Pirolisis adalah penguraian haba bahan organik tanpa kehadiran oksigen. Apabila kayu dipanaskan melebihi 280°C tanpa udara, sebatian yang mudah meruap (air, tar, asid asetik, metanol) akan menguap, meninggalkan hampir karbon tulen — arang. Arang mengekalkan struktur selular kayu tetapi hanya memiliki berat 20-25% daripada yang asal.
Pilih kayu yang tepat
Pilih kayu yang tepat
Kayu keras membuat arang terbaik: oak, beech, maple, birch, hickory. Ia menghasilkan arang yang padat dan tahan lama. Kayu lembut (pine, spruce) menghasilkan arang yang lebih ringan yang terbakar cepat dan lebih rapuh. Kayu harus dikeringkan (dikeringkan udara 6+ bulan) — kayu hijau membuang tenaga untuk menguapkan air.
Bahan untuk langkah ini:
 Seasoned Hardwood Logs100 kilogram
Cut wood to uniform size
Cut wood to uniform size
Split logs into pieces of similar diameter (8-12 cm) and length (50-70 cm). Uniform pieces carbonize at the same rate. Pieces that are too thick will have an uncharred wood core. Pieces too thin will turn to ash. Remove bark if possible — it produces excess smoke and ash.
Alatan diperlukan:
 Splitting Axe
 Saw
SawDig the pit
Dig the pit
Dig a pit 1 meter deep, 1.5 meters wide, and 2 meters long. The soil should be clay or loam — sandy soil lets in too much air. Save the excavated soil in a pile beside the pit — you will use it to seal the kiln. Choose a site away from trees (roots catch fire underground).
Alatan diperlukan:
 Digging Shovel
Stack the wood in the pit
Stack the wood in the pit
Place a kindling layer at the bottom of the pit. Stack the split wood tightly in the pit — upright or at a 45° angle. Pack pieces as closely as possible to minimize air gaps. The tighter the stack, the less wood burns to ash and the more converts to charcoal. Fill to about 30 cm above ground level (it will settle).
Light the top layer
Light the top layer
Light the kindling and small wood at the top of the stack. Let it burn freely for 30-60 minutes until a good bed of coals forms across the entire surface. The fire burns downward through the stack. This top-down lighting ensures the volatile gases from lower wood pass through the hot upper zone and combust.
Alatan diperlukan:
 Fire Starter or Matches
Cover with green branches
Cover with green branches
Once the top is burning well, lay fresh green branches or wet straw across the pit as a separator layer. This prevents the soil cover from falling into the fire and smothering it. The green material will char in place and become part of the seal.
Bahan untuk langkah ini:
 Green Branches or Wet Straw1 ikat
Seal with soil
Seal with soil
Shovel the excavated soil over the green branches to form a layer 10-15 cm thick. This seal cuts off most of the air supply, stopping combustion and allowing pyrolysis to take over. Leave 2-3 small vent holes (5 cm diameter) around the edges for controlled airflow.
Alatan diperlukan:
Digging ShovelMonitor the smoke color
Monitor the smoke color
Watch the smoke from the vent holes. The color tells you the stage: thick white smoke = water evaporating (first 4-6 hours), yellow/brown smoke = tars and volatiles being driven off (6-18 hours), thin blue/transparent smoke = carbonization nearly complete (18-36 hours). This is the most important indicator.
Adjust the vents
Adjust the vents
If smoke pours from one side heavily, close that vent and open one on the opposite side to redirect heat. If flame breaks through the soil seal, add more soil immediately — flames mean air is getting in and burning your charcoal to ash. The goal is slow, even carbonization.
Seal completely when done
Seal completely when done
When smoke becomes thin and nearly colorless (after 24-48 hours depending on wood type and pit size), seal ALL vent holes with soil. Pack firmly. This stops all airflow and lets the charcoal cool without burning further. Do not open the pit prematurely — oxygen rush will ignite the charcoal.
Let the pit cool for 24-48 hours
Let the pit cool for 24-48 hours
The sealed pit must cool completely before opening — at least 24 hours, preferably 48. Test by placing your hand on the soil: if any warmth is felt, wait longer. Opening a hot pit introduces oxygen that will ignite the charcoal, burning your entire yield to ash.
Open and extract the charcoal
Open and extract the charcoal
Carefully remove the soil cover with a shovel. The charcoal should be black, lightweight, and ring when pieces are tapped together (a metallic 'clink'). It should NOT be brown (underburned) or grey-white (overburned to ash). Expect about 20-25% yield by weight: 100 kg of wood produces 20-25 kg of charcoal.
Alatan diperlukan:
Digging ShovelSort and grade the charcoal
Sort and grade the charcoal
Separate into three grades: large pieces (8+ cm, for forge work and smelting), medium pieces (3-8 cm, general purpose), and fines/dust (for soil amendment, water filtration, or re-use as fuel bed). Discard any partially burned wood — it still contains volatiles and will smoke when burned.
Store the charcoal
Store the charcoal
Store charcoal in a dry, covered location in breathable bags (burlap or paper). Charcoal is hygroscopic — it absorbs moisture from the air, reducing burn efficiency. Keep off the ground on pallets. Well-stored charcoal lasts indefinitely — archaeologists have found usable charcoal thousands of years old.
Bahan untuk langkah ini:
 Burlap Storage Sack5 keping
Bahan
3- 100 kilogramPemegang Tempat
- 1 ikatPemegang Tempat
- 5 kepingPemegang Tempat
Bahan Blueprint Bersambung
Blueprint berkaitan
Blueprint ini berkongsi pengetahuan — teknik, bahan atau prinsip
Related blueprints
Other builds that share materials, tools, or techniques with this one.

CC0 Domain Awam
Blueprint ini dikeluarkan di bawah CC0. Anda bebas menyalin, mengubah, mengedar, dan menggunakan karya ini untuk sebarang tujuan, tanpa meminta kebenaran.
Sokong Pembuat dengan membeli produk melalui Blueprint mereka di mana mereka memperoleh Komisen Pembuat ditetapkan oleh Penjual, atau cipta iterasi baru Blueprint ini dan sertakan ia sebagai sambungan dalam Blueprint anda sendiri untuk berkongsi hasil.