Kerjasama
SENI
KECANTIKAN & KESEJAHTERAAN
KRAFTANGAN
BUDAYA & SEJARAH
HIBURAN
ALAM SEKITAR
MAKANAN & MINUMAN
KEJURUTERAAN TERBALIK
SAINS
SUKAN
TEKNOLOGI
BOLEH PAKAI
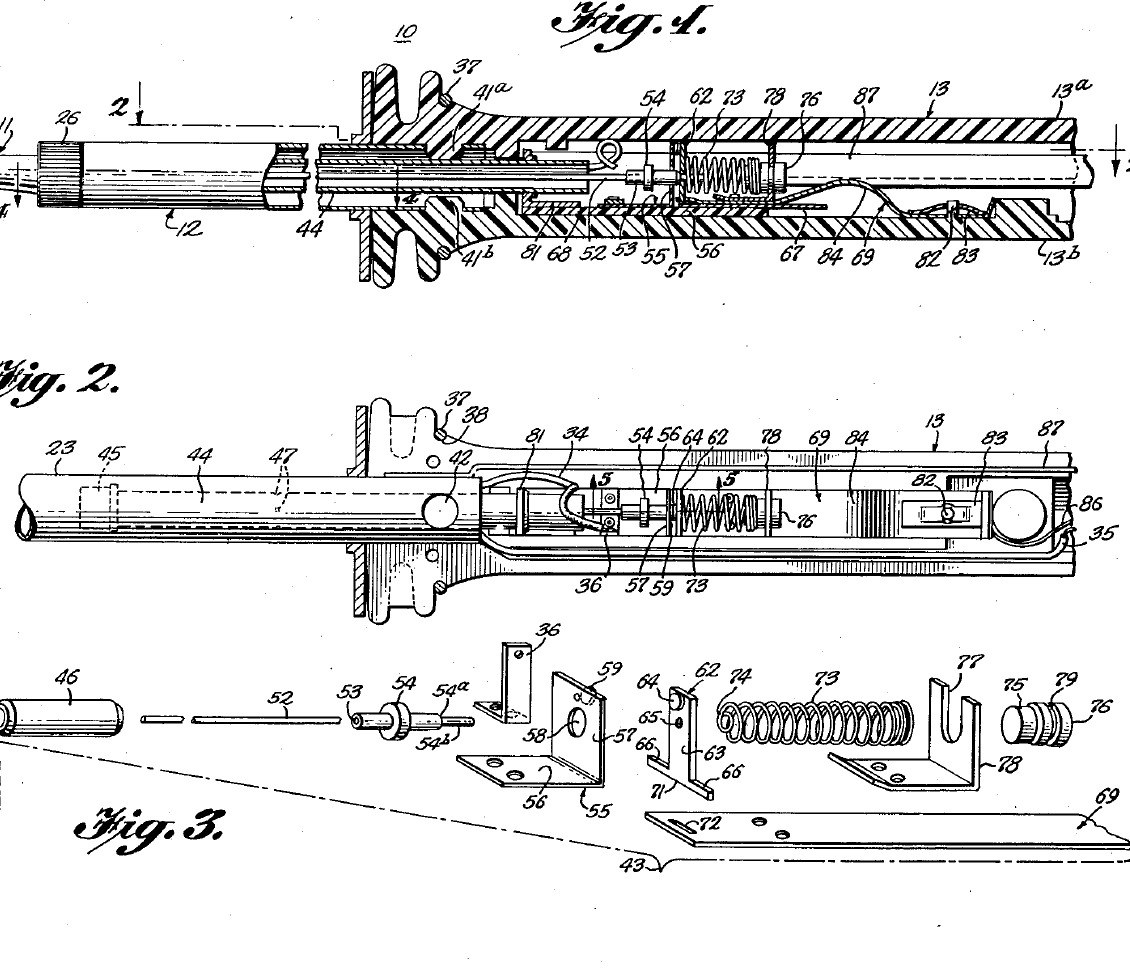


Soldering Iron: Temperature Controlled by a Curie-Point Tip and a Magnet Switch (Weller, US 3,188,448, 1965)
A soldering iron that holds its own tip temperature. At the back of the copper tip sits a slug of nickel-iron alloy that stops being magnetic above a set temperature (its Curie point). A small Alnico magnet behind it is pulled forward while the slug is cool, closing a switch that feeds the heater; once the tip is hot the slug lets go, a steel bushing pulls the magnet back and the switch opens. Swap tips to choose 600, 700 or 800 °F.
Result: a 55-watt temperature-controlled iron idling near 700 °F instead of running ever hotter.
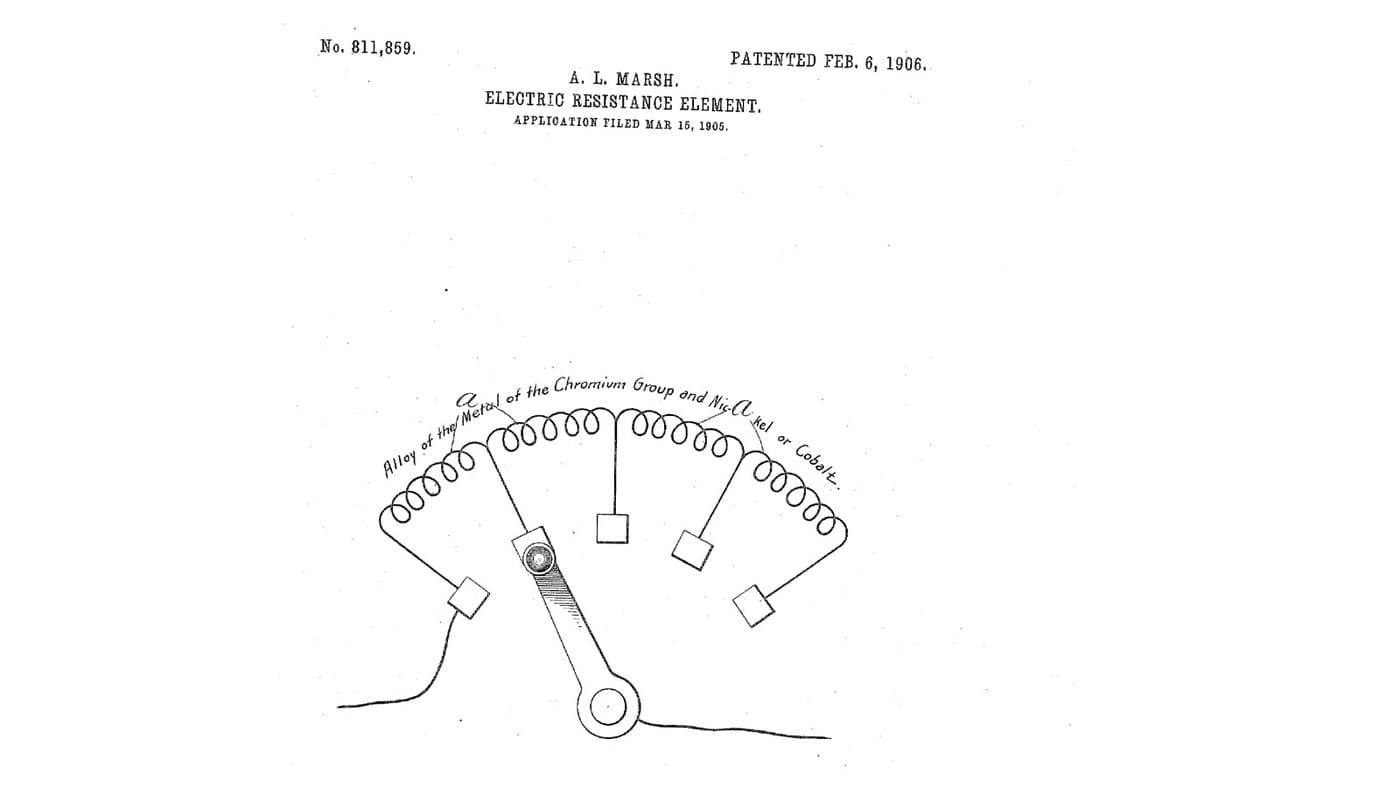
Source: C. E. Weller, US 3,188,448 (1965). Unknown: the plating baths, the heater wire and insulation, most sizes. Picture: the patent drawing.
Lanjutan
Unknown
Arahan
1
1
Make the tip and control slug
Make the tip and control slug
Turn the tip from tellurium copper: a cylindrical body, a taper and a chisel end (any shape suits the work). Plate it first with iron, which keeps the copper out of the molten solder, then with nickel, which shuts out the air. Bore its rear end and fit tightly into it the shank of a slug of thermomagnetic nickel-iron alloy, such as 48 % nickel, 3 % molybdenum and the rest iron, or about 43 % nickel and the rest iron. The alloy sets the control point: make tips for 600, 700 and 800 °F. Not given: the plating baths, sizes.
Bahan untuk langkah ini:
 Batang kuprum telurium1 tip
 Aloi nikel-besi termomagnet1 control slug
Alatan diperlukan:
 Mesin Pelarik Logam
 Kit penyaduran elektrik
 Dimensi tidak diketahui
2
2
Wind the heater barrel
Wind the heater barrel
Make the barrel of two stainless steel tubes: an inner spool the tip slides into snugly, and an outer cover tube joined to it at the front, with a thread and screw cap to hold the tip. In the space between them wind the heater from one length of resistance wire: an inner layer, then an outer layer wound the opposite way so their fields cancel, with insulating sheet inside, between and outside the layers. Silver-solder heat-resistant leads to its ends. Ours: nichrome wire. Not given: the insulating sheet, the turns.
Bahan untuk langkah ini:
 Tiub keluli tahan karat2 spool and cover tube
 Dawai nikrom1 heater
 Bahan penebat tidak diketahui1 three sheet layers
 Logam tidak diketahui1 leads
 Pateri Perak1 as needed
Alatan diperlukan:
 Obor PropanaMesin Pelarik Logam
3
3
Build the magnet switch
Build the magnet switch
In a stainless steel sleeve about 2.4 in long, close the front with a non-magnetic thermal bushing. Behind it slides a cylindrical Alnico V magnet, then a non-magnetic spacer about 0.032 in thick, then a cold-drawn steel bushing about 0.50 in long held by dents in the sleeve; the magnet's stroke is about 0.015 in. A push rod runs from the magnet through the bushing to an insulator. On a melamine plate, hinge a moving contact between a thin conducting strip and a holding strip, facing a flexible contact; a spring of fourteen coils of 0.010 in music wire, 0.210 in across, presses the moving contact toward the flexible one. Rivet the spring bracket to the holding strip. Not given: the contact metals.
Bahan untuk langkah ini:
Tiub keluli tahan karat1 sleeve Magnet Alnico1 keping
 Bar Bulat Keluli Lembut1 magnetic bushing, push rodLogam tidak diketahui1 thermal bushing, spacer, contacts, strips, brackets
 Bahan tidak diketahui1 insulator
 Kepingan melamin1 base plate
 Dawai keluli spring1 0.010 in music wire spring
Alatan diperlukan:
Mesin Pelarik Logam Set rivet
 Playar hujung bulat
4
4
Assemble the handle and use
Assemble the handle and use
Mould the handle in two plastic halves with a socket at the front whose bosses lock the cover tube. Lay in the switch unit, held only by the bowed tail of its holding strip on an anchor pin with a speed nut, so it floats and its thermal bushing presses on the tip's slug. Wire the heater, the switch and a ground lead from the cover tube to the cord. Rivet the halves near the butt and fit a split ring near the front. In use, below the control point the slug pulls the magnet forward and the spring closes the contacts; above it the steel bushing pulls the magnet back and the push rod opens them. At idle the heater runs only about 30 to 40 % of the time. Not given: the plastic.
Bahan untuk langkah ini:
Bahan tidak diketahui1 handle halvesLogam tidak diketahui1 rivet, split ring, speed nut Kord fleksibel berpalam1 keping
Alatan diperlukan:
 Mesin pengacuan suntikanSet rivet
Bahan
13- Pemegang Tempat
- 1 control slugPemegang Tempat
- 1 sleevePemegang Tempat
- 1 heaterPemegang Tempat
- 1 three sheet layersPemegang Tempat
- 1 rivet, split ring, speed nutPemegang Tempat
- 1 as neededPemegang Tempat
- 1 kepingPemegang Tempat
- 1 magnetic bushing, push rodPemegang Tempat
- 1 handle halvesPemegang Tempat
- 1 base platePemegang Tempat
- 1 0.010 in music wire springPemegang Tempat
- 1 kepingPemegang Tempat
Alatan Diperlukan
7- Pemegang Tempat
- Pemegang Tempat
- Pemegang Tempat
- Pemegang Tempat
- Pemegang Tempat
- Pemegang Tempat
- Pemegang Tempat
Bahan Blueprint Bersambung

Blueprint ini membuat

CC0 Domain Awam
Blueprint ini dikeluarkan di bawah CC0. Anda bebas menyalin, mengubah, mengedar, dan menggunakan karya ini untuk sebarang tujuan, tanpa meminta kebenaran.
Sokong Pembuat dengan membeli produk melalui Blueprint mereka di mana mereka memperoleh Komisen Pembuat ditetapkan oleh Penjual, atau cipta iterasi baru Blueprint ini dan sertakan ia sebagai sambungan dalam Blueprint anda sendiri untuk berkongsi hasil.