

Stencil Duplicator
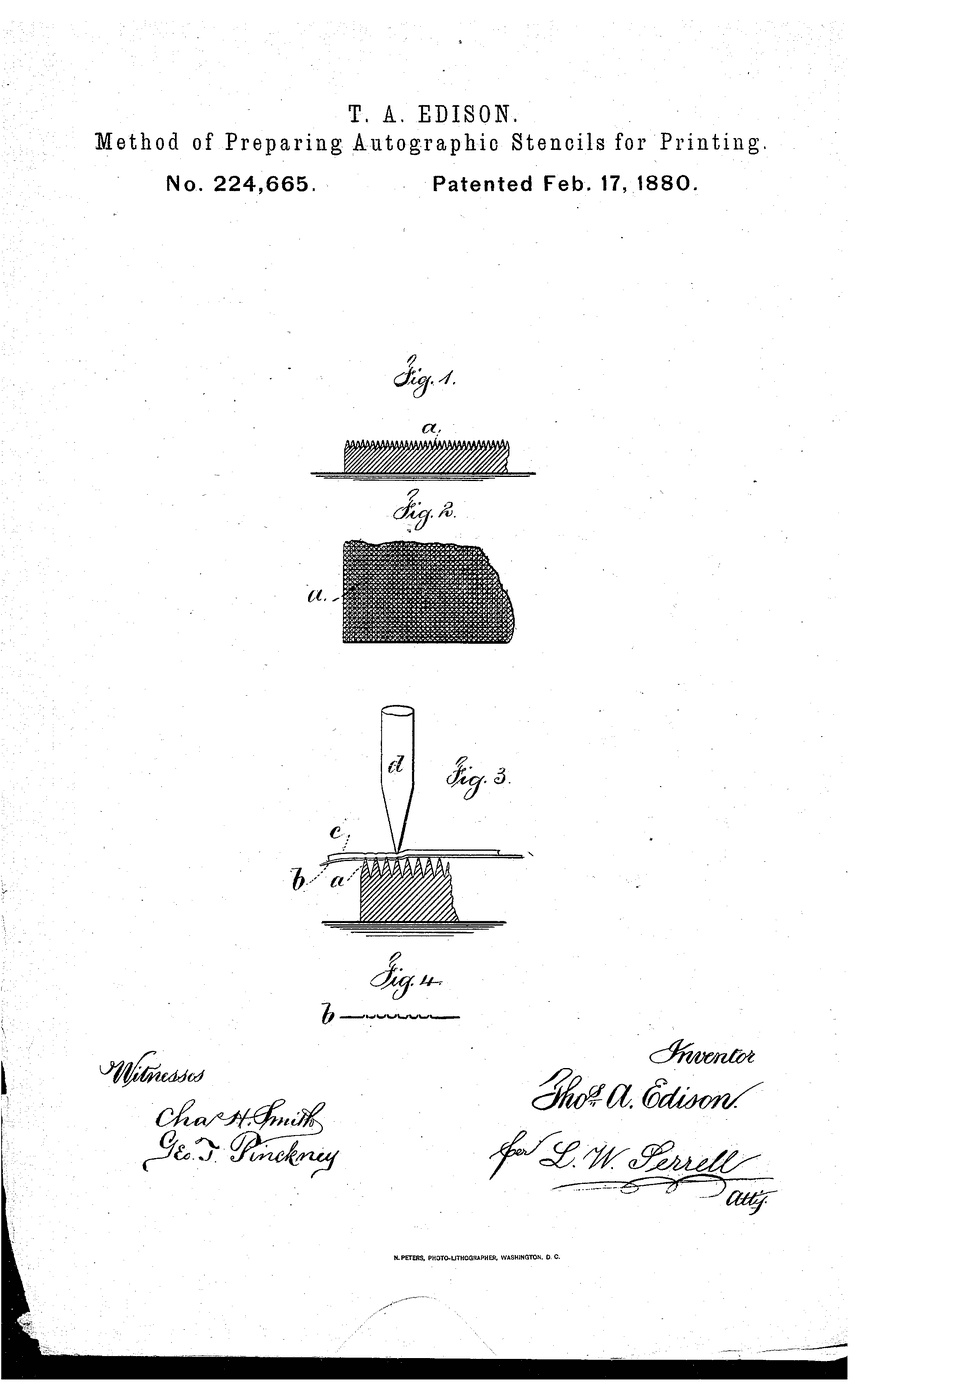
Edison's autographic stencil solved how to make a stencil — perforate a waxed sheet so ink can pass through it. It did not solve how to print from one repeatedly, quickly, and without smearing.
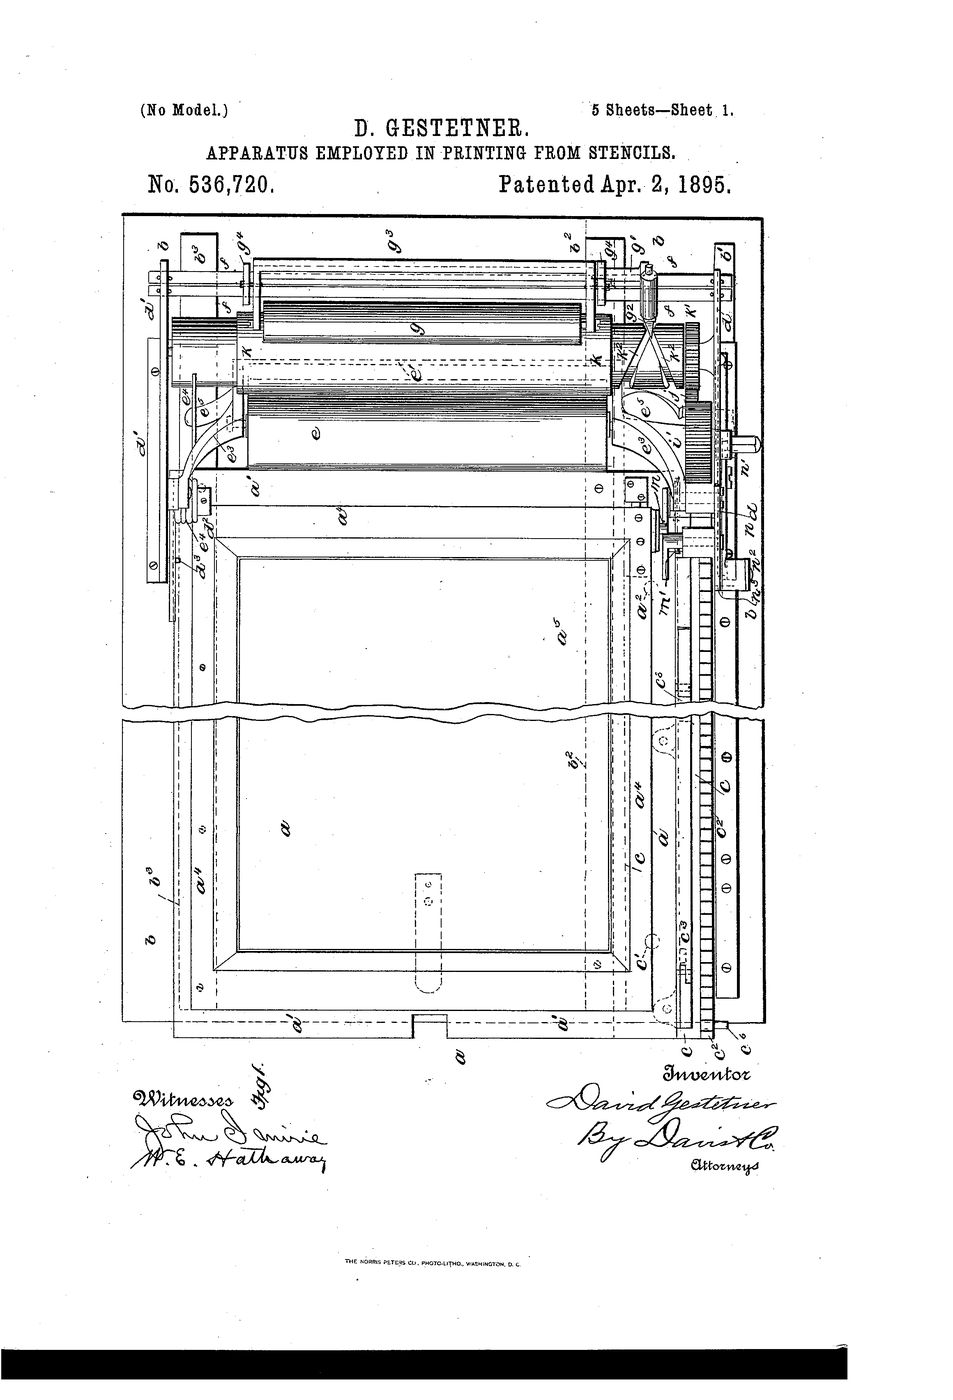
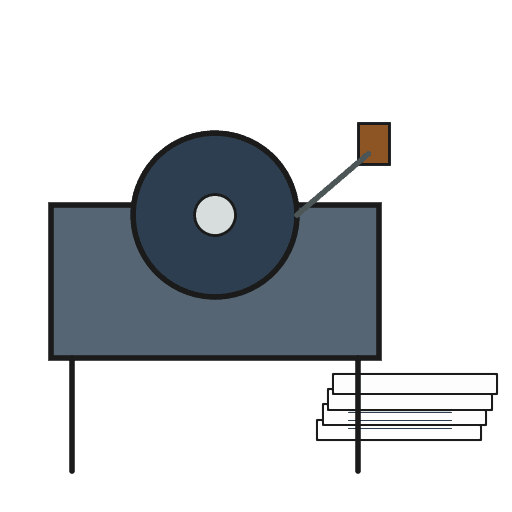
David Gestetner's US 536,720, “Apparatus employed in printing from stencils”, granted 2 April 1895 (filed 17 March 1893) claims the printing side: a movable stencil-carrying frame, a printing roller, an inking roller and an ink-distributing roller, working together. The frame travels back and forth under the roller, the roller raises and lowers automatically, sheets eject, and the stencil can be swapped quickly.
Note what this is not. Gestetner is remembered for the rotary drum duplicator, and this patent is routinely described as one. Read the claim: the stencil frame reciprocates. The rotary Cyclostyle came later. This blueprint builds what the patent actually claims.
Arahan
Cut a stencil
Cut a stencil
Cut a simple shape or short word clean through a sheet of tracing paper. Ink will pass only where the sheet is gone.
Bahan untuk langkah ini:
 Gulung kertas surih corak1 helaian
Alatan diperlukan:
 Pisau Kraf
Print it once by hand, badly
Print it once by hand, badly
Lay the stencil on paper, dab ink through with the brayer, lift. Note the smearing and the uneven coverage. This is the problem Gestetner is solving.
Bahan untuk langkah ini:
 Dakwat Cetakan Blok2 ml
 Kertas1 helaian
Alatan diperlukan:
 Penggelek getah dakwat
Build the stencil frame
Build the stencil frame
Cut a cardboard rectangle with a window slightly smaller than your stencil. Tape the stencil over the window, taut.
Bahan untuk langkah ini:
 Kepingan Kadbod Beralun1 helaianGulung kertas surih corak1 helaian
Alatan diperlukan:
Pisau KrafBuild the travelling bed
Build the travelling bed
Glue two card rails on the board, spaced so the frame slides between them without lifting. The frame must move in a straight line only.
Bahan untuk langkah ini:
Kepingan Kadbod Beralun1 helaian Gam Kayu5 ml
Alatan diperlukan:
 Papan Kayu Rata
 Pembaris
Mount the printing roller
Mount the printing roller
Fix a dowel across the rails at a fixed height so the brayer rolls over the stencil at constant pressure.
Bahan untuk langkah ini:
Gam Kayu3 mlAlatan diperlukan:
 Rod Pasak KayuPenggelek getah dakwat
Add an ink-distributing roller
Add an ink-distributing roller
Roll the brayer on a flat inked card several times before printing. Gestetner claims a separate distributing roller because even ink film matters more than ink quantity.
Bahan untuk langkah ini:
Dakwat Cetakan Blok3 mlKepingan Kadbod Beralun1 helaianAlatan diperlukan:
Penggelek getah dakwatLoad a sheet under the frame
Load a sheet under the frame
Place paper on the bed, lower the frame, hold it flat.
Bahan untuk langkah ini:
Kertas1 helaianMake the first machine impression
Make the first machine impression
Draw the frame under the roller in one steady pass. Lift and inspect.
Run twenty copies without re-inking
Run twenty copies without re-inking
Repeat, re-inking only when the impression fades. Count how many copies one inking gives.
Bahan untuk langkah ini:
Kertas20 helaianTime twenty copies
Time twenty copies
Time the run and calculate copies per minute. Compare with your hand-dabbed sheet from step 2.
Alatan diperlukan:
 Jam Randik
Measure consistency, not speed
Measure consistency, not speed
Lay copies 1, 10 and 20 side by side. Judge ink density and registration. A duplicator's real product is sameness.
Alatan diperlukan:
 Kanta Pembesar
Swap the stencil
Swap the stencil
Remove the stencil and fit a second one. Time the changeover — quick stencil removal is an explicit part of the claim.
Bahan untuk langkah ini:
Gulung kertas surih corak1 helaianAlatan diperlukan:
Jam RandikVary the roller pressure
Vary the roller pressure
Raise and lower the roller height by a millimetre either way and observe ink bleed versus starvation. Find the working window.
Alatan diperlukan:
PembarisHistory & Context
History & Context
US 536,720, “Apparatus employed in printing from stencils”, David Gestetner, granted 2 April 1895, filed 17 March 1893.
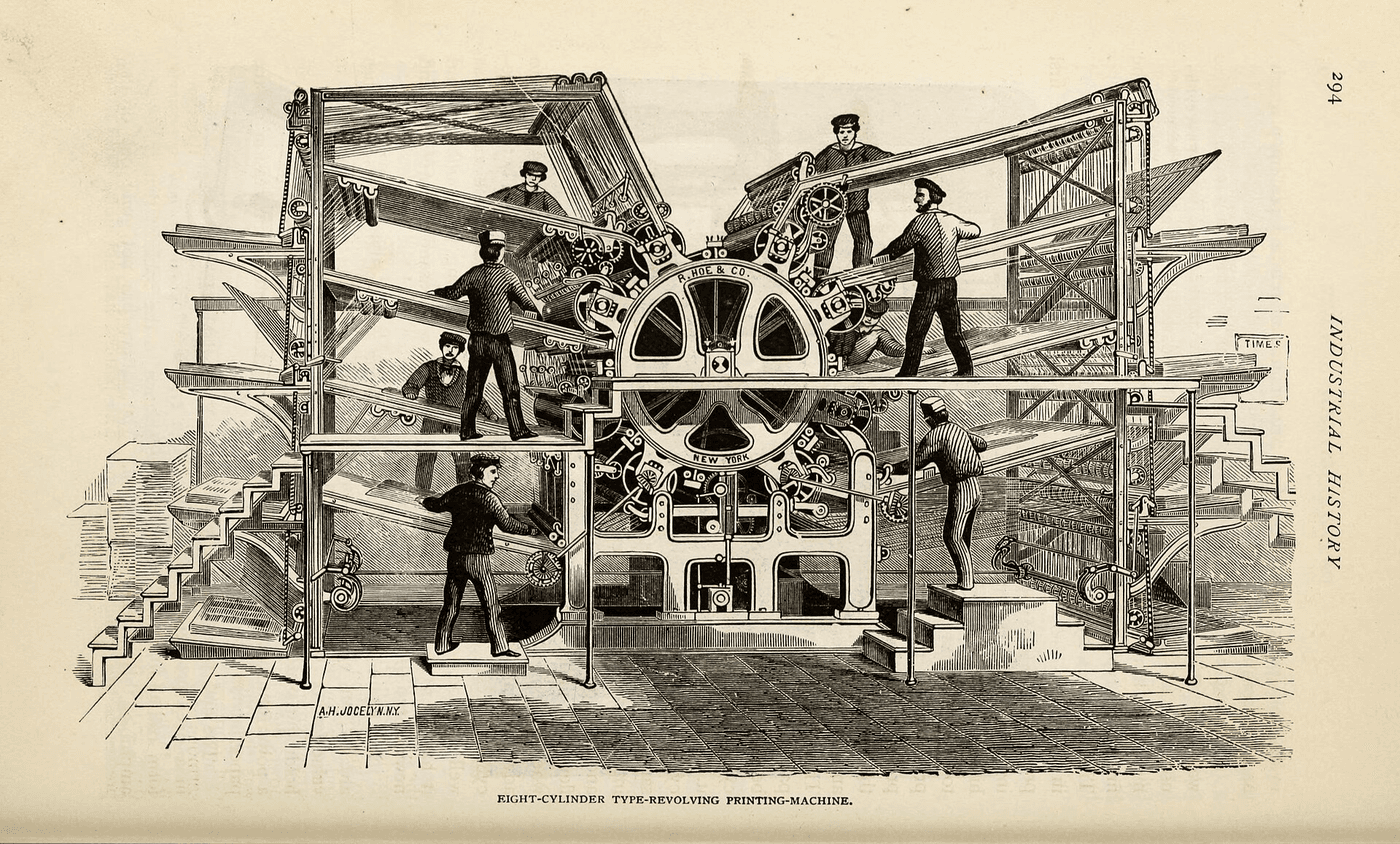
Read the claim, not the legend. Gestetner's name is attached in popular accounts to the rotary drum duplicator, and this patent is often cited as that machine. It is not. The document claims a movable stencil-carrying frame that travels back and forth beneath a printing roller — a reciprocating flatbed. The twin-cylinder rotary Cyclostyle, the Gestetner No. 3, drew on his 1903–1905 patents, a decade later.
Gestetner was born in Csorna, Hungary, and worked in London. He built an “automatic” printing device in 1891; the rotary stencil machines came at the turn of the century.
Where this sits in the chain. Edison's autographic stencil (linked) made the master. Gestetner made the press. Together they gave every school, church, union and campaign office its own printing capability for the best part of a century — until the photocopier, whose own ancestor is Carlson's electrophotography, made stencils obsolete.
One more distinction worth keeping straight: a stencil duplicator forces ink through a perforated master. That is a fundamentally different act from relief printing, where ink sits on a raised surface, and from intaglio, where it sits in cut recesses.
Bahan
5- 1 helaianPemegang Tempat
- Pemegang Tempat
- 22 helaianPemegang Tempat
- 1 helaianPemegang Tempat
- 8 mlPemegang Tempat
Bahan Blueprint Bersambung
Blueprint ini membuat
Blueprint berkaitan
Blueprint ini berkongsi pengetahuan — teknik, bahan atau prinsip
CC0 Domain Awam
Blueprint ini dikeluarkan di bawah CC0. Anda bebas menyalin, mengubah, mengedar, dan menggunakan karya ini untuk sebarang tujuan, tanpa meminta kebenaran.
Sokong Pembuat dengan membeli produk melalui Blueprint mereka di mana mereka memperoleh Komisen Pembuat ditetapkan oleh Penjual, atau cipta iterasi baru Blueprint ini dan sertakan ia sebagai sambungan dalam Blueprint anda sendiri untuk berkongsi hasil.