SENI
KECANTIKAN & KESEJAHTERAAN
KRAFTANGAN
BUDAYA & SEJARAH
HIBURAN
ALAM SEKITAR
MAKANAN & MINUMAN
KEJURUTERAAN TERBALIK
SAINS
SUKAN
TEKNOLOGI
BOLEH PAKAI
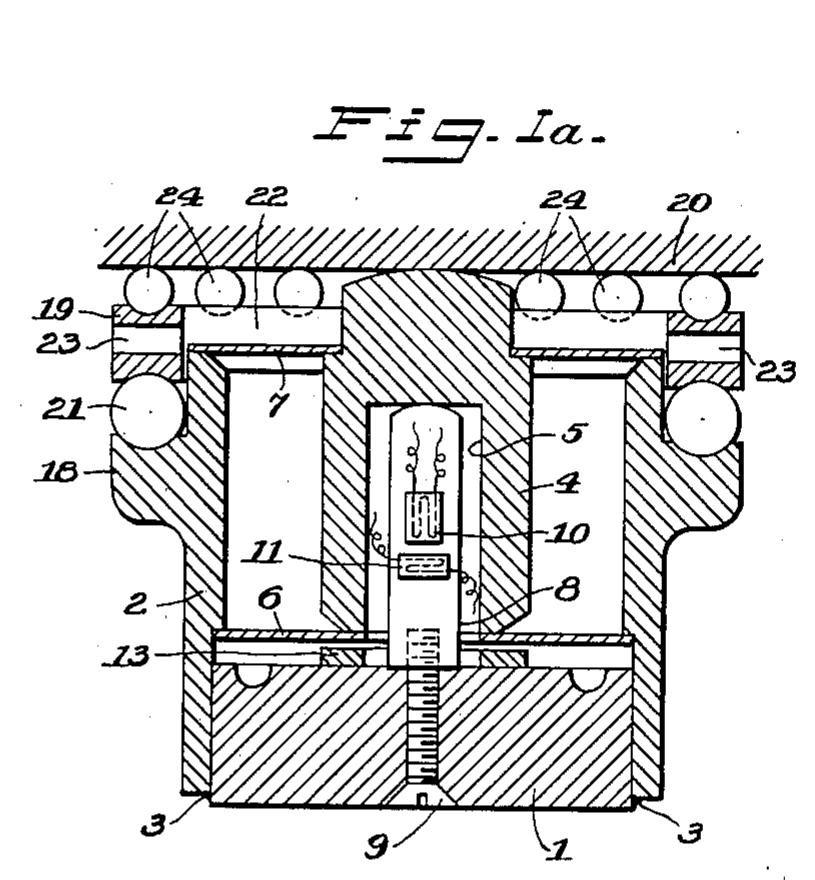


Strain-Gauge Load Cell with Floating Piston: Ruge, 1949
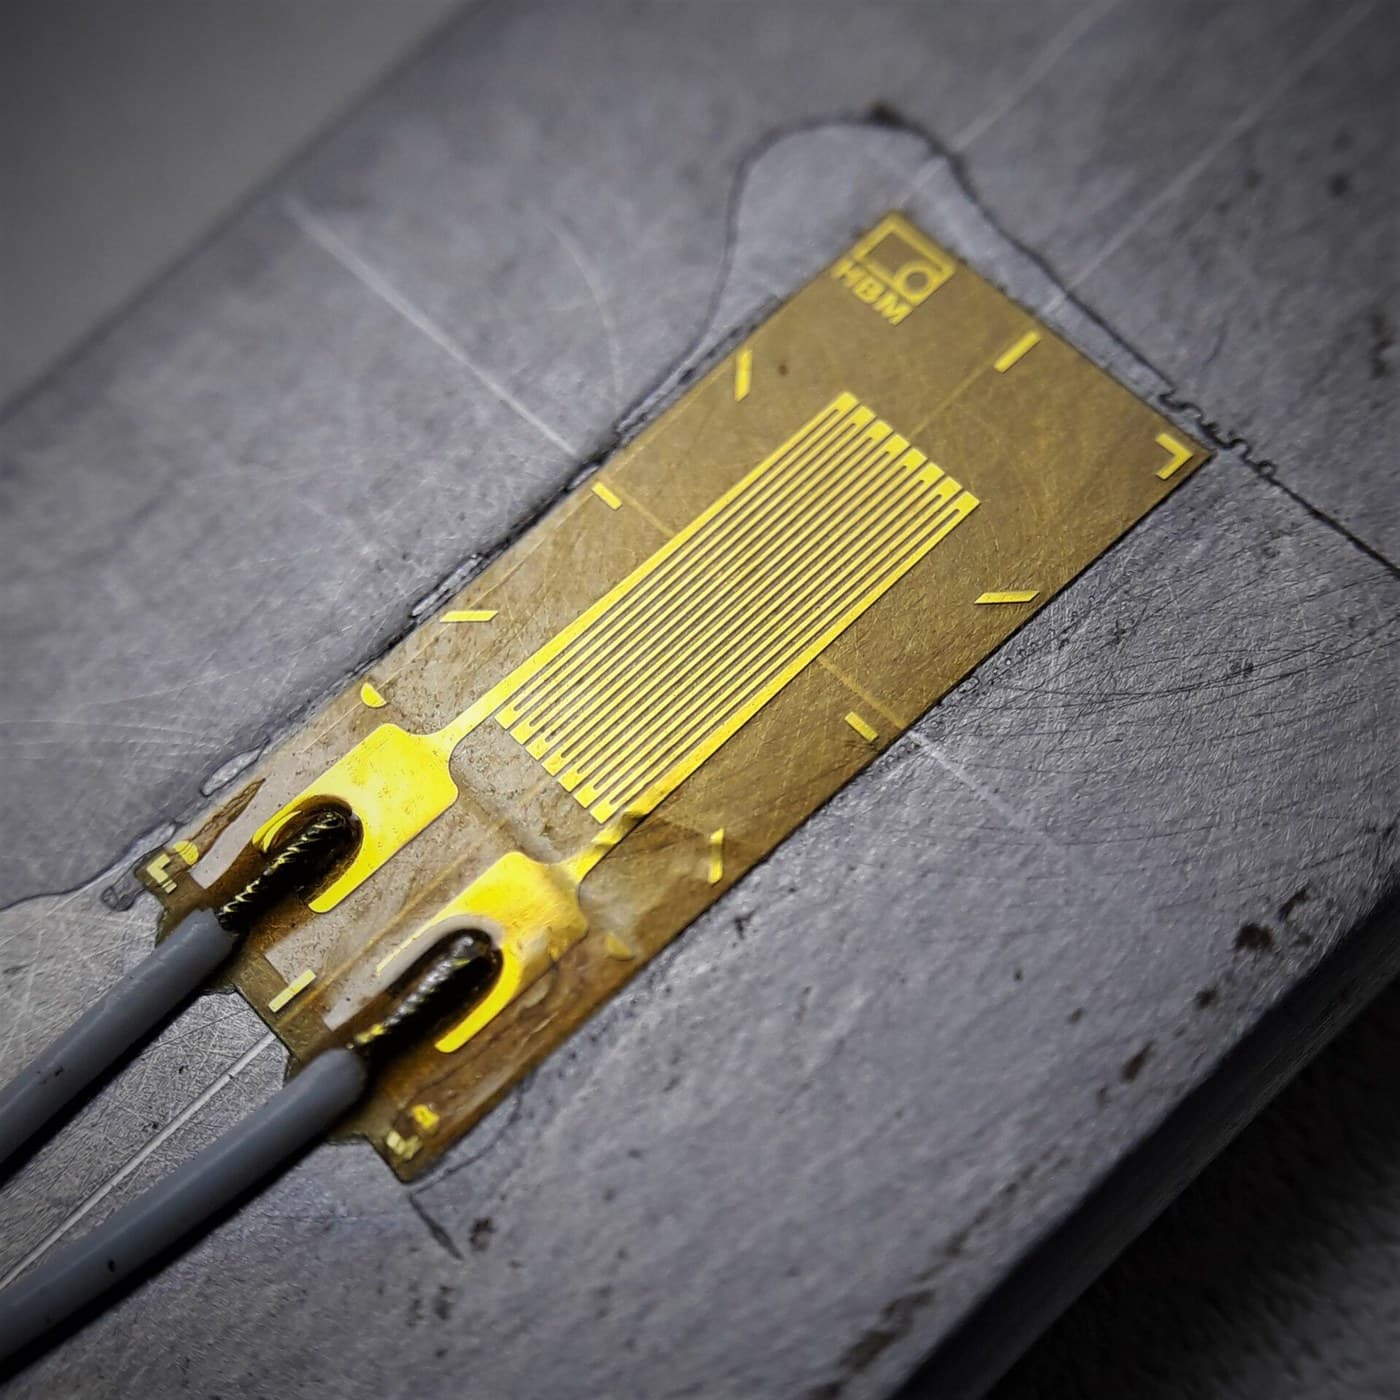
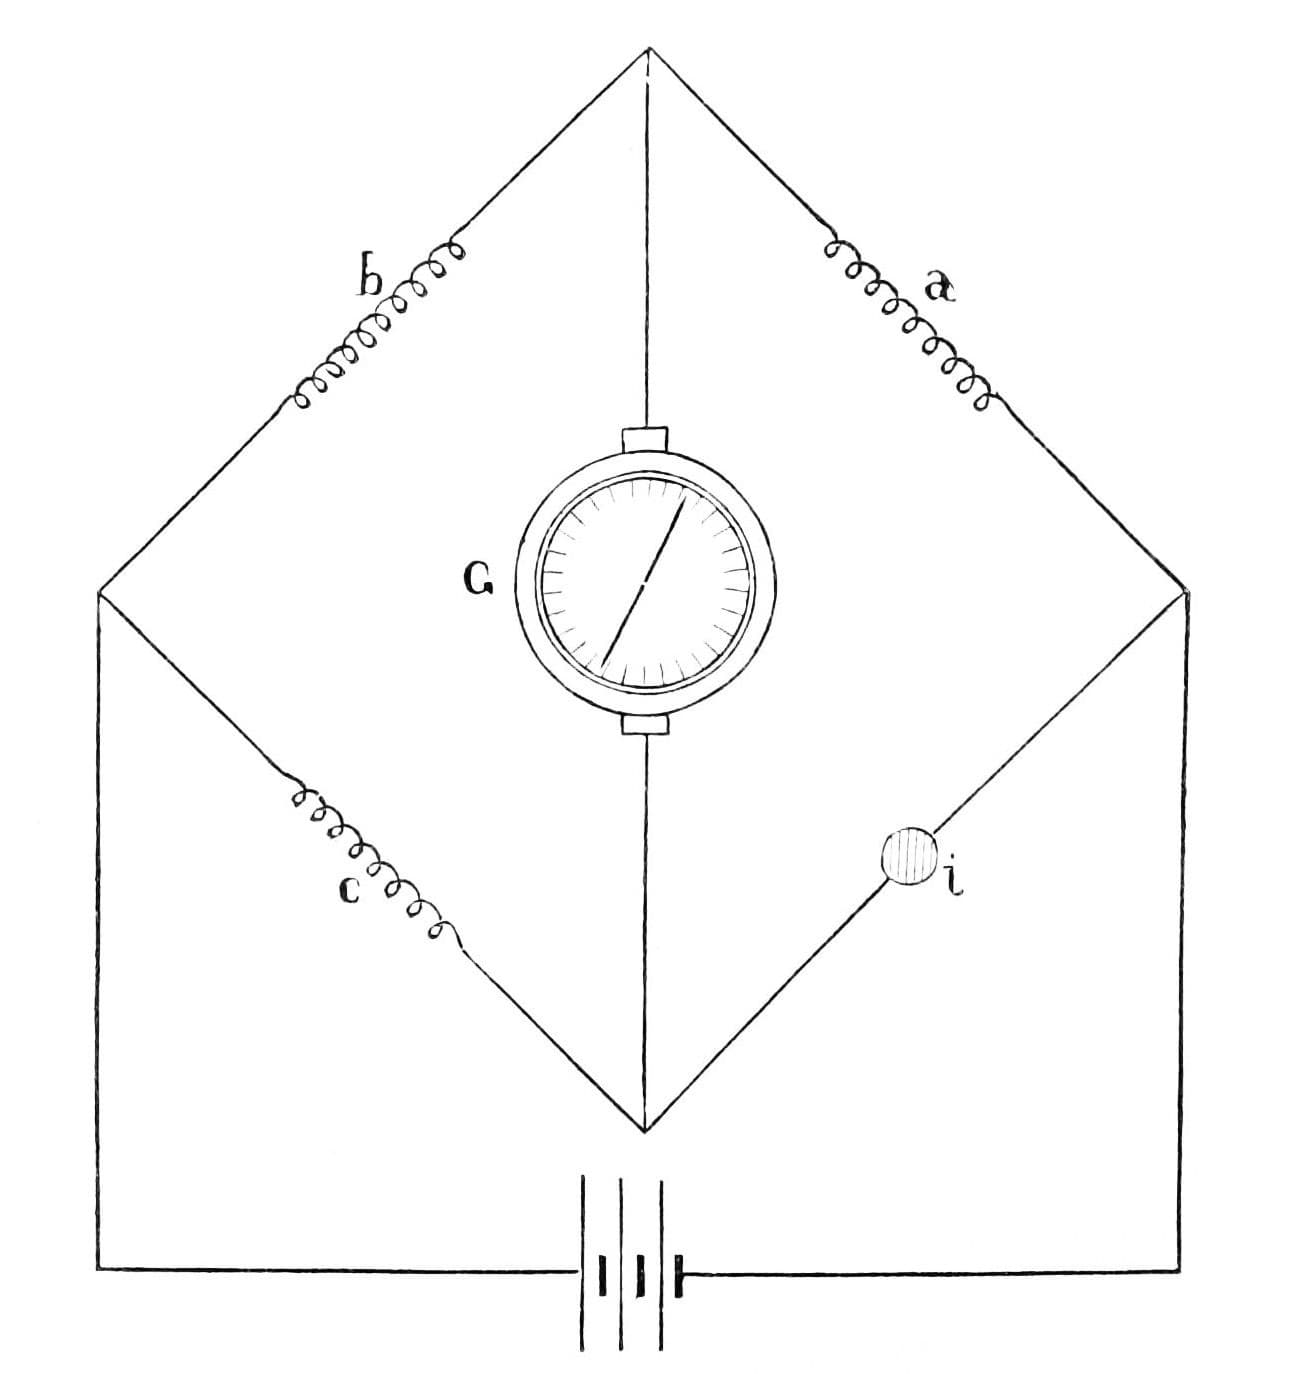
Arthur C. Ruge of Cambridge, Massachusetts, one of the two inventors of the bonded wire strain gauge, patented this load weighing cell in 1949, US 2,472,047 (filed 1946). Tanks, bins and scales rest on such cells so the weight of their contents can be read at any time. A floating piston, held in a heavy shell by two diaphragms, passes the load straight down onto a column carrying bonded strain gauges, so tilted, off-centre and twisting loads barely affect the reading. The gauges' change of resistance can be read on a Wheatstone bridge.
Lanjutan
Workshop process
Arahan
1
1
Base and shell
Base and shell
Weld a rigid, preferably cylindrical shell to a relatively heavy base, or secure it some other way.
Bahan untuk langkah ini:
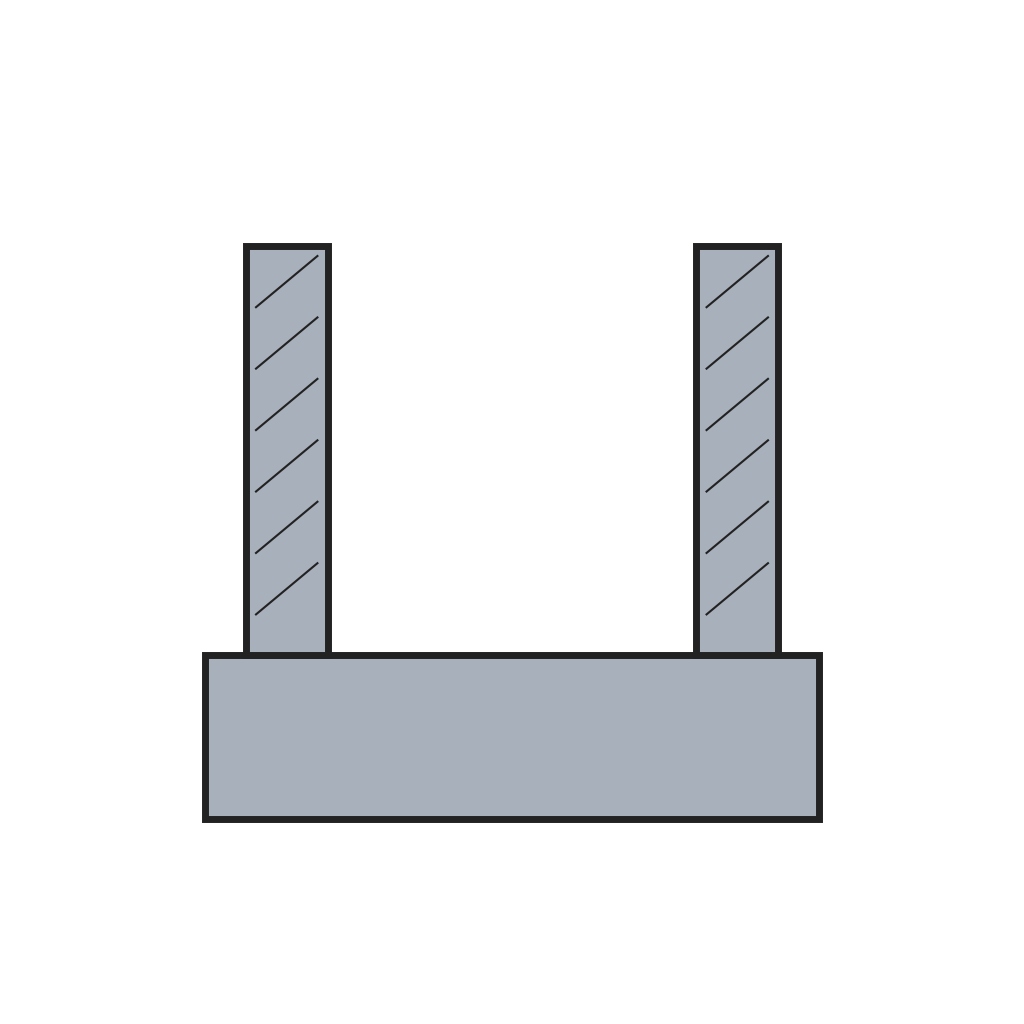 Tapak dan Cangkerang Silinder Sel Beban1 keping
Alatan diperlukan:
 Mesin kimpalan arka
2
2
Load column and gauges
Load column and gauges
Screw the lower end of the load-sensitive column rigidly to the base; round its upper end to a half-sphere. Bond wire strain gauges to its surface at several points around it, so bending cancels out, and mount gauges of the same type crosswise for temperature compensation. The column may be round, but square, solid or hollow, makes the gauges easier to apply. Its capacity is set by its cross-section and the stiffness of its material.
Bahan untuk langkah ini:
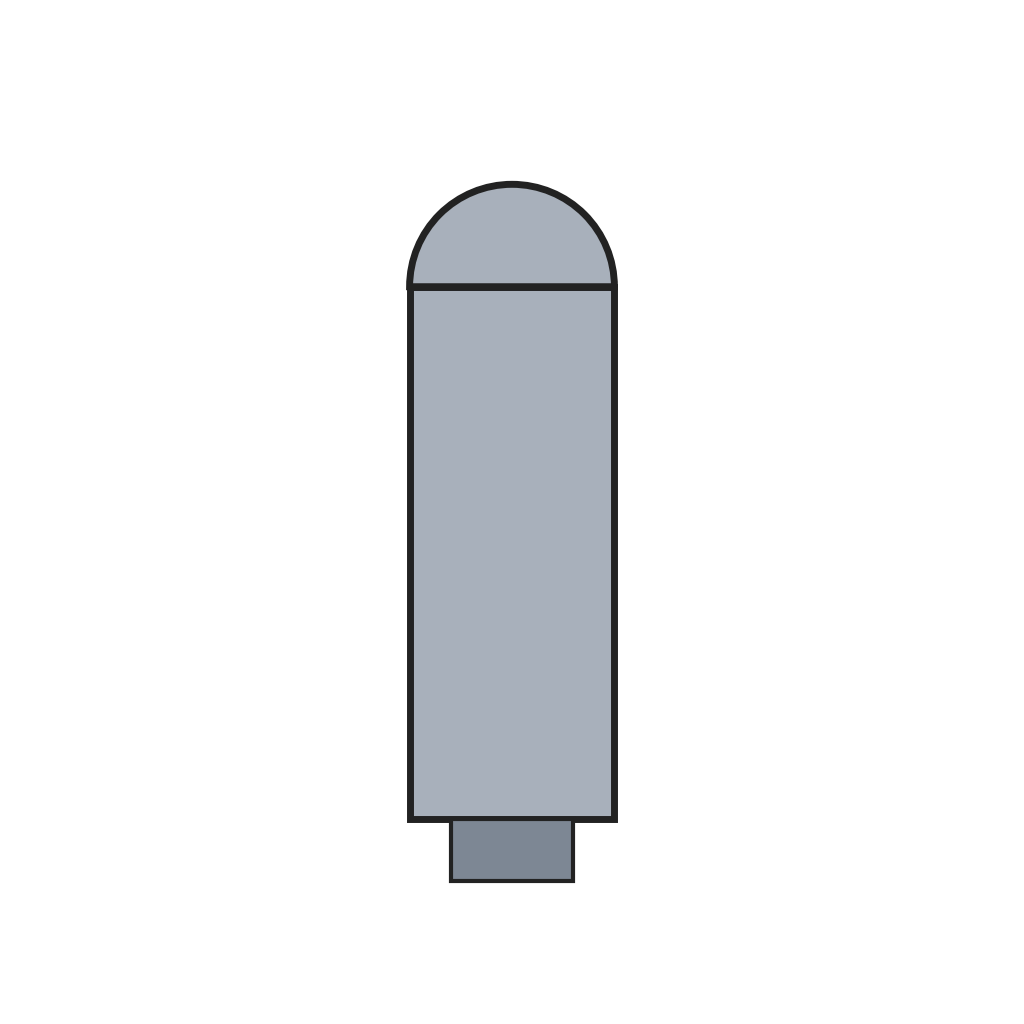 Tiang Peka Beban1 keping
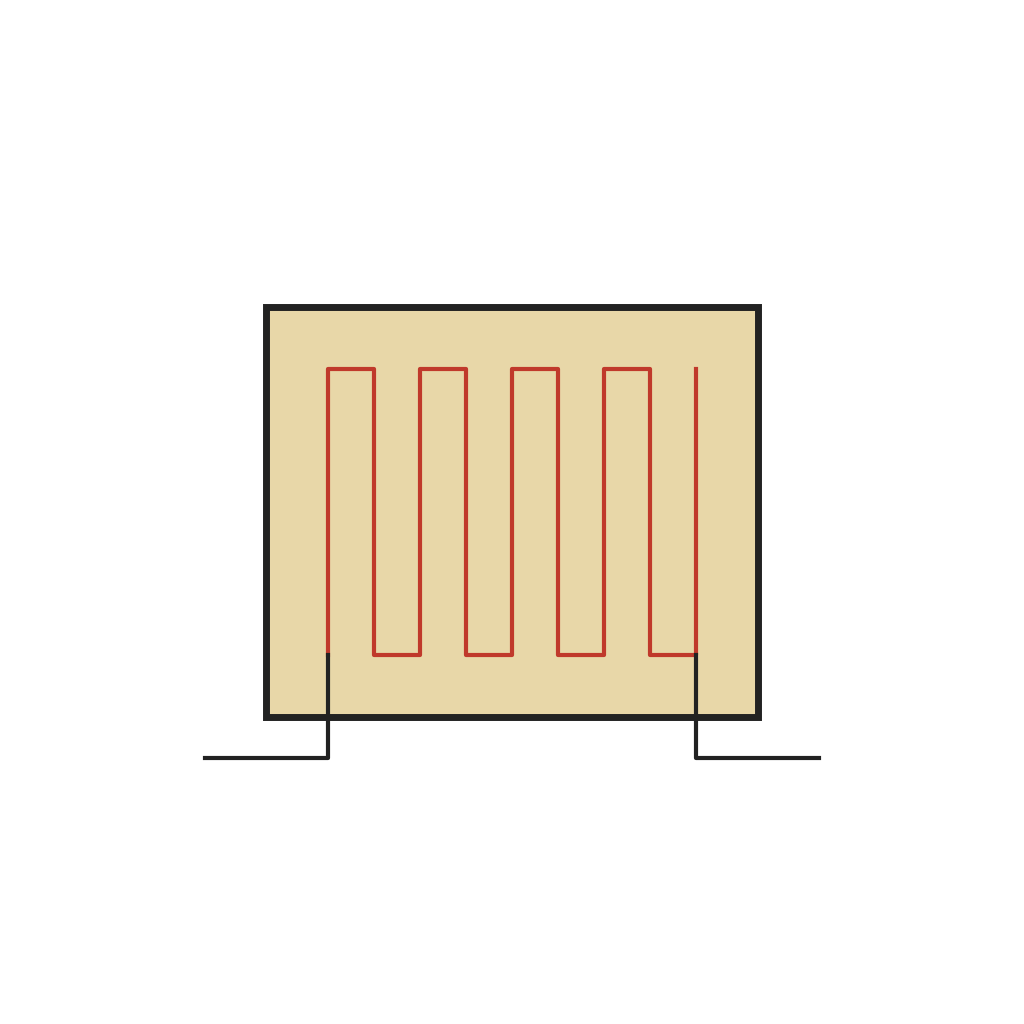 Tolok Terikan Dawai Terlekat1 set
Alatan diperlukan:
 Set pemutar skru
3
3
Floating piston
Floating piston
Bore the piston so the column reaches up inside it and its rounded end bears on the end of the bore. Centre the piston in the shell with two annular diaphragms, upper and lower, welded or brazed to piston and shell: widely spaced, they let it move freely up and down but resist side loads and off-centre loads.
Bahan untuk langkah ini:
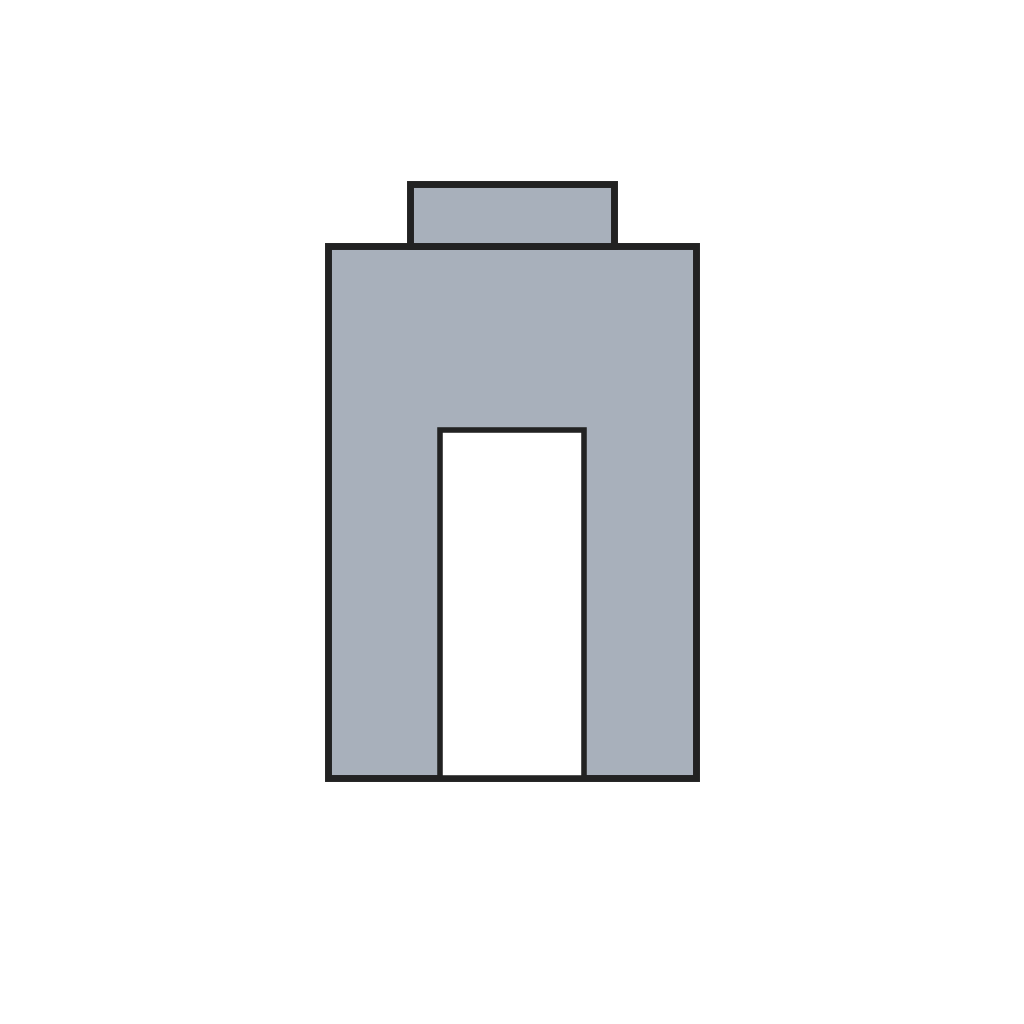 Omboh Beban Terapung1 keping
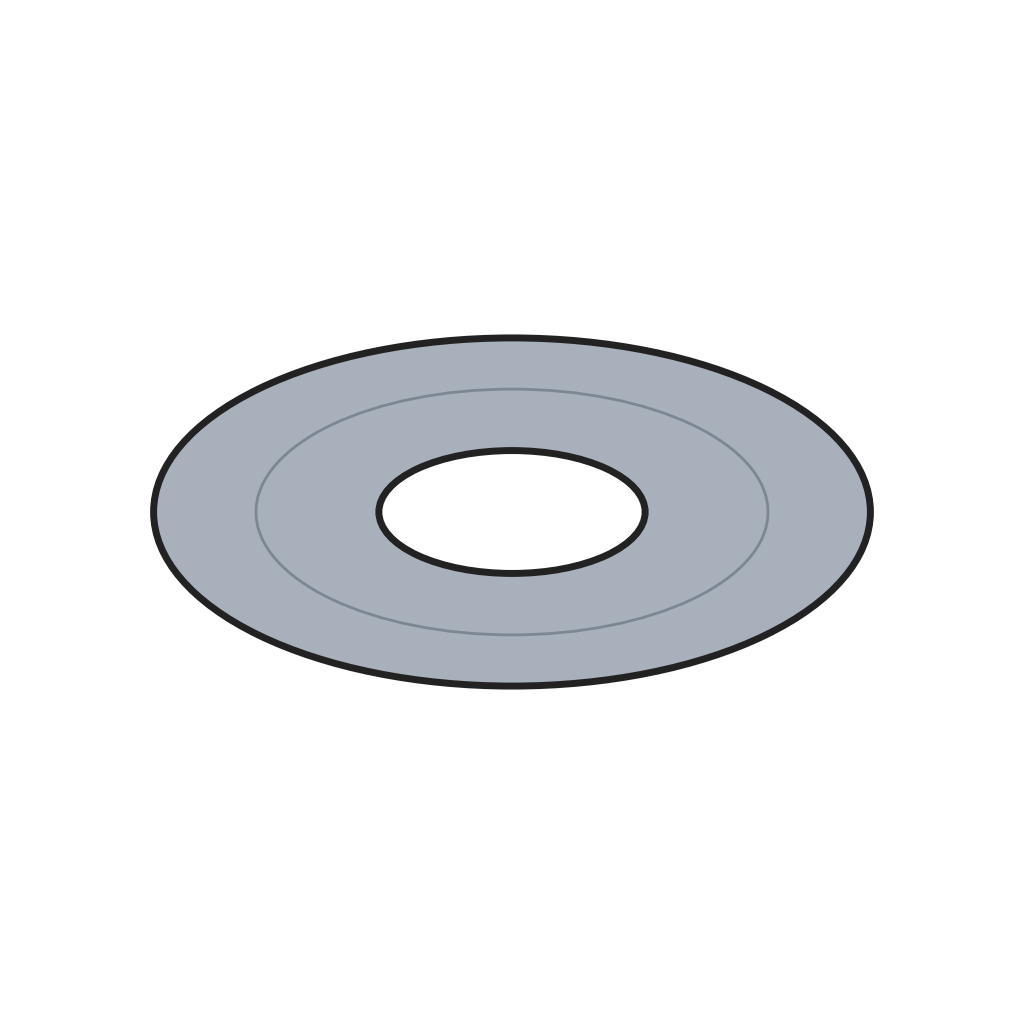 Diafragma Pemandu Anulus2 keping
Alatan diperlukan:
 Mesin Pelarik LogamMesin kimpalan arka
4
4
Overload ring and leads
Overload ring and leads
Set a safety ring under the piston with a small clearance: past a safe load, the piston lands on it and the excess goes straight to the base. Bring the gauge leads down through a hole in the ring and out through the lower diaphragm to an external cable. The gauges may be wired as a Wheatstone bridge. The cell can be sealed all round by brazing, or potted.
Bahan untuk langkah ini:
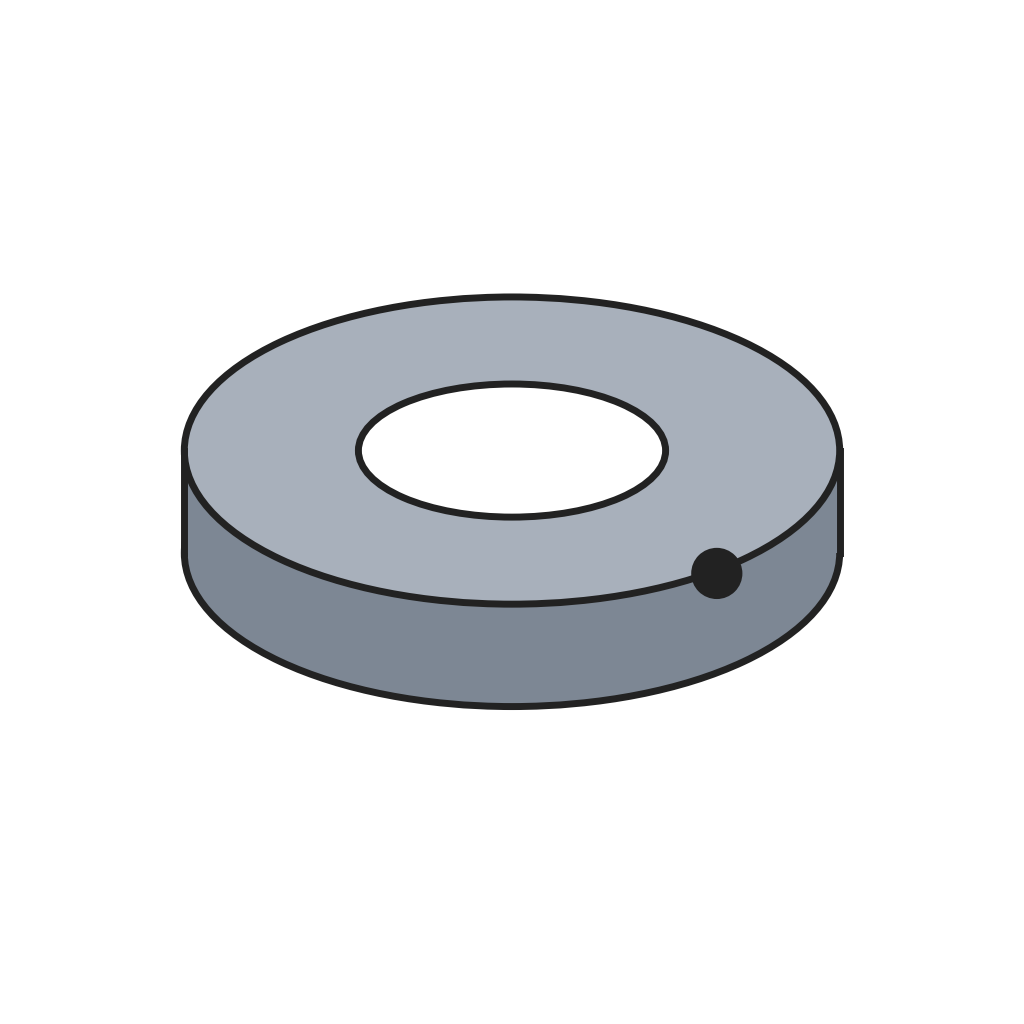 Cincin Keselamatan Lebihan Beban1 keping
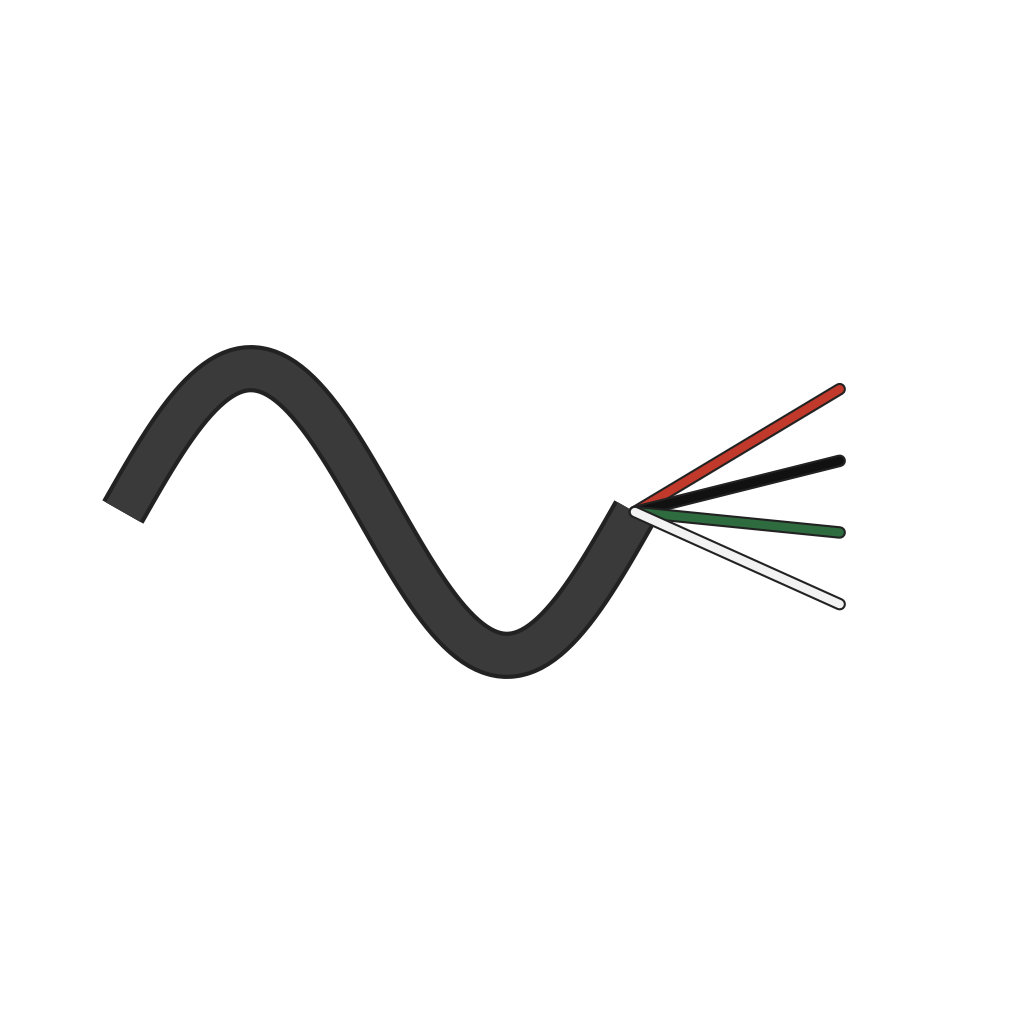 Kabel berbilang teras1 keping
 Dawai Pateri1 as required
Alatan diperlukan:
 Besi Pateri Elektrik
 Playar pelucut wayar
5
5
Zero check
Zero check
To read the zero without moving the tank, seat a fixed ball race on top of the shell and a turning race above it, with balls between on a slightly inclined cam surface and a second row of balls under the loaded surface. Turning the upper race with a bar or spanner lifts the load a few thousandths of an inch off the piston; read the bridge, then turn it back.
Bahan untuk langkah ini:
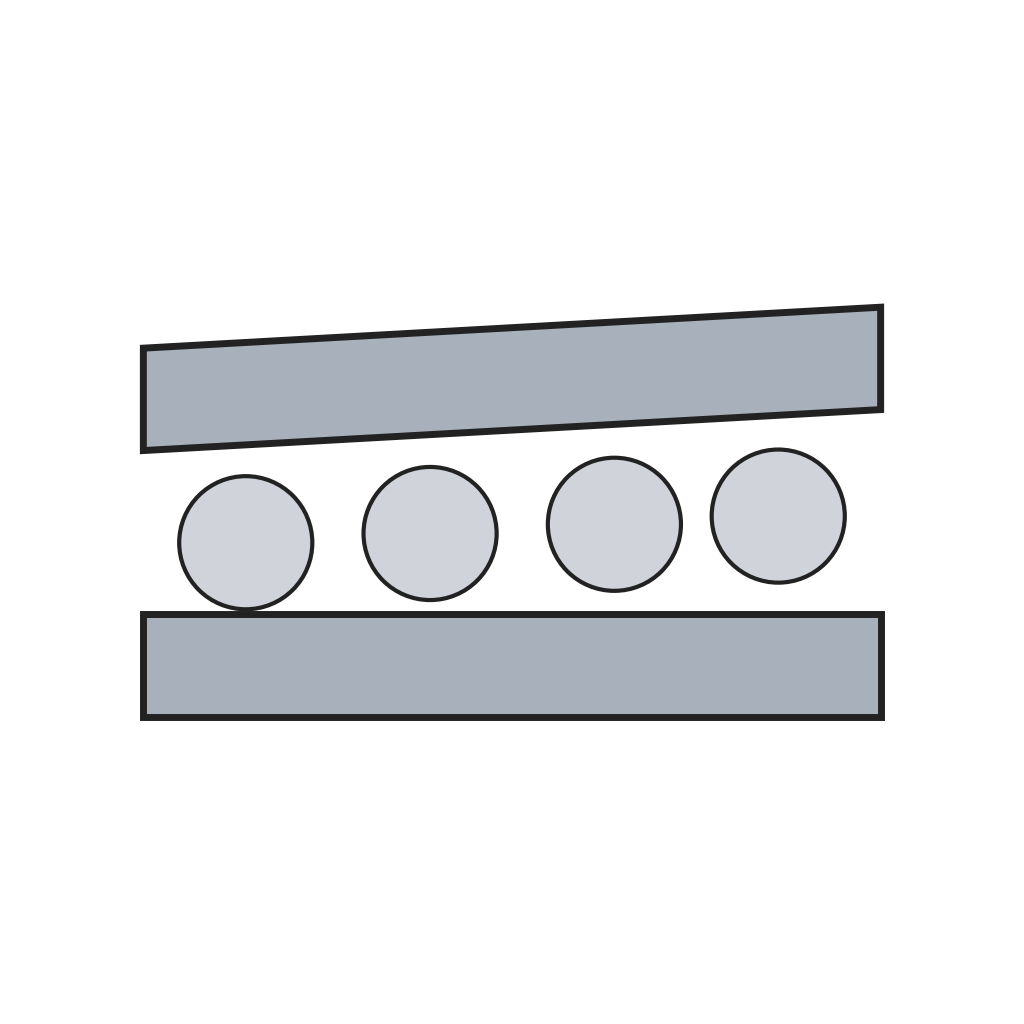 Pasangan Laluan Bebola Sesondol1 keping
 Galas bebola keluli (set)1 set
Alatan diperlukan:
 Sepana boleh laras
Bahan
10- Pemegang Tempat
- 1 kepingPemegang Tempat
- Pemegang Tempat
- 1 kepingPemegang Tempat
- 2 kepingPemegang Tempat
- 1 kepingPemegang Tempat
- 1 kepingPemegang Tempat
- 1 as requiredPemegang Tempat
- 1 kepingPemegang Tempat
- Pemegang Tempat
Alatan Diperlukan
6- Pemegang Tempat
- Pemegang Tempat
- Pemegang Tempat
- Pemegang Tempat
- Pemegang Tempat
- Pemegang Tempat
Blueprint ini membuat
Blueprint berkaitan
Blueprint ini berkongsi pengetahuan — teknik, bahan atau prinsip

CC0 Domain Awam
Blueprint ini dikeluarkan di bawah CC0. Anda bebas menyalin, mengubah, mengedar, dan menggunakan karya ini untuk sebarang tujuan, tanpa meminta kebenaran.
Sokong Pembuat dengan membeli produk melalui Blueprint mereka di mana mereka memperoleh Komisen Pembuat ditetapkan oleh Penjual, atau cipta iterasi baru Blueprint ini dan sertakan ia sebagai sambungan dalam Blueprint anda sendiri untuk berkongsi hasil.