IṢẸ́ ỌNÀ
ẸWÀ ÀTI ÌLERA
IṢẸ́ ỌWỌ́
ÀṢÀ ÀTI ÌTÀN
ÌṢERÉ
ÀYÍKÁ
OÚNJẸ ÀTI OHUN MÍMU
REVERSE ENGINEERING
SÁYẸ́ǸSÌ
ERÉ ÌDÁRAYÁ
ÌMỌ̀-Ẹ̀RỌ
ÀWỌN OHUN WÍWỌ̀
Hammering Bronze Sheet from a Cast Ingot — Raising and Planishing
Forge

Ṣẹ́dá nipasẹ̀

Forge

26. Oṣù Karún 2026NO
26
0
0
0
0

Hammering Bronze Sheet from a Cast Ingot — Raising and Planishing

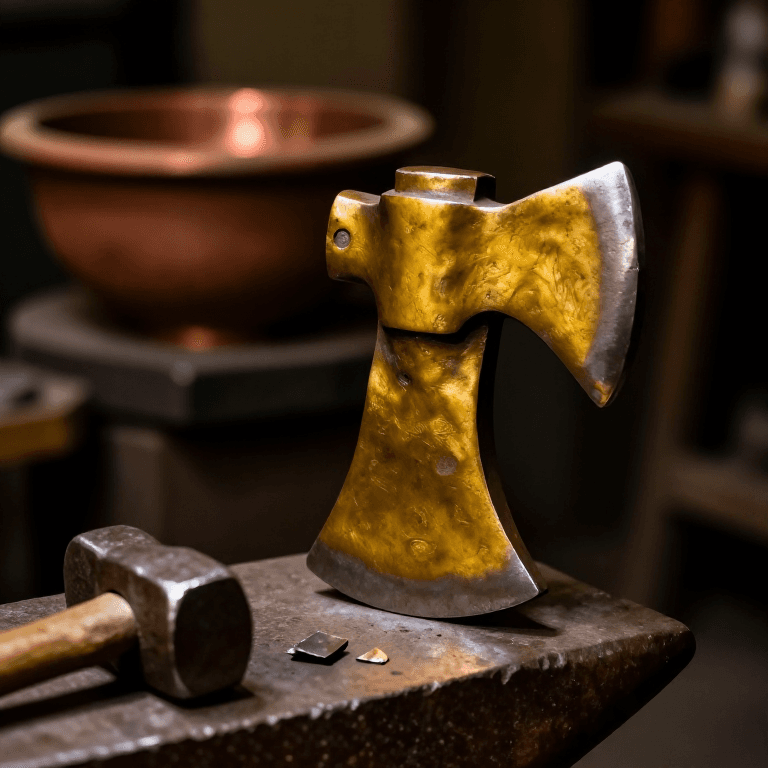
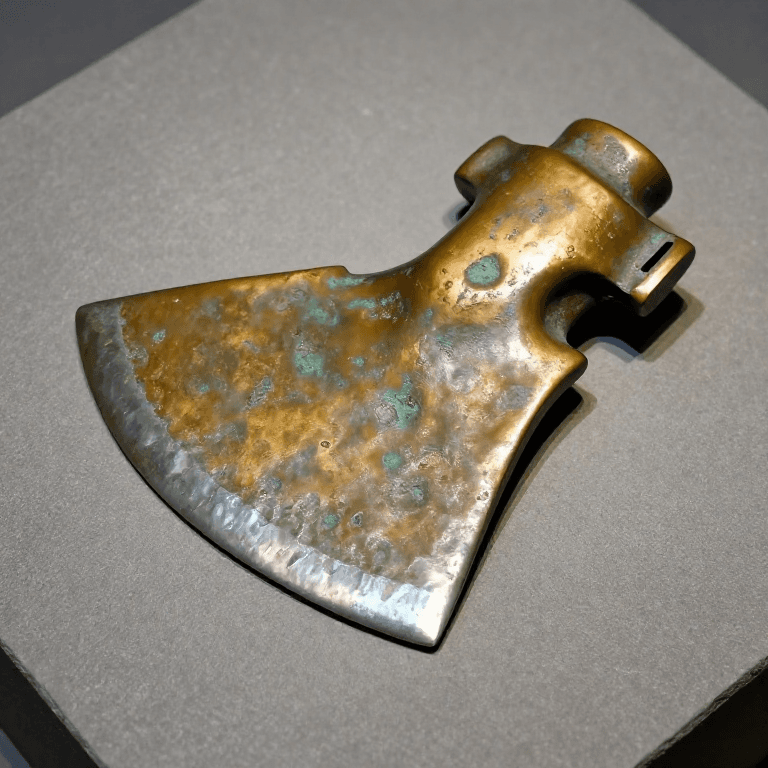
Sheet bronze was the material behind Bronze Age armour, vessels, mirrors, and decorative work. Unlike casting which produces a fixed shape, sheet-working starts with a flat ingot and transforms it through repeated cycles of hammering and annealing into sheets as thin as 0.5 mm — thinner than modern cardboard.

The process exploits a fundamental property of bronze: cold-hammering compresses the crystal grains, making the metal harder and thinner with each blow. But this work-hardening also makes the bronze brittle. Before it cracks, the smith heats it to dull red (annealing), which recrystallises the grain structure and restores ductility. A single ingot may go through 10-15 anneal-hammer cycles to reach usable sheet thickness.

The finished sheet can then be cut, bent, raised into vessels, riveted, engraved, or embossed — opening the full range of Bronze Age metalcraft.

Àárín
3-5 hours (multiple anneal-hammer cycles)

Ìlànà

1

Cast a flat ingot

Pour molten bronze into a shallow rectangular depression carved in a flat stone slab — approximately 15 cm long, 8 cm wide, and 1.5 cm deep. Allow to cool completely. The resulting ingot is the raw stock for sheet-working. A rougher ingot works fine; the hammering process will refine the surface.

Àwọn ohun èlò fún ìgbésẹ̀ yìí:

Copper Sheet (0.5-1mm)Copper Sheet (0.5-1mm)500 g
2

Set up the anvil stone

Select the flattest, hardest stone available — granite or dense river cobble. The anvil surface must be larger than the ingot and as smooth as possible. Every dent in the anvil transfers to the sheet as a raised bump. Bed the stone firmly in packed earth so it does not shift during hammering.

Àwọn irinṣẹ́ tí a nílò:

Flat Stone SlabFlat Stone Slab
3

First hammering pass — rough thinning

Place the ingot on the anvil. Using a smooth-faced hammerstone, strike the ingot with firm, overlapping blows in straight rows across the entire surface. Always work in one direction per pass, then rotate the ingot 90 degrees for the next pass. This cross-hammering prevents the metal from stretching unevenly. After 100-150 blows the ingot noticeably thins and spreads.

Àwọn irinṣẹ́ tí a nílò:

HammerstoneHammerstone
4

First anneal

The ingot is now work-hardened and resists further hammering. Place it in a charcoal fire and heat until it glows dull cherry red throughout — about 500-600 °C. Remove with tongs and let cool in still air. The bronze is now soft again. Do not quench in water; rapid cooling does not harden bronze (unlike steel) but can cause thermal shock cracking in thick sections.

Àwọn ohun èlò fún ìgbésẹ̀ yìí:

CharcoalCharcoal2 kg

Àwọn irinṣẹ́ tí a nílò:

Long-Handled TongsLong-Handled Tongs
5

Continue hammer-anneal cycles

Repeat the hammering and annealing cycle. Each cycle reduces the thickness by roughly 30-40%. Track your progress: starting from 15 mm thick ingot, after cycle 1 you reach about 10 mm, cycle 2 about 6 mm, cycle 3 about 4 mm, and so on. The sheet grows wider and longer with each pass. Trim ragged edges with a sharp flint flake between cycles.
6

Detect and prevent edge cracking

After each anneal, inspect the sheet edges carefully. Small cracks appear at the edges first because the thinner edges work-harden faster than the centre. If you see cracks forming, trim them immediately with a flint cutter before the next hammering pass — a crack that propagates into the sheet body ruins the entire piece. Anneal more frequently near the end when the sheet is thin.
7

Final thinning to usable sheet

After 8-12 anneal-hammer cycles, the sheet should be 1-2 mm thick — suitable for vessels, armour, and decorative work. For mirrors or ornaments, continue to 0.5-0.8 mm. At this thickness the bronze becomes semi-transparent when held to bright light. Each blow must be lighter and more precise — over-striking creates thin spots that tear.
8

Planish the surface

Anneal the finished sheet one final time. Then, using the smoothest stone available, strike the entire surface with very light, rapid, overlapping blows. This planishing pass does not thin the sheet further — it removes the visible hammer marks from the thinning passes and leaves a smooth, uniform surface. Work systematically in rows so no area is missed.

Àwọn irinṣẹ́ tí a nílò:

Smooth StoneSmooth Stone
9

Polish (optional)

For mirrors or decorative pieces, rub the planished sheet with progressively finer abrasives — coarse sand, then fine sand, then wet clay on a leather pad. Bronze polishes to a mirror finish that reflects an image clearly. The ancient Egyptians used this method for hand mirrors. A final rub with animal fat protects the surface from tarnishing.

Àwọn ohun èlò fún ìgbésẹ̀ yìí:

Fine SandFine Sand100 g

Àwọn ohun-èlò

5

Àwọn irinṣẹ́ tó nílò

4

CC0 Àgbègbè Gbogbogbò

Blueprint yìí ti jáde lábẹ́ CC0. O lè ṣe àdàkọ, yí padà, pín, àti lò láìsí ìyọ̀ǹda.

Ṣàtìlẹ́yìn Olùṣẹ́dá nípa rírà àwọn ọjà nipasẹ̀ Blueprint wọn Ẹ̀san Olùṣẹ́dá tí àwọn Olùtajà gbé kalẹ̀, tàbí ṣẹ̀dá àtúnṣe tuntun ti Blueprint yìí kí o sì fi sínú Blueprint rẹ gẹ́gẹ́ bí ìsopọ̀ láti pín owó-wíwọlé.

Ìfọ̀rọ̀wérọ̀

(0)

Wọlé láti dara pọ̀ mọ́ ìfọ̀rọ̀wérọ̀

Ń gbé àwọn ọ̀rọ̀ wọlé...