IṢẸ́ ỌNÀ
ẸWÀ ÀTI ÌLERA
IṢẸ́ ỌWỌ́
ÀṢÀ ÀTI ÌTÀN
ÌṢERÉ
ÀYÍKÁ
OÚNJẸ ÀTI OHUN MÍMU
REVERSE ENGINEERING
SÁYẸ́ǸSÌ
ERÉ ÌDÁRAYÁ
ÌMỌ̀-Ẹ̀RỌ
ÀWỌN OHUN WÍWỌ̀
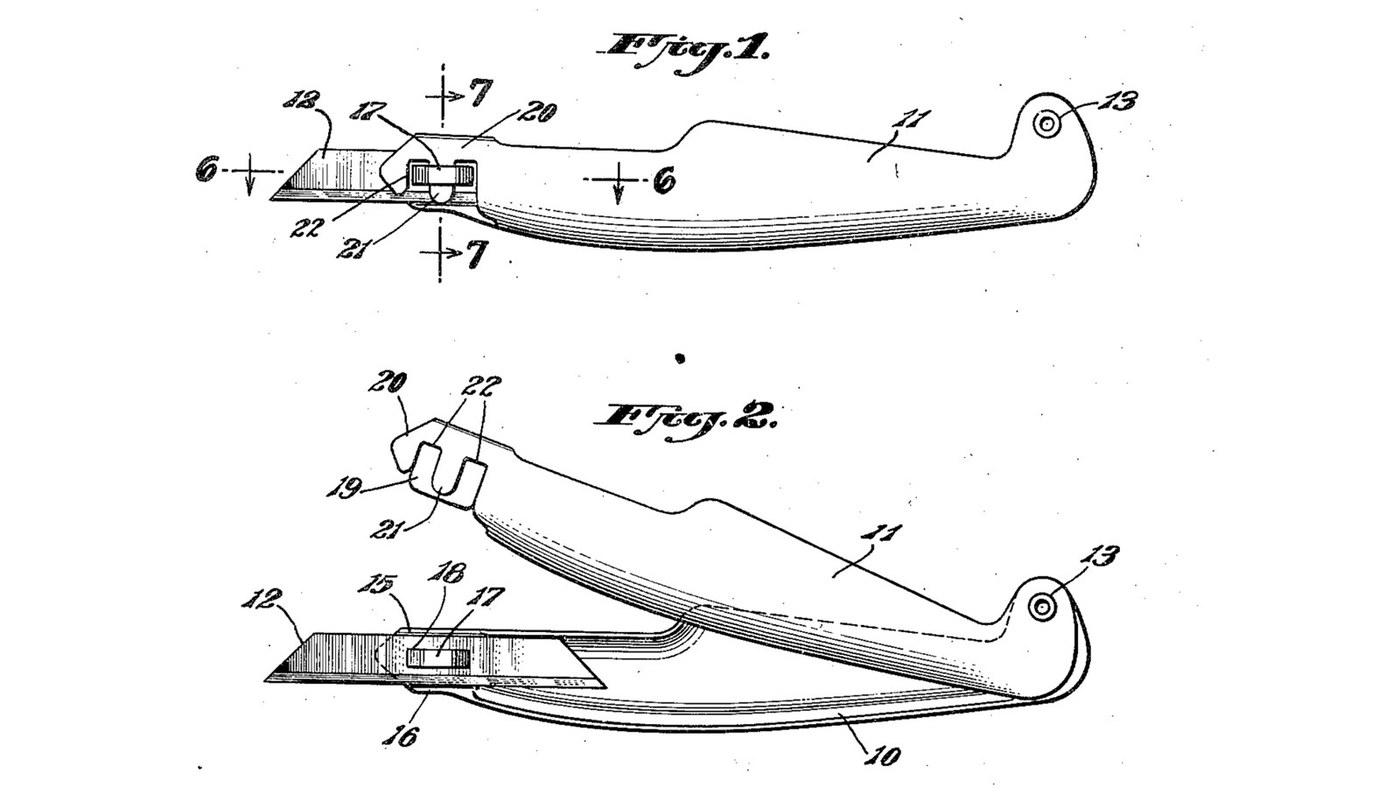


Craft Knife: Doniger's Hinged Handle and Reversible Blade
A knife for model carving and fine cutting, by Sundel Doniger of New York, founder of X-Acto (US 2,463,682, filed 1945, granted 1949). The handle is two shell-like metal halves pivoted at the rear. A thin blade with a slot in its middle drops over a small 'staple' pressed out of one half; closing the other half pushes a tongue into the staple and locks the blade solid. Swing it open to change the blade or turn it end for end: the spare end rests inside the handle.
The patent gives no sizes or metals. Mild steel sheet, the rivet, the spring steel blade and the sizes are ours. The picture: Figs. 1 and 2 of the patent.
Àárín
1 day
Ìlànà
1
1
Mark out the two handle halves
Mark out the two handle halves
Scribe two mirror-image halves, about 130 mm long, on mild steel sheet about 0.8 mm thick (ours). Give each a flat rear ear for the pivot and a nose at the blade end.
Àwọn ohun èlò fún ìgbésẹ̀ yìí:
 Ìwé Irin Pẹ́lẹ́1 ẹyọ
Àwọn irinṣẹ́ tí a nílò:
 Abẹ́rẹ́ Ìkọ Ìlà
 Ìdíwọ̀n
2
2
Cut and file the halves
Cut and file the halves
Cut both halves out with tin snips and file the edges smooth.
Àwọn irinṣẹ́ tí a nílò:
 Ìlàǹkàn irin
 Ìfá Irin
 Ìdìmú Tábìlì
3
3
Dome the grip, keep the ends flat
Dome the grip, keep the ends flat
Hammer the middle of each half into a shallow bulge over a hollow in a hardwood block. Leave the pivot ends flat, so the pivot cannot wobble, and leave the noses flat.
Àwọn irinṣẹ́ tí a nílò:
 Òòlù olórí bọ́ọ̀lù
 Ìṣù Igi Líle
4
4
Form the blade wall and its shoulders
Form the blade wall and its shoulders
On the mounting half (10), the nose is a flat wall (14) in the plane where the halves meet. Turn its top and bottom edges inward into shoulders (15, 16) just as far apart as the blade is wide.
Àwọn irinṣẹ́ tí a nílò:
 Ẹmú Ẹnu PẹrẹsẹÒòlù olórí bọ́ọ̀lùÌdìmú Tábìlì
5
5
Press out the staple
Press out the staple
Slit the middle of the wall along two short parallel lines, lengthwise. Press the strip between the slits outward to form the staple (17).
Àwọn irinṣẹ́ tí a nílò:
 Àyà irin tútù
 Igi Àmì ÀárínÒòlù olórí bọ́ọ̀lù
 Ìdí Alágbẹ̀dẹ
6
6
Bend the locking channel
Bend the locking channel
Bend the nose of the locking half (11) into a springy channel: a broad rear flange (19) about the size of the wall, and a front flange (20) with a tongue (21) and a cut-out (22) each side of it to clear the staple's legs.
Àwọn irinṣẹ́ tí a nílò:
Ìlàǹkàn irin Àkójọ Ìfá KékeréẸmú Ẹnu Pẹrẹsẹ
7
7
Drill the pivot
Drill the pivot
Clamp the halves together, punch the centre of the rear ear and drill through both.
Àwọn irinṣẹ́ tí a nílò:
Igi Àmì Àárín Ìlù ọwọ́Ìdìmú Tábìlì
8
8
Rivet the pivot
Rivet the pivot
Rivet the flat ends together (Doniger used an eyelet; ours: a steel rivet). Close it firmly: the friction of the flat ends must hold the halves wherever you swing them.
Àwọn ohun èlò fún ìgbésẹ̀ yìí:
 Ìṣó irin1 ẹyọ
Àwọn irinṣẹ́ tí a nílò:
 Òòlù ìsoÌdí Alágbẹ̀dẹ
9
9
Anneal and cut the blade blank
Anneal and cut the blade blank
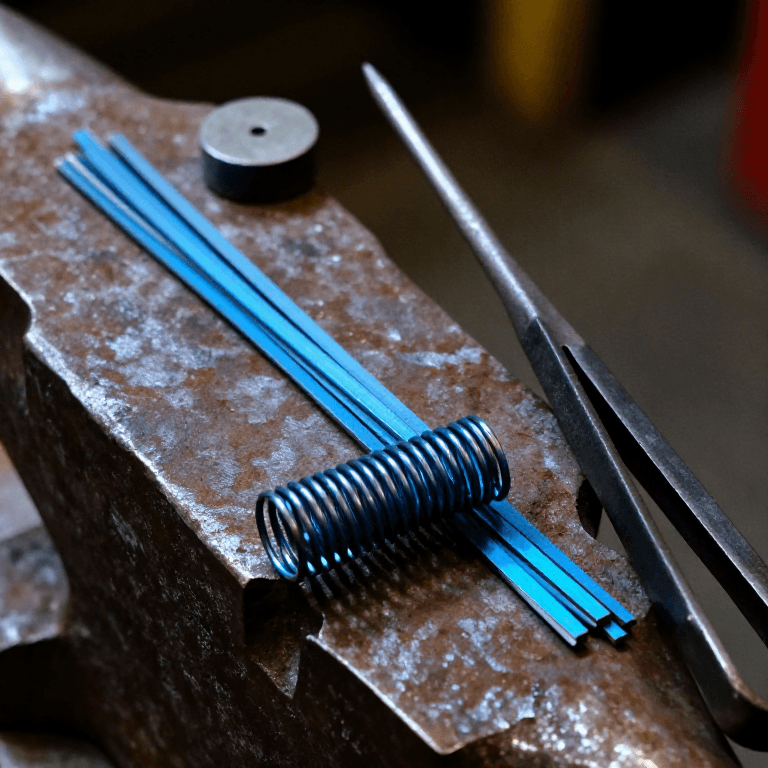
Soften a piece of spring steel strip about 0.4 mm thick (ours), as in the connected spring-steel blueprint. Cut a blank as wide as the gap between the shoulders.
Àwọn ohun èlò fún ìgbésẹ̀ yìí:
 Ọ̀pá irin orísun1 ẹyọ
Àwọn irinṣẹ́ tí a nílò:
 Ilé Iná Alágbẹ̀dẹ
 Ẹmú Alágbẹ̀dẹ
 Eérú Igi LíleÌlàǹkàn irin
 Ìbọ̀wọ́ wẹ́lídìn
10
10
Cut the centre slot
Cut the centre slot
Cut a slot (18) in the exact middle of the blank that fits closely over the staple. Drill its ends and file out between them.
Àwọn irinṣẹ́ tí a nílò:
Igi Àmì ÀárínÌlù ọwọ́Àkójọ Ìfá KékeréÌdìmú Tábìlì11
11
Shape both points
Shape both points
Cut each end of the blank to a slanting point, as in Fig. 1, and grind a cutting bevel at both ends.
Àwọn irinṣẹ́ tí a nílò:
Ìlàǹkàn irin Òkúta ìpọ́n oníkẹ̀kẹ́Ìfá Irin
12
12
Harden and temper the blade
Harden and temper the blade
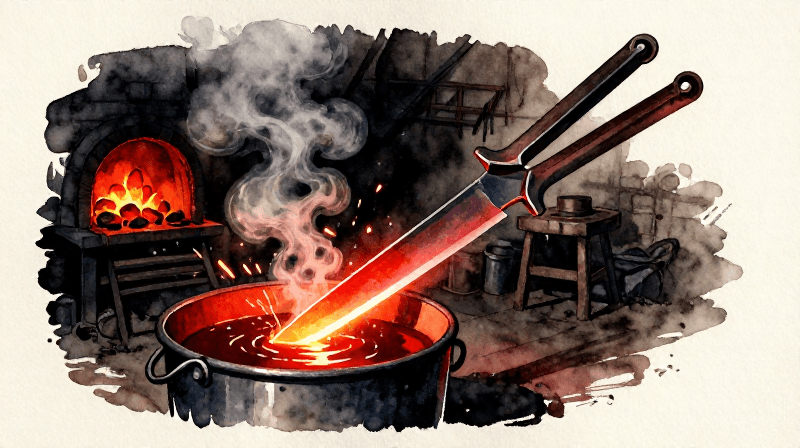
Harden the blade in oil as in the connected spring-steel blueprint. Temper it to the knife colour given in the connected heat-treatment blueprint, not to spring blue.
Àwọn irinṣẹ́ tí a nílò:
Ilé Iná Alágbẹ̀dẹẸmú Alágbẹ̀dẹ Òróró canolaÌbọ̀wọ́ wẹ́lídìn
13
13
Hone both edges
Hone both edges
Hone both ends keen on the sharpening stone.
Àwọn irinṣẹ́ tí a nílò:
 Òkúta Ìpọ́n
14
14
Fit and lock the blade
Fit and lock the blade
Swing the halves open. Lay the blade flat on the wall, its slot over the staple and its edges between the shoulders. Swing the locking half shut: the tongue enters the staple and the channel grips the blade. No tools needed.
15
15
Reverse or change the blade
Reverse or change the blade
Swing the locking half up, lift the blade off the staple and turn it end for end, or fit a new one. The spare end sits protected inside the handle.
16
16
What the patent says, and what is ours
What the patent says, and what is ours
The patent fixes the parts and how they lock: hinged shell halves, flat riveted pivot ends that hold by friction, a wall with shoulders and a pressed-out staple, a slotted double-ended blade, a springy channel with tongue and cut-outs. It gives no sizes, no metals and no blade making. All sizes, the mild steel, the rivet and the spring steel blade are our choices. Doniger's better-known X-Acto knives hold the blade in a round collet instead.
Àwọn ohun-èlò
3- 1 ẹyọÀyè
- 1 ẹyọÀyè
- 1 ẹyọÀyè
Àwọn irinṣẹ́ tó nílò
21- Àyè
- Àyè
- Àyè
- Àyè
- Àyè
- Àyè
- Àyè
- Àyè
- Àyè
Ìtọ́nisọ́nà yìí ń ṣe

Blueprint tó jọra
Àwọn blueprint wọ̀nyí pín ìmọ̀ — ọ̀nà, ohun-èlò tàbí ìlànà

CC0 Àgbègbè Gbogbogbò
Blueprint yìí ti jáde lábẹ́ CC0. O lè ṣe àdàkọ, yí padà, pín, àti lò láìsí ìyọ̀ǹda.
Ṣàtìlẹ́yìn Olùṣẹ́dá nípa rírà àwọn ọjà nipasẹ̀ Blueprint wọn Ẹ̀san Olùṣẹ́dá tí àwọn Olùtajà gbé kalẹ̀, tàbí ṣẹ̀dá àtúnṣe tuntun ti Blueprint yìí kí o sì fi sínú Blueprint rẹ gẹ́gẹ́ bí ìsopọ̀ láti pín owó-wíwọlé.