Turning a Bowl on a Pole Lathe — Foot-Powered Green Wood Turning
The pole lathe is the oldest form of powered turning — a foot treadle spins the workpiece against a cutting tool, and the spring of a bent pole returns the treadle for the next stroke. It produces work identical in quality to a modern lathe but operates on human power alone. Bowl turning on a pole lathe was a specialist trade in medieval Europe — the bodger (itinerant chair-maker) and the bowl turner worked in the forest where the timber grew, using nothing but a pole lathe, a drawknife, and a set of turning gouges.
Pole lathe turning is intermittent — the workpiece spins toward the tool on the down-stroke (cutting) and reverses on the return stroke (no cutting). This alternating motion means the turner only cuts on half the cycle, but the rhythm becomes natural within minutes. The key advantage is control: the speed is proportional to the foot pressure, so the turner can slow down for delicate finishing cuts and speed up for roughing.
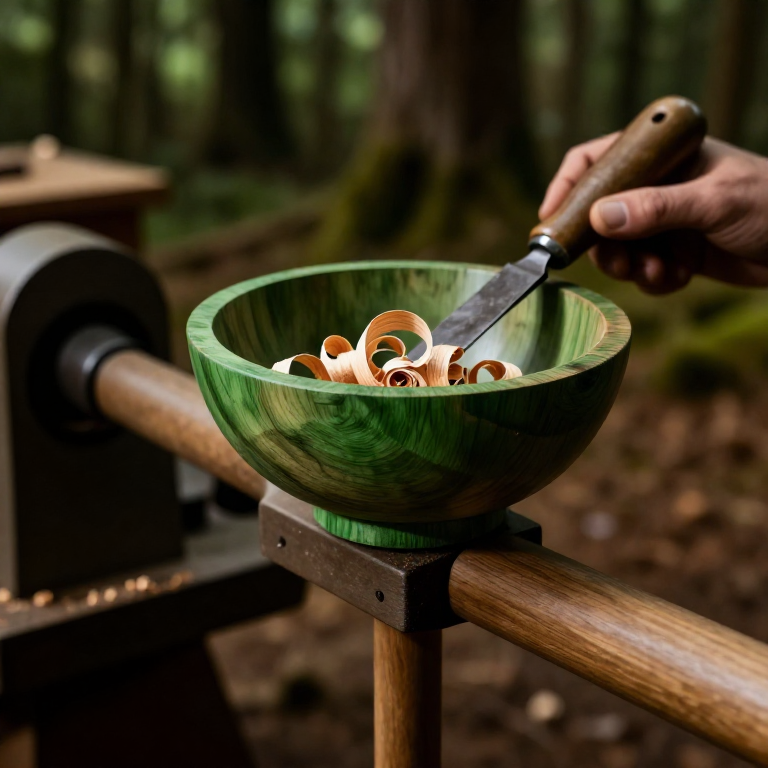
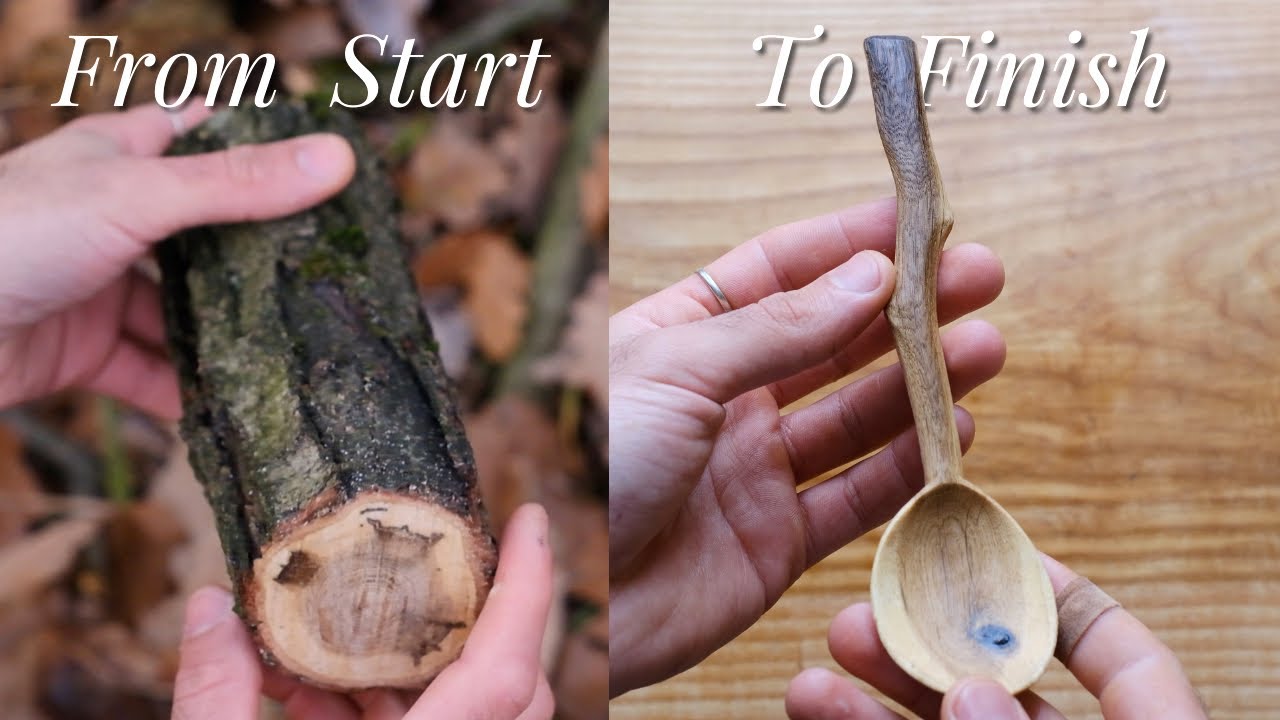
Bowls are turned from a disc-shaped blank cut across the grain of a green log. Green wood turns easily, producing long ribbons of shaving. The finished bowl is removed from the lathe while still damp and left to dry slowly — it will distort slightly into an oval as the grain shrinks unevenly, a characteristic signature of pole-lathe work.
Instructions
Prepare a bowl blank from a green log
Prepare a bowl blank from a green log
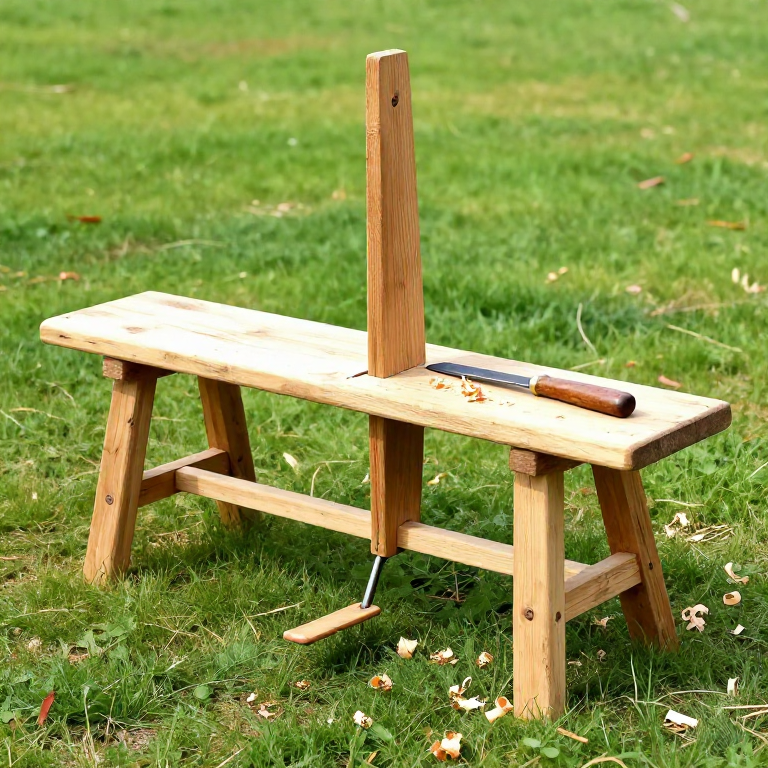
Mount the blank on the pole lathe
Mount the blank on the pole lathe
Rough-turn the outside
Rough-turn the outside
Tools needed:
 Wood Gouge
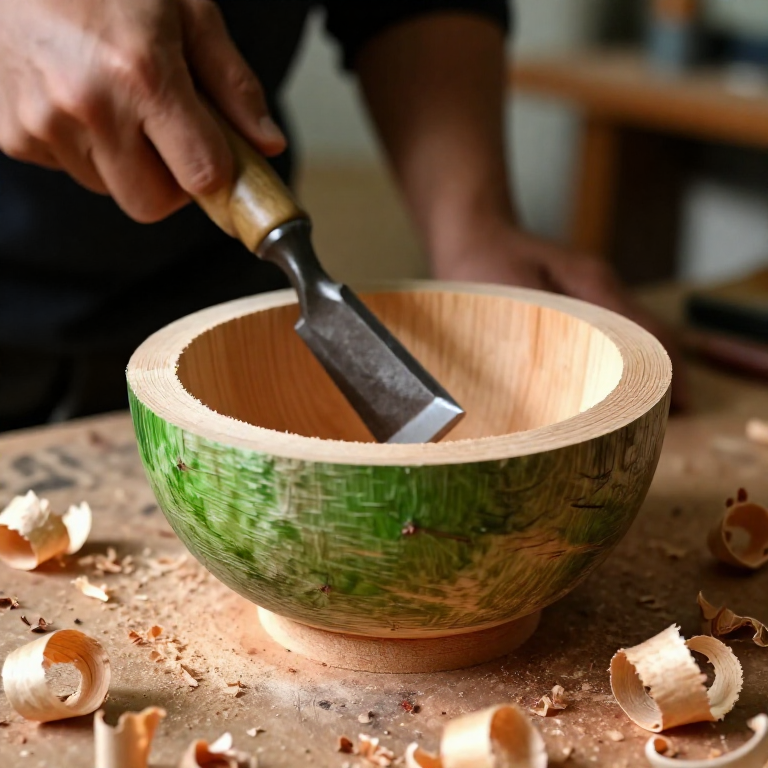
Hollow the inside
Hollow the inside
Finish-turn and smooth
Finish-turn and smooth
Part off and dry the bowl
Part off and dry the bowl
Tools Required
1- Placeholder
Connected Blueprint Materials
Related Blueprints
These blueprints share knowledge with this one — techniques, materials, or principles that connect them in the learning graph.
Related blueprints
Other builds that share materials, tools, or techniques with this one.
CC0 Public Domain
This blueprint is released under CC0. You are free to copy, modify, distribute, and use this work for any purpose, without asking permission.
Support the Maker by purchasing products through their Blueprint where they earn a Maker Commission set by Vendors, or create a new iteration of this Blueprint and include it as a connection in your own Blueprint to share revenue.