IṢẸ́ ỌNÀ
ẸWÀ ÀTI ÌLERA
IṢẸ́ ỌWỌ́
ÀṢÀ ÀTI ÌTÀN
ÌṢERÉ
ÀYÍKÁ
OÚNJẸ ÀTI OHUN MÍMU
REVERSE ENGINEERING
SÁYẸ́ǸSÌ
ERÉ ÌDÁRAYÁ
ÌMỌ̀-Ẹ̀RỌ
ÀWỌN OHUN WÍWỌ̀

Off-Axis Holography
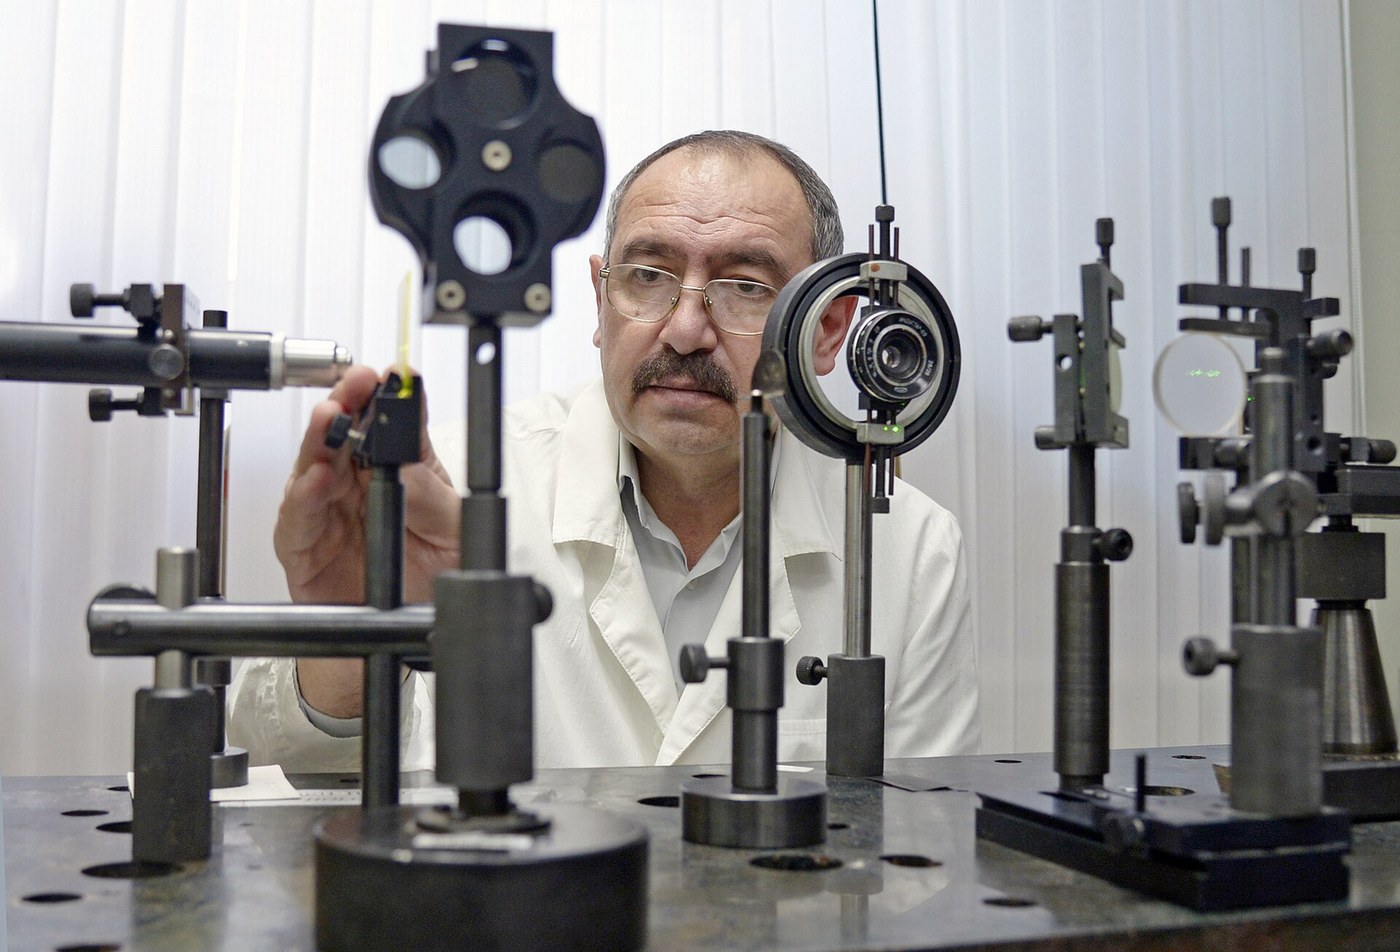
Dennis Gabor was trying to fix the electron microscope. Spherical aberration in the lenses was the limit, and in 1947 he had the idea of recording the electron wave itself — amplitude AND phase — and correcting it afterwards with light. He published it in Nature in 1948 and called the record a hologram, from the Greek for 'the whole'.
It barely worked. Gabor had no coherent source, only a filtered mercury arc, and his geometry put the reference beam straight down the same axis as the object. On playback the wanted image and an out-of-focus twin image sat on top of each other and could not be separated.
Fourteen years later Emmett Leith and Juris Upatnieks at the University of Michigan fixed it with an idea imported from side-looking radar, which they had been working on: bring the reference beam in at an ANGLE. That angle is a spatial carrier frequency, and it pushes the twin image off to one side where it cannot interfere with the real one. With a laser instead of a mercury arc, they made the first recognisable three-dimensional holograms in 1964. Independently, Yuri Denisyuk in Leningrad had shown in 1962 that a reflection hologram recorded through the plate plays back in ordinary white light. Gabor received the Nobel Prize in 1971.
FULLY BUILDABLE, AND ONE OF THE BEST PROJECTS IN OPTICS. A laser diode module, a tray of sand, a holographic plate and a small bright object are the entire apparatus. The Denisyuk single-beam geometry needs no beam splitter and no alignment worth the name. What it does need is stillness — a fringe is a third of a micrometre wide, so anything that moves by that much during the exposure erases the recording. Half of learning holography is learning to wait.
Àárín
5 hours
Ìlànà
1
1
Build the sandbox and kill the vibration
Build the sandbox and kill the vibration
Fill a rigid tray about 400 mm square to a depth of 100 mm with clean dry sand. Stand it on a heavy table, on top of a slab of foam or a partly inflated inner tube. Sand damps high frequencies; the soft layer isolates the low ones.
Bury the laser module and the plate holder in the sand up to their necks so nothing is standing on a stalk. Everything in the beam path must sit on the SAME mass, or a temperature change will move one part relative to another.
Test it before you use a plate: set up a Michelson-like pair of reflections off two objects in the sand, project the interference onto a card, and watch. If the fringes are still moving after five minutes of settling, find the source — a fan, a fridge compressor, footsteps, a draught — and stop it. A fringe is about 0.3 micrometres wide.
Àwọn ohun èlò fún ìgbésẹ̀ yìí:
 Iyanrìn Kuátsì15 kg
Àwọn irinṣẹ́ tí a nílò:
 Ìkójọpọ̀ holography (ti ara ẹni, laser diode)
 Dígí olójú iwájú
 Gíláàsì Ààbò Leser
 Aago Ìdúró
2
2
Set the Denisyuk geometry
Set the Denisyuk geometry
Mount the laser module 1 to 1.5 m from the plate holder, aimed so its diverging beam covers the whole plate area evenly. Remove or defocus the collimating lens so the beam spreads; a spatial filter is better but is not required.
Put the object directly BEHIND the plate holder, as close as it will go without touching — a millimetre or two. In this geometry the reference beam passes through the plate, hits the object, and reflects straight back into the emulsion. The two beams are almost exactly counter-propagating.
Choose the object carefully. Bright, matte and pale wins: a coin, a small unglazed ceramic figure, a pale shell. Chrome and glass fail, and the notebook shows why in numbers — the reference-to-object intensity ratio goes past 50:1 and the fringe contrast collapses.
Put a card in front of the laser as a shutter. You will open it by moving the card, never by switching the laser, because switching changes the wavelength as the diode cools.
Àwọn irinṣẹ́ tí a nílò:
Ìkójọpọ̀ holography (ti ara ẹni, laser diode) Ìdìpọ̀ ẹ̀rọ diode laser
 Òṣùwọ̀n Kálípà Díjítà Ìnṣì 6Gíláàsì Ààbò Leser
3
3
Fringe spacing, coherence length, beam ratio
Fringe spacing, coherence length, beam ratio
Ń ṣí ìwé Jupyter…
Àwọn irinṣẹ́ tí a nílò:
 Kọ̀ǹpútà Tábìlì
4
4
Expose, develop and bleach
Expose, develop and bleach
Work under the amber safelight only, and only after checking the plates are not panchromatic — red-sensitive emulsions such as PFG-03M need near-total darkness or a very dim green safelight, not amber. Check the box.
Load the plate emulsion-side towards the laser. Let everything settle for five minutes with the card shutter closed. Expose by lifting the card without touching the tray, for the time from the notebook. Replace the card.
Develop for the time on the packet, stop, fix, and wash. At this point you have a dark amplitude hologram that will play back faintly.
Then BLEACH it. The bleach converts the developed silver into a transparent salt, turning an absorbing pattern into a pattern of refractive index. The hologram goes from dark and dim to clear and bright, because it now diffracts instead of absorbing. Wash thoroughly, add a drop of wetting agent, and dry vertically in still air.
Àwọn ohun èlò fún ìgbésẹ̀ yìí:
 Ìṣètò àwo holographic 3D (ṣe é fúnra rẹ)1 ẹyọ
 Ohun ìṣí pẹpẹ holography1 ẹyọ
 Ohun ìfọ́ àwọ̀ pátákó hologram1 ẹyọ
 Ìbọ̀wọ́ Nítírílì1 ẹyọ
Àwọn irinṣẹ́ tí a nílò:
 Ìtànná ààbò yàrá òkùnkùn (ámbà, LED)Aago Ìdúró
 Ìkójọpọ̀ kẹ́míkà fíìmù (ohun ìmúhàn, ohun ìdádúró, ohun ìdì - dúdú àti funfun)
5
5
Compendium: the twin image, and why half a hologram is whole
Compendium: the twin image, and why half a hologram is whole
VIEW IT PROPERLY. Hold the dried plate under a single small bright source — a bare LED bulb, a halogen spot, or direct sunlight — from the same side and the same angle the laser came from. A diffuse room light will show nothing, because a diffuse source is a superposition of every angle at once and washes the reconstruction out.
WHAT GABOR'S PROBLEM ACTUALLY WAS. A recorded interference pattern is a real quantity, so on playback it necessarily produces TWO diffracted orders: the wanted virtual image and a conjugate real image at the mirror angle. With an in-line reference the two lie on the same axis and cannot be told apart. Leith and Upatnieks' off-axis reference imposes a spatial carrier, and the two orders separate in angle. It is the same trick as putting a signal on a carrier in radio, which is exactly where they got it — from synthetic-aperture radar.
WHY DENISYUK'S VERSION PLAYS BACK IN WHITE LIGHT. Counter-propagating beams write fringes as planes lying parallel to the plate surface, half a wavelength apart INSIDE the emulsion. That is a volume Bragg stack, and a Bragg stack reflects only the wavelength it was tuned to. Shine white light on it and it selects its own colour. A transmission hologram has no such selectivity and needs a laser or a very narrow filter.
WHY HALF A HOLOGRAM IS STILL WHOLE. Every point on the plate received light from every point on the object, so every region records the entire scene — just from its own viewing angle. Break the plate and each fragment still shows the whole object, with a narrower window to look through and a coarser resolution. This is not true of a photograph, where each point on the film maps to one point on the subject, and it is the sharpest possible statement of what the difference between the two actually is.
WHEN IT FAILS. Blank plate: coherence length too short, or the object too far behind the plate, or something moved. Dim but present: underexposed, or you skipped the bleach. Milky: incomplete fixing or drying too fast. Fringes visible but no image: the object moved relative to the plate, which is nearly always the plate holder flexing rather than the object.
Àwọn ohun-èlò
5- 15 kgÀyè
- Àyè
- Àyè
- 1 ẹyọÀyè
Àwọn irinṣẹ́ tó nílò
9- Àyè
Blueprint tó jọra
Àwọn blueprint wọ̀nyí pín ìmọ̀ — ọ̀nà, ohun-èlò tàbí ìlànà
The Semiconductor Laser Diode
láti ọwọ́ Ed
Ẹ̀rọ Ìtanná
41
0
0
0
0
0
The Fabry-Perot Optical Cavity
láti ọwọ́ Penny
Ẹ̀rọ Ìtanná
45
0
0
0
0
0
The Helium-Neon Laser
láti ọwọ́ Penny
Ẹ̀rọ Ìtanná
40
0
0
0
0
0
Photographic Film
láti ọwọ́ Mary
Iṣẹ́ Bébà
50
0
0
0
2
0

Léwu
Making a Daguerreotype — The First Practical Photograph, Drawn in Silver and Mercury
láti ọwọ́ Legolas
Yíya Fọ́tò
45
0
0
0
0
0
Sheet Polariser
láti ọwọ́ Penny
Àwọn Ohun Èlò
29
0
0
0
0
0
CC0 Àgbègbè Gbogbogbò
Blueprint yìí ti jáde lábẹ́ CC0. O lè ṣe àdàkọ, yí padà, pín, àti lò láìsí ìyọ̀ǹda.
Ṣàtìlẹ́yìn Olùṣẹ́dá nípa rírà àwọn ọjà nipasẹ̀ Blueprint wọn Ẹ̀san Olùṣẹ́dá tí àwọn Olùtajà gbé kalẹ̀, tàbí ṣẹ̀dá àtúnṣe tuntun ti Blueprint yìí kí o sì fi sínú Blueprint rẹ gẹ́gẹ́ bí ìsopọ̀ láti pín owó-wíwọlé.