IṢẸ́ ỌNÀ
ẸWÀ ÀTI ÌLERA
IṢẸ́ ỌWỌ́
ÀṢÀ ÀTI ÌTÀN
ÌṢERÉ
ÀYÍKÁ
OÚNJẸ ÀTI OHUN MÍMU
REVERSE ENGINEERING
SÁYẸ́ǸSÌ
ERÉ ÌDÁRAYÁ
ÌMỌ̀-Ẹ̀RỌ
ÀWỌN OHUN WÍWỌ̀
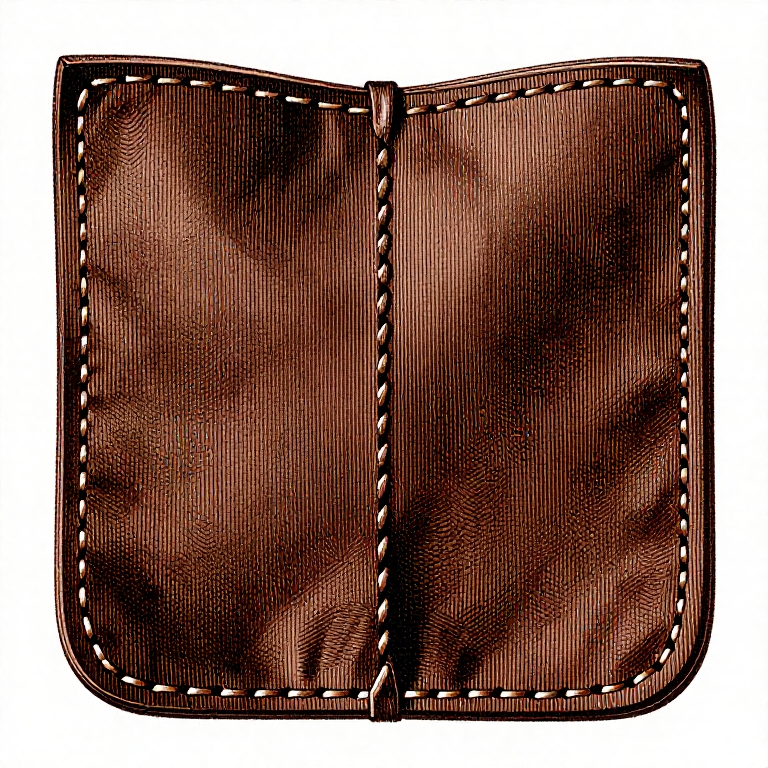


The Saddle Stitch: Cut It Anywhere and It Still Holds
A sewing machine makes a lockstitch: two threads knotted to each other inside the material. Cut it at one point and the stitches either side can unravel in turn.
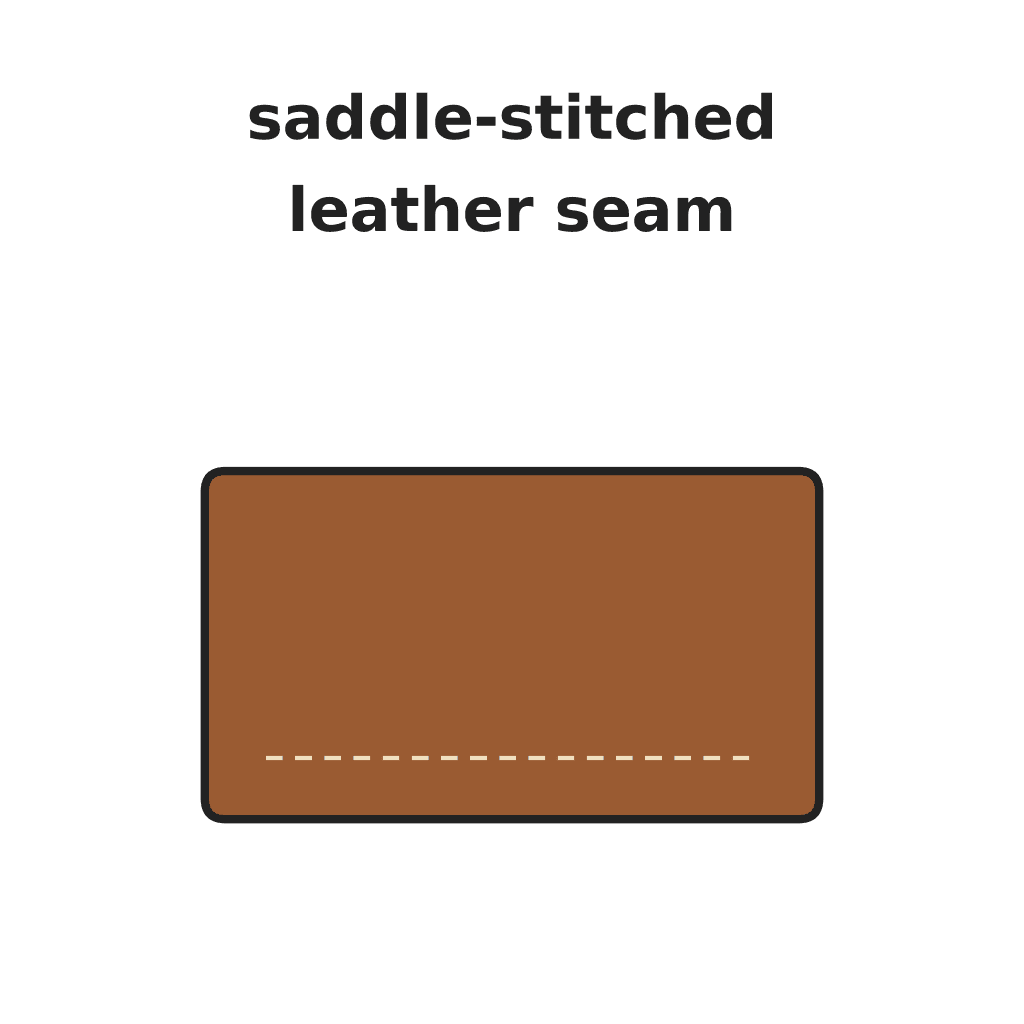
A saddle stitch passes a single thread through every hole from both sides, so each hole carries two independent passes locked to nothing. Cut it and the neighbouring stitches stay exactly where they are. That is why harness, saddlery and serious bags are still sewn by hand, two hundred years after the sewing machine.
It is also slow, and it looks wrong if the holes are wrong — so most of this rung is about making the holes, not about passing the thread.
Àárín
4 hours
Ìlànà
1
1
Marking and making the holes
Marking and making the holes
**Mark the stitch line first**, parallel to the edge, with a wing divider or a stitching groover. A groover cuts a shallow channel that the thread then sits **below** the surface in, protected from abrasion — which is why a grooved seam on the sole side of a shoe lasts.
Distance from the edge: about **three to four times the leather thickness**, and never less than twice. Too close and the stitches tear out through the edge.
**Mark the hole positions with a pricking iron**, struck once with a mallet. The iron's job is to mark evenly spaced slanted slits, not to go all the way through.
**Open the holes with a diamond awl**, one at a time as you sew, pushing from the front so the slant is consistent. On thin leather the iron alone may go through; on anything thick the awl is what makes the hole.
**Keep the awl vertical across the seam and angled along it.** An awl that leans puts the back holes out of line with the front ones, and a seam that looks perfect from the front and drunk from the back is always this.
**Clamp the work in a stitching pony.** Both hands are needed for the needles.
Àwọn ohun èlò fún ìgbésẹ̀ yìí:
 Awọ tí a fi ewéko kàn2 ẹyọ
Àwọn irinṣẹ́ tí a nílò:
 Ọ̀kọ̀ Ìlùhò
 Òòlù Igi
 Ìdíwọ̀n
 Àwo ìgé tí ó ń wo ara rẹ̀ sàn
2
2
Thread, spacing and the numbers
Thread, spacing and the numbers
Ń ṣí ìwé Jupyter…
Àwọn irinṣẹ́ tí a nílò:
 Kọ̀ǹpútà Tábìlì
3
3
The stitch itself
The stitch itself
**Thread both ends** of one length, with a needle at each end. Linen thread is waxed with beeswax first: the wax stiffens the thread so it feeds, protects it from abrasion in the hole, and seals the finished seam a little.
**The cycle, and it never changes:**
1. Push the front needle through the hole
2. Pull it until the thread is even on both sides
3. Push the back needle through the SAME hole
4. Pull both tight together
5. Move to the next hole
**Always pass the second needle on the same side of the first thread.** Above or below — it does not matter which, but it must be the same every time. This is the single detail that makes a seam look even, and changing halfway is instantly visible.
**Do not pierce the thread already in the hole.** If the needle catches it, back out and go round. A pierced thread cannot be pulled tight and is a weak point.
**Tension the same every stitch.** Pull with the same firmness each time; the eye reads variation in tension as crookedness.
**Finish** by back-stitching two or three holes, then cut the thread flush and melt or burnish the end. Do not knot it: a knot is a lump, and the back-stitch is what actually holds.
Àwọn ohun èlò fún ìgbésẹ̀ yìí:
Awọ tí a fi ewéko kàn2 ẹyọ Ìdí Oyin1 ẹyọ
Àwọn irinṣẹ́ tí a nílò:
 Ìkójọpọ̀ ìránṣọ awọ
 Abẹ́rẹ́ ìránṣọ awọ méjìỌ̀kọ̀ Ìlùhò
4
4
Lacing, and the other ways to join leather
Lacing, and the other ways to join leather
Stitching is not the only join, and several traditions in the catalogue use none.
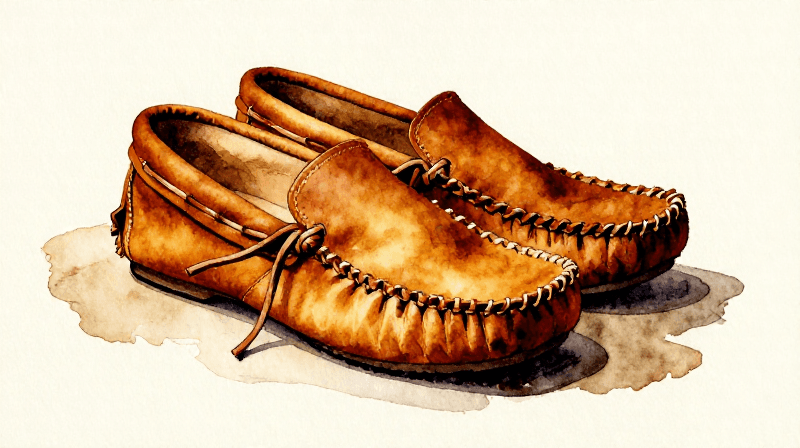
**Lacing.** A leather thong through punched holes. Fast, decorative, strong enough for a pouch or a moccasin, and it needs no needle and no waxed thread. It is the join on most of the prehistoric leatherwork here, and it is the right answer whenever the holes can be large.
**Rivets.** Instant, very strong in shear, and permanent. The hardware rung covers them. A rivet at each end of a stitched seam takes the load off the thread where it is highest.
**Adhesive.** Contact cement on both flesh surfaces. It is not a structural join on its own — it is what holds two pieces in position while they are stitched, and it stops the layers shifting under the awl. Nearly every professionally made piece is glued before it is sewn.
**Wet-formed and shrunk rawhide.** A rawhide lace put on wet shrinks as it dries and grips harder than anything else available without metal. That is how the parfleche and most hafted tools in the catalogue are held together.
Choose by the load and by whether it must be repairable. A stitched seam can be re-sewn; a riveted one cannot be taken apart without destroying the rivet.
Àwọn ohun èlò fún ìgbésẹ̀ yìí:
 Ìlà awọ tí a tọ́jú pẹ̀lú ewéko1 ẹyọ
 Okùn awọ fún dídì1 ẹyọ
Àwọn irinṣẹ́ tí a nílò:
 Àkójọ ohun ìlu awọ
 Ohun èlò ìlu ihò awọÒòlù Igi
Àwọn ohun-èlò
4- Àyè
- 1 ẹyọÀyè
- Àyè
- 1 ẹyọÀyè
Àwọn irinṣẹ́ tó nílò
9- Àyè
- Àyè
- Àyè
Ìtọ́nisọ́nà yìí ń ṣe
Blueprint tó jọra
Àwọn blueprint wọ̀nyí pín ìmọ̀ — ọ̀nà, ohun-èlò tàbí ìlànà
CC0 Àgbègbè Gbogbogbò
Blueprint yìí ti jáde lábẹ́ CC0. O lè ṣe àdàkọ, yí padà, pín, àti lò láìsí ìyọ̀ǹda.
Ṣàtìlẹ́yìn Olùṣẹ́dá nípa rírà àwọn ọjà nipasẹ̀ Blueprint wọn Ẹ̀san Olùṣẹ́dá tí àwọn Olùtajà gbé kalẹ̀, tàbí ṣẹ̀dá àtúnṣe tuntun ti Blueprint yìí kí o sì fi sínú Blueprint rẹ gẹ́gẹ́ bí ìsopọ̀ láti pín owó-wíwọlé.