कला
सुन्दरता र कल्याण
हस्तकला
संस्कृति र इतिहास
मनोरञ्जन
वातावरण
खाना र पेय
रिभर्स इन्जिनियरिङ
विज्ञान
खेलकुद
प्रविधि
पहिर्न मिल्ने
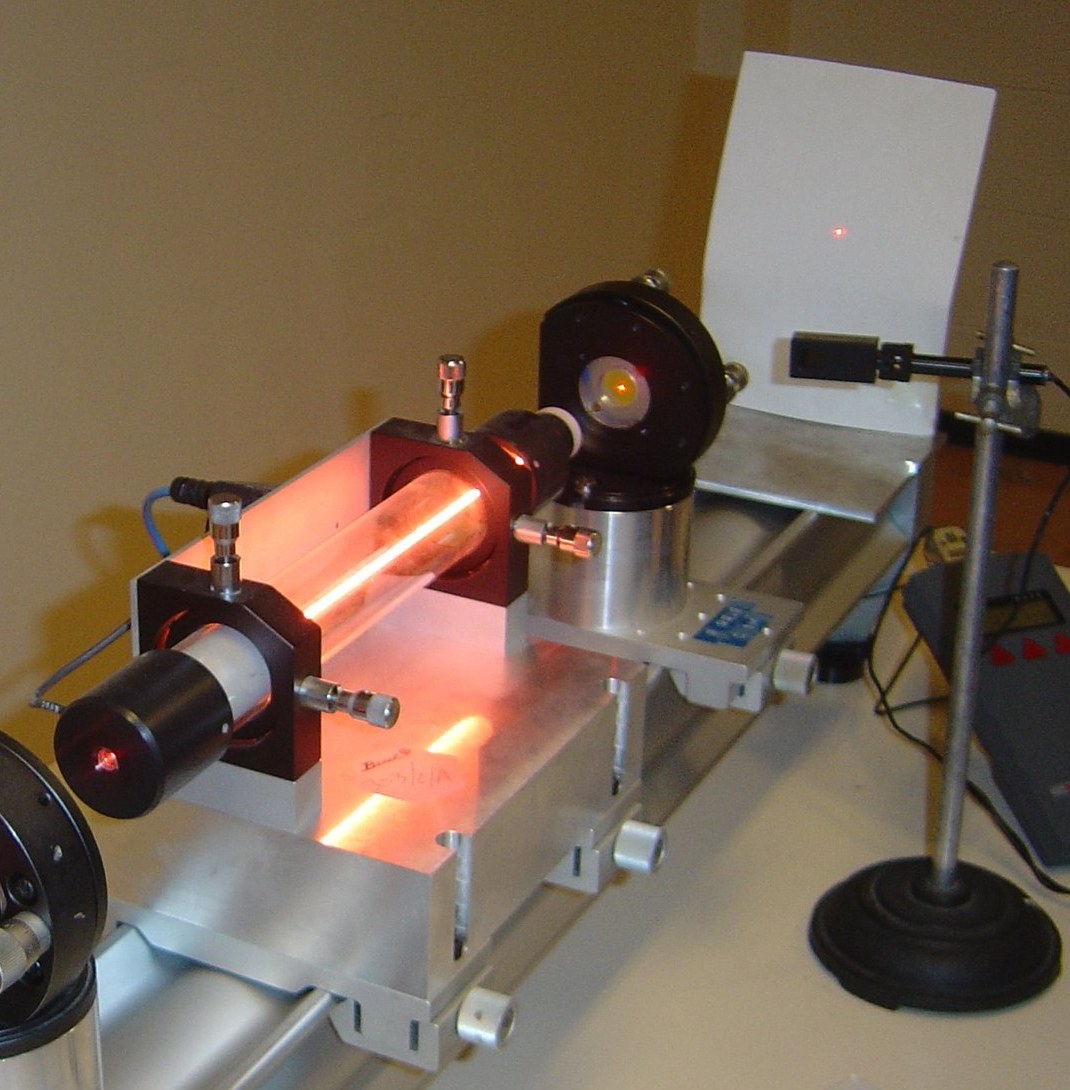

The Helium-Neon Laser
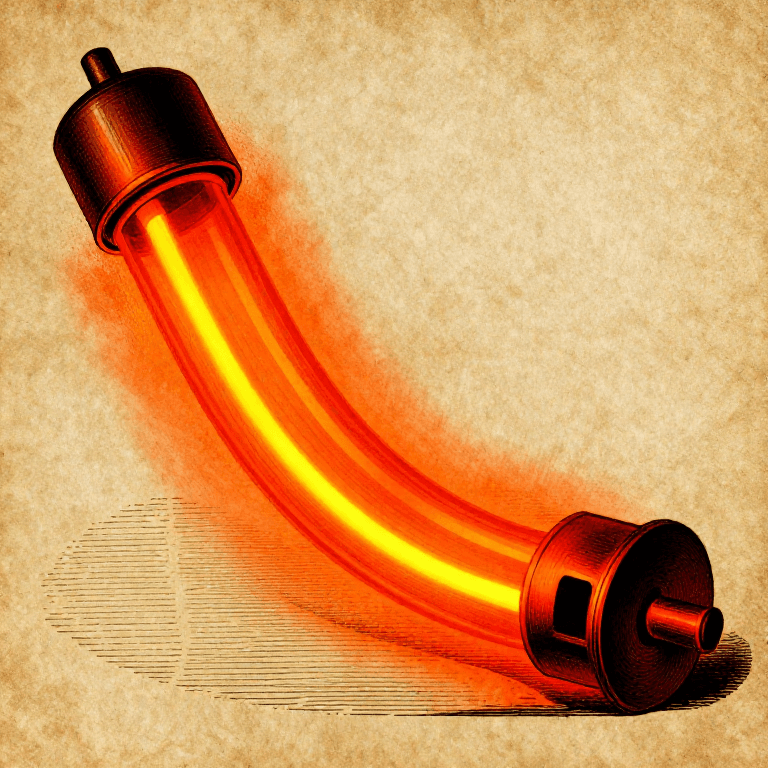
In December 1960, seven months after Maiman's ruby flash, Ali Javan, William Bennett Jr. and Donald Herriott ran the first gas laser at Bell Labs. It emitted continuously, not in pulses, and it did so on a discharge no more energetic than a neon sign.
The trick is that neon is not pumped by light at all. A DC discharge excites helium, and helium's metastable states happen to sit within a hair's breadth of two excited states of neon. Helium atoms collide with neon atoms and hand the energy across. The laser transition then drops to a level that is EMPTY and that empties itself again in nanoseconds, so unlike ruby there is no ground state to clear first. Threshold collapses from joules to milliwatts.
Javan's first tube ran at 1.15 micrometres in the infrared. The red 632.8 nm line that everyone recognises came in 1962, from Alan White and Dane Rigden, and it became the standard laboratory laser for the next forty years — long coherence length, superb beam quality, and an output stable enough to define length.
MEASURED, NOT FABRICATED. A HeNe tube requires a glass lathe, a vacuum system, a gas fill at a few torr and hard-sealed mirrors; it is not a bench build and this blueprint says so plainly. A surplus tube and supply costs less than a mid-range multimeter. What you will do is measure the four things that make it what it is: the wavelength, the polarisation the Brewster windows impose, the beam divergence, and the mode sweep as it warms up.
मध्यम
4 hours
निर्देशनहरू
1
1
Set the tube up safely and find the beam
Set the tube up safely and find the beam
A HeNe supply runs at 1.2 to 2 kV open-circuit with a ballast resistor in series with the tube. Treat it as lethal. Wire it with the mains OFF, keep the anode lead short and insulated, and never adjust the tube with the supply live.
Mount the tube on the optical bench with the beam at a fixed height, aimed at a card 2 m away and well below eye level. Wear the safety glasses. Even a 1 mW beam is collimated: the whole milliwatt lands on one retinal spot.
Switch on. The bore should glow orange-pink along its length and a red spot should appear on the card within a few seconds.
चाहिने औजार:
 लेजर प्रकाशिकी किट (HeNe र सहायक सामग्री)
 प्रकाशीय बेन्च किट
 लेजर सुरक्षा चस्मा
 प्रयोगशाला स्तरको डिजिटल बहुमापक
2
2
Wavelength, polarisation, divergence
Wavelength, polarisation, divergence
WAVELENGTH. Put the diffraction grating sheet in the beam and measure the first-order spot separation on a wall at a measured distance. With 1000 lines/mm, d = 1 micrometre and lambda = d sin(theta). You should land within a nanometre or two of 632.8 nm.
POLARISATION. Rotate the polarising filter sheet in the beam while watching the spot. A tube with Brewster-angle windows is strongly linearly polarised and the spot will extinguish almost completely; an internal-mirror tube will only flicker as modes hop. Record which kind you have.
DIVERGENCE. Measure the spot diameter at 1 m and at 5 m with the caliper against a card. Full-angle divergence is the difference over the distance. Expect roughly 1 milliradian, which is the diffraction limit for a beam a millimetre across.
यस चरणका सामग्री:
 ध्रुवीकरण फिल्टरको पाता1 टुक्रा
चाहिने औजार:
लेजर प्रकाशिकी किट (HeNe र सहायक सामग्री) विवर्तन जालीको पाता (१००० रेखा/मिमी)
 डिजिटल क्यालिपर ६ इन्चलेजर सुरक्षा चस्मा
3
3
Watch the modes sweep during warm-up
Watch the modes sweep during warm-up
Put the polarising filter in the beam, then the photodiode behind it, and connect the photodiode to the oscilloscope on a very slow timebase or to the multimeter logging every ten seconds. Switch the tube on cold and record for fifteen minutes.
The power will rise, then oscillate up and down over tens of seconds, then settle. That oscillation is the cavity comb sliding under the gain curve as the glass expands: modes leave one side and appear on the other. In an internal-mirror tube adjacent modes are usually orthogonally polarised, so the polariser turns each hop into an amplitude change.
Count the cycles. That count, against the temperature rise, measures the tube's thermal expansion through nothing but its own light.
यस चरणका सामग्री:
ध्रुवीकरण फिल्टरको पाता1 टुक्राचाहिने औजार:
 फोटोडायोड (BPW34)
 डिजिटल तरङ्गदर्शीप्रयोगशाला स्तरको डिजिटल बहुमापक
 रोकघडीलेजर प्रकाशिकी किट (HeNe र सहायक सामग्री)
4
4
Four levels, the Doppler curve, and the mode comb
Four levels, the Doppler curve, and the mode comb
Jupyter नोटबुक लोड हुँदैछ…
चाहिने औजार:
 टेबुल कम्प्युटर
5
5
Compendium: energy transfer, Brewster windows, and the sibling
Compendium: energy transfer, Brewster windows, and the sibling
HOW THE ENERGY ACTUALLY GETS TO NEON. The discharge is mostly helium — typically five to ten parts helium to one of neon, at a total pressure of a couple of torr. Electrons excite helium into its 2 3S and 2 1S metastable states, which cannot decay radiatively and so survive long enough to collide. Those two states sit within a few thousandths of an electronvolt of neon's 2s and 3s manifolds, so a collision transfers the energy resonantly. Neon is the laser; helium is the delivery service.
WHY IT RUNS CONTINUOUSLY. The 632.8 nm transition ends on the 2p manifold, which is empty to begin with and drains to the 1s levels in tens of nanoseconds. There is no ground state to clear. That is the four-level advantage, and it is the entire reason this laser sips power while ruby gulps it.
BREWSTER WINDOWS. A window tilted so the beam hits it at Brewster's angle transmits one polarisation with essentially no reflection loss and rejects a few percent of the other. A few percent per pass, hundreds of passes: the rejected polarisation never reaches threshold. That is why a Brewster-window tube is polarised, and it is a direct application of the polarisation blueprint this one links to.
THE SIBLING TABLE. Ruby: three-level, solid, flashlamp-pumped, joules per pulse, megawatt peaks, cannot run continuously, but STORES energy. Helium-neon: four-level, gas, discharge-pumped, milliwatts continuous, superb beam and coherence, but stores nothing at all. Same cavity physics, opposite economics. Which one you want depends entirely on whether you need joules or a straight line.
WHY IT CANNOT BE MADE ON A BENCH. Sealing mirrors to glass at Brewster's angle, pumping to high vacuum, baking out the tube, filling to a couple of torr with a precise He:Ne ratio and getting a life of thousands of hours needs a glass lathe and a vacuum station. The vacuum-pump blueprint linked here is the first step of that road, not the whole of it.
सामग्री
1- 1 टुक्राप्लेसहोल्डर
आवश्यक उपकरणहरू
10- प्लेसहोल्डर
- प्लेसहोल्डर
- प्लेसहोल्डर
- प्लेसहोल्डर
- प्लेसहोल्डर
- प्लेसहोल्डर
- प्लेसहोल्डर
- डिजिटल तरङ्गदर्शी10% कमिसनMagento Legacy Storeships internationallyप्लेसहोल्डर
- प्लेसहोल्डर
- प्लेसहोल्डर
सम्बन्धित ब्लुप्रिन्ट
यी ब्लुप्रिन्टहरूले ज्ञान साझा गर्छन् — प्रविधि, सामग्री वा सिद्धान्त
The Fabry-Perot Optical Cavity
Penny द्वारा
इलेक्ट्रोनिक्स
४५
०
०
०
०
०
The Ruby Laser
Penny द्वारा
इलेक्ट्रोनिक्स
४५
०
०
०
०
०
Sheet Polariser
Penny द्वारा
सामग्रीहरू
२९
०
०
०
०
०
Building a Simple Spectroscope — Splitting Starlight into Its Rainbow of Elements
Astro द्वारा
अन्तरिक्ष
५०
०
०
०
०
०
Rotary Vane Vacuum Pump
Emma द्वारा
प्रविधि
४०
०
०
०
०
०
Understanding Neon from Air Separation — The Gas That Lit the Modern City
Peter द्वारा
खानी
२८
०
०
०
३
०
CC0 सार्वजनिक डोमेन
यो ब्लुप्रिन्ट CC0 अन्तर्गत जारी गरिएको छ। तपाईं अनुमति नसोधी प्रतिलिपि, परिमार्जन, वितरण र प्रयोग गर्न सक्नुहुन्छ।
ब्लुप्रिन्ट मार्फत उत्पादनहरू किनेर सिर्जनाकर्तालाई सहयोग गर्नुहोस् सिर्जनाकर्ता कमिसन विक्रेताले तोकेको, वा यो ब्लुप्रिन्टको नयाँ संस्करण बनाउनुहोस् र आम्दानी बाँड्न आफ्नो ब्लुप्रिन्टमा जडानको रूपमा समावेश गर्नुहोस्।