सहयोग
कला
सुन्दरता र कल्याण
हस्तकला
संस्कृति र इतिहास
मनोरञ्जन
वातावरण
खाना र पेय
रिभर्स इन्जिनियरिङ
विज्ञान
खेलकुद
प्रविधि
पहिर्न मिल्ने
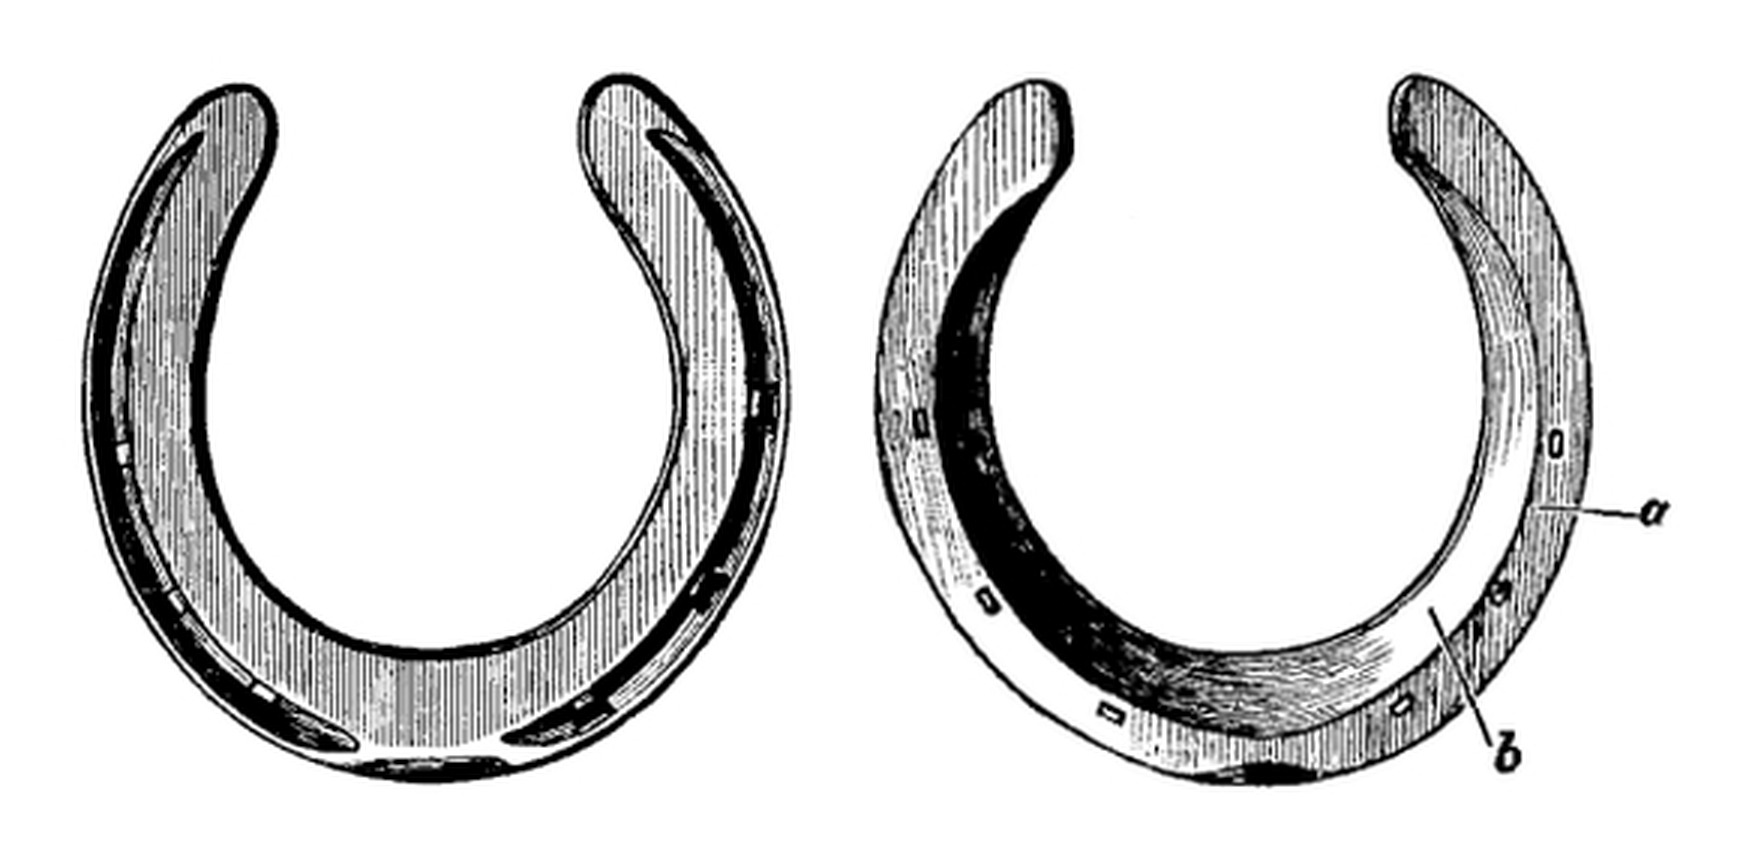


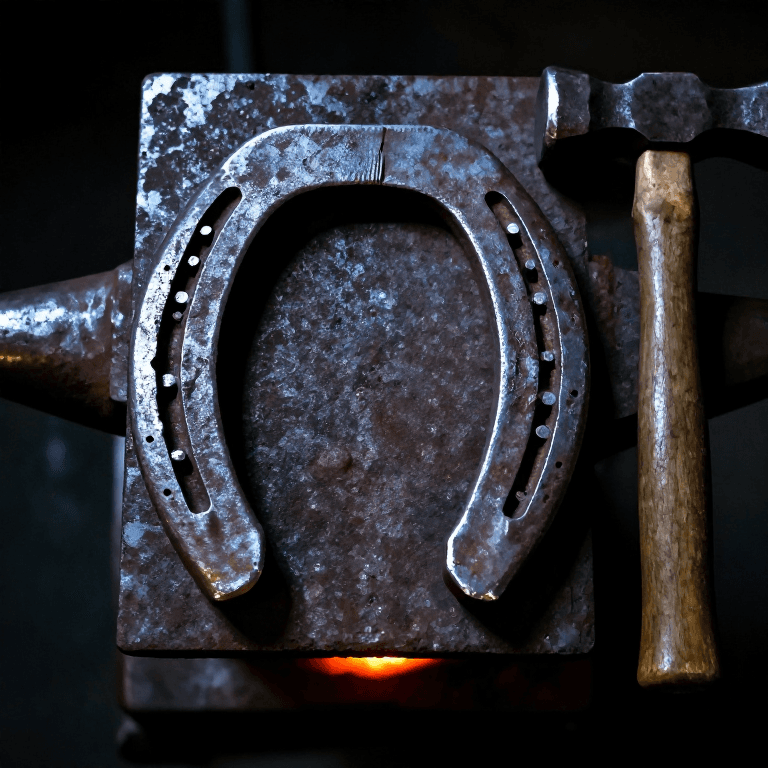
Front Horseshoe Forged in Two Heats: Bend, Bevel, Concave, Fuller and Punch (Lungwitz and Adams, Text-Book of Horseshoeing, 1913)
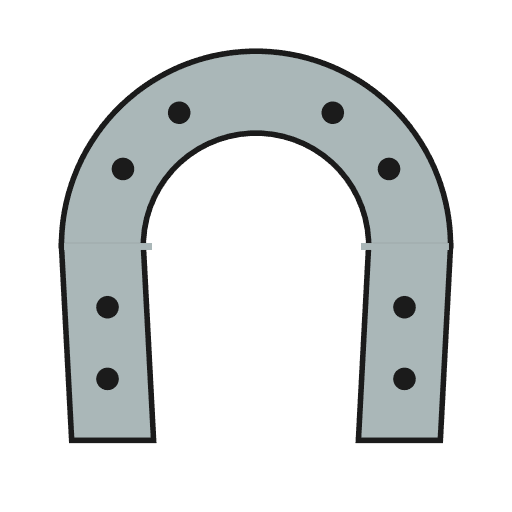
A flat front horseshoe made from one iron bar, as taught at the Dresden shoeing school: bend each branch over the anvil, bevel and flatten it, concave the hoof side, fuller the crease, and stamp and pritchel the nail holes. From Lungwitz and Adams, A Text-Book of Horseshoeing (11th edition, 1913).
"Any ordinary shoe can and should be completed in the rough in two heats." Fitting and nailing the shoe to the horse are not covered here.
मध्यम
8-15 minutes a pair, once practised
निर्देशनहरू
1
1
Bar length and sizes
Bar length and sizes
Jupyter नोटबुक लोड हुँदैछ…
2
2
Read Lungwitz and Adams
Read Lungwitz and Adams
"A shoe should be made thoughtfully, but yet quickly enough to make the most of the heat."
3
3
Measure the hoof
Measure the hoof
Measure the length of the hoof from the point of the toe to the buttress, and its greatest width. Added together they give the length of the bar. To keep the exact outline, set the hoof on stiff paper and trace round the wall with a pencil.
चाहिने औजार:
 नाप्ने फित्ता
 सिसाकलम
 बाक्लो कागजका पाना
4
4
Cut the bar
Cut the bar
Choose good, tough iron, of a width and thickness that needs the least working. Cut the bar to the length you measured; a bar shoe or a shoe with heel calks needs a longer bar.
यस चरणका सामग्री:
 पिटेको फलामको डण्डी1 टुक्रा
चाहिने औजार:
 आरनको भट्टी
 निहुँको काट्ने छिनो
 आरनको चिम्टा
 गोलो बनाउने घन
5
5
Bend the outer branch
Bend the outer branch
Heat the bar white-hot just beyond its middle. Lay the head of the sledge across one end of the anvil face, hold the cold end of the bar on it with the hot end on the face, and bend the bar into a half-circle with the round head of the turning hammer. Make the outer branch first, and the right shoe first in a pair. Draw out the end to width and thickness with the sledge.
चाहिने औजार:
आरनको भट्टी चुच्चो भएको सानो निहाइ
 घिसार्ने गाडीगोलो बनाउने घनआरनको चिम्टा
6
6
Bevel and flatten
Bevel and flatten
Lay the bent branch obliquely across the heel of the horn, turn it to the right onto an edge, and bevel it diamond-shaped from toe to end. Flatten it on the face: bending stretched and thinned the outer edge and thickened the inner one, so leave the inner edge a trifle thinner. Go over it lightly on the horn with the flat face of the hammer to shape it.
चाहिने औजार:
चुच्चो भएको सानो निहाइगोलो बनाउने घनआरनको चिम्टा7
7
Concave and fuller
Concave and fuller
Concave (seat) the hoof side, ending about 3/4 in from the end of the branch, or leave it flat for an arched sole. Turn the branch and fuller it: set the fuller about 1/12 in from the edge on small shoes, more on large ones, and lead it from the end of the branch to the toe, twice, to about two-thirds of the thickness.
चाहिने औजार:
चुच्चो भएको सानो निहाइघिसार्ने गाडी फुलर (धर्सो बनाउने फलाम)गोलो बनाउने घनआरनको चिम्टा
8
8
Stamp and pritchel the nail holes
Stamp and pritchel the nail holes
Stamp the nail holes in the crease and punch them through with the pritchel. Six are enough for a medium shoe, all in the front half and none at the toe. Their distance from the outer edge equals the thickness of the wall there; incline the toe holes a little inward and punch the quarter holes straight. Each hole tapers from the ground side to the hoof side.
चाहिने औजार:
चुच्चो भएको सानो निहाइ तातो प्वाल पार्ने
 नालको प्वाल पार्ने कीलागोलो बनाउने घनआरनको चिम्टा
9
9
Finish the branch, then the other
Finish the branch, then the other
Run over the surfaces, go over the outer edge on the horn, and hammer the bearing surface smooth and level. Make the inner branch the same way, turned to the left and fullered from toe to heel. The finished front shoe is round at the toe and about 7/16 in thick; a hind shoe is bent more pointed at the toe and needs no concaving, only the inner edge rounded.
चाहिने औजार:
आरनको भट्टीचुच्चो भएको सानो निहाइगोलो बनाउने घनफुलर (धर्सो बनाउने फलाम)तातो प्वाल पार्नेनालको प्वाल पार्ने कीलाआरनको चिम्टा10
10
Troubleshooting
Troubleshooting
Horseshoe troubleshooting.
Flow
Loading...
11
11
History and honest limits
History and honest limits
From **A Text-Book of Horseshoeing, for Horseshoers and Veterinarians**, by A. Lungwitz (Dresden shoeing school) and John W. Adams (University of Pennsylvania), 11th edition, J. B. Lippincott, 1913 (Project Gutenberg 66786), chapter III F, "Making Shoes"; wall thicknesses after Mayer. Not covered: trimming, fitting and nailing the shoe to the hoof, clips, calks and special shoes. The book names no forge fuel. The metric figures are ours.
सामग्री
1- 1 टुक्राप्लेसहोल्डर
आवश्यक उपकरणहरू
12- 1 vendor sell this, none ship to you yetप्लेसहोल्डर
- 1 vendor sell this, none ship to you yetप्लेसहोल्डर
- प्लेसहोल्डर
- प्लेसहोल्डर
- प्लेसहोल्डर
- प्लेसहोल्डर
- प्लेसहोल्डर
- प्लेसहोल्डर
- प्लेसहोल्डर
- प्लेसहोल्डर
- प्लेसहोल्डर
- प्लेसहोल्डर
यो खाकाले बनाउँछ
सम्बन्धित ब्लुप्रिन्ट
यी ब्लुप्रिन्टहरूले ज्ञान साझा गर्छन् — प्रविधि, सामग्री वा सिद्धान्त
CC0 सार्वजनिक डोमेन
यो ब्लुप्रिन्ट CC0 अन्तर्गत जारी गरिएको छ। तपाईं अनुमति नसोधी प्रतिलिपि, परिमार्जन, वितरण र प्रयोग गर्न सक्नुहुन्छ।
ब्लुप्रिन्ट मार्फत उत्पादनहरू किनेर सिर्जनाकर्तालाई सहयोग गर्नुहोस् सिर्जनाकर्ता कमिसन विक्रेताले तोकेको, वा यो ब्लुप्रिन्टको नयाँ संस्करण बनाउनुहोस् र आम्दानी बाँड्न आफ्नो ब्लुप्रिन्टमा जडानको रूपमा समावेश गर्नुहोस्।