सहयोग
कला
सुन्दरता र कल्याण
हस्तकला
संस्कृति र इतिहास
मनोरञ्जन
वातावरण
खाना र पेय
रिभर्स इन्जिनियरिङ
विज्ञान
खेलकुद
प्रविधि
पहिर्न मिल्ने
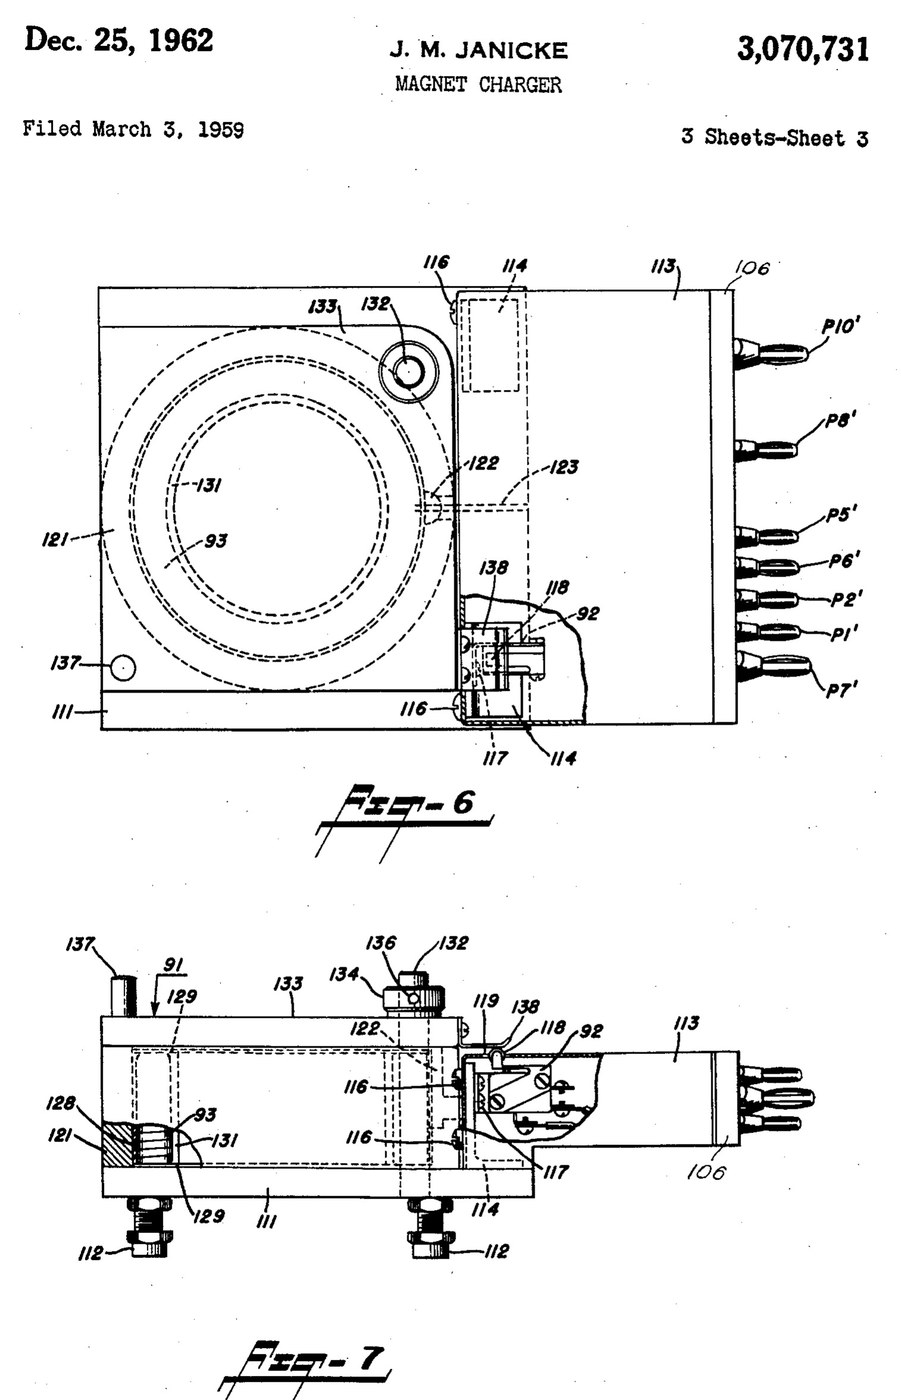


Magnetiser: Capacitor-Discharge Magnet Charger with a Wire-Wound Fixture (Janicke, US 3,070,731, 1962)
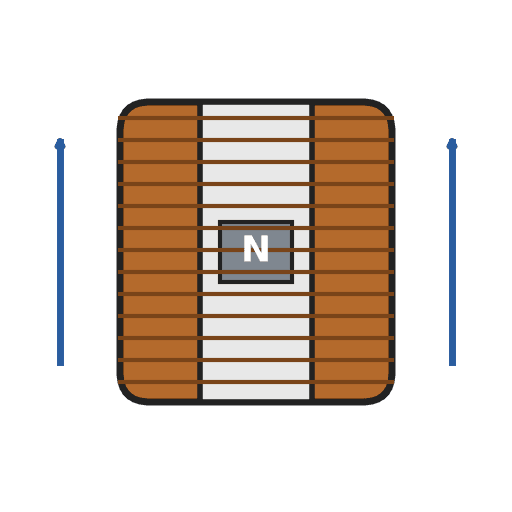
An impulse magnetiser. A capacitor is charged to a high voltage, then an ignitron dumps it all at once through a coil. The magnet sits inside the coil in a closed steel pot, so almost all of the flux goes through it.
Result: a magnet charger that magnetises rods, bars and blocks in one pulse, with an interlocked lid.
Source: J. M. Janicke, US 3,070,731 (1962). Unknown: voltages, capacitance, coil windings, field strength and sizes. Picture: the patent drawing.
विशेषज्ञ
Unknown
निर्देशनहरू
1
1
Build the charging supply
Build the charging supply
Feed a line switch from the mains through two fuses, with a pilot lamp. Wire a high-voltage transformer with two primaries, which a high-low switch puts in series or in parallel. Run its centre-tapped secondary to two mercury-vapour rectifier tubes, "or the like", with their own filament transformer, so they charge the energy-storage capacitor. A charging on-off switch with a red lamp switches the high-voltage side. A meter with multiplier resistors across the capacitor shows its voltage. Ours: toggle switches, neon lamps, a moving-coil meter. Not given: any voltage or value.
यस चरणका सामग्री:
 उच्च-भोल्टेज ट्रान्सफर्मर1 high-voltage transformer
 पारा-वाष्प रेक्टिफायर ट्युब2 rectifier tubes
 स्टेप-डाउन ट्रान्सफर्मर1 filament transformer
 ऊर्जा-भण्डारण क्यापासिटर1 storage capacitor
 चल-कुण्डली प्यानल मिटर1 voltage meter
 अज्ञात रेजिस्टर2 meter multipliers
 टगल स्विच3 line, charging and high-low switches
 फ्युज2 fuses
 नियोन सूचक बत्ती2 pilot and red lamps
चाहिने औजार:
 टाँका लगाउने डन्डी
 तारको बोक्रा उप्काउने औजार
2
2
Add the delay and the bleeder
Add the delay and the bleeder
Put a thermal time-delay relay before the charging switch: about thirty seconds after switch-on it energises a control relay, which feeds the charging switch and holds itself on. A third contact of the control relay lifts a bleeder resistor off the capacitor while the charger runs. When the charger is shut down the relay drops out and the bleeder drains the dangerous high-voltage charge from the capacitor.
यस चरणका सामग्री:
 समय ढिलाइ रिले1 thermal delay relay
 रिले1 control relay, three contact setsअज्ञात रेजिस्टर1 bleeder resistor
चाहिने औजार:
टाँका लगाउने डन्डीतारको बोक्रा उप्काउने औजार3
3
Fit the ignitron firing circuit
Fit the ignitron firing circuit
Put an ignitron in the discharge path of the storage capacitor, as its switch. The meter's multiplier resistors also form a divider that charges a small firing capacitor. Pressing the push button discharges the firing capacitor through a small limiting resistor into the ignitron's igniter, and the ignitron conducts. Not given: the firing capacitor's type and value.
यस चरणका सामग्री:
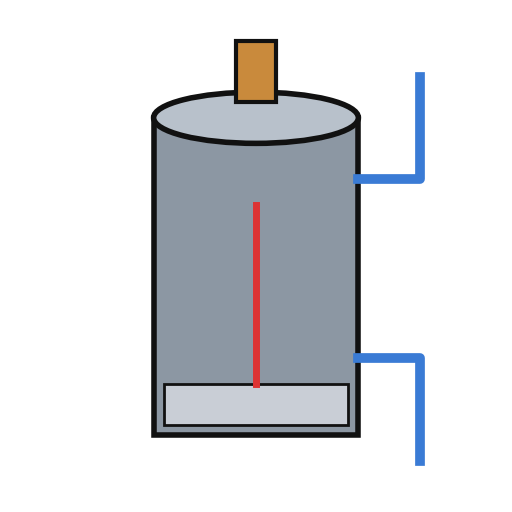 इग्नाइट्रोन1 discharge switch
 अज्ञात सामग्री1 firing capacitorअज्ञात रेजिस्टर1 limiting resistor
 थिच्ने बटन1 charge button
चाहिने औजार:
टाँका लगाउने डन्डीतारको बोक्रा उप्काउने औजार4
4
Build the wire-wound fixture
Build the wire-wound fixture
Weld a hollow cylindrical shell onto a base plate on levelling legs, both of magnetic material, to make a pot. Cut slots through the shell and the base plate so they cannot act as a shorted single-turn winding. Set the coil inside the shell in potting compound, with ring-shaped end pieces and a hollow cylindrical core in it. Hinge a square magnetic cover on a post beside the shell, held by a collar and set screw, with a handle. An L-shaped plate on the cover closes a switch in the igniter circuit only when the cover is shut. Wire the coil between the storage capacitor and the ignitron anode. Ours: mild steel, enamelled copper wire, casting epoxy. Not given: sizes, turns.
यस चरणका सामग्री:
 नरम स्टिलको प्लेट1 base plate and cover
 नरम इस्पातको गोलो नली1 shell
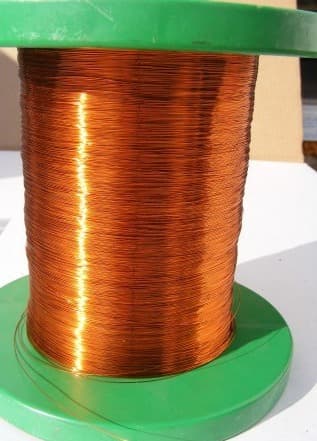
 इनामेल लगाइएको तामाको तार1 coil
 कालो ढलाइ इपोक्सी1 potting compound
 अज्ञात धातु1 end pieces, core, post, legs
 सूक्ष्म स्विच (लिभरले चल्ने)1 lid interlock switch
चाहिने औजार:
 आर्क वेल्डिङ मेसिन
 खम्बा भएको ड्रिल
 स्क्रुड्राइभर सेट
 अज्ञात नाप
5
5
Charge a magnet
Charge a magnet
Put the magnet inside the core. Fill most of the air gap between it and the base plate and cover with soft iron, but leave a small gap near the cover, or the cover will be hard to swing open afterwards. Lay insulating material about 1/16 inch thick on top of the magnet. Close the cover, which arms the igniter switch, charge the capacitor, and press the button: one pulse magnetises it. Ours: wrought iron for the soft iron.
चाहिने औजार:
 पिटेको फलामको डण्डी
 अज्ञात विद्युत्-रोधी पदार्थ
सामग्री
20- 1 high-voltage transformerप्लेसहोल्डर
- 2 rectifier tubesप्लेसहोल्डर
- 1 filament transformerप्लेसहोल्डर
- 1 storage capacitorप्लेसहोल्डर
- 1 voltage meterप्लेसहोल्डर
- 1 limiting resistorप्लेसहोल्डर
- प्लेसहोल्डर
- 2 fusesप्लेसहोल्डर
- 2 pilot and red lampsप्लेसहोल्डर
- 1 thermal delay relayप्लेसहोल्डर
- 1 control relay, three contact setsप्लेसहोल्डर
- 1 discharge switchप्लेसहोल्डर
- 1 firing capacitorप्लेसहोल्डर
- प्लेसहोल्डर
- 1 base plate and coverप्लेसहोल्डर
- 1 shellप्लेसहोल्डर
- प्लेसहोल्डर
- 1 potting compoundप्लेसहोल्डर
- 1 end pieces, core, post, legsप्लेसहोल्डर
- 1 lid interlock switchप्लेसहोल्डर
आवश्यक उपकरणहरू
8- 2 vendors sell this, none ship to you yetप्लेसहोल्डर
- प्लेसहोल्डर
- प्लेसहोल्डर
- प्लेसहोल्डर
- प्लेसहोल्डर
- प्लेसहोल्डर
- प्लेसहोल्डर
- प्लेसहोल्डर
जोडिएका खाकाका सामग्री


यो खाकाले बनाउँछ
CC0 सार्वजनिक डोमेन
यो ब्लुप्रिन्ट CC0 अन्तर्गत जारी गरिएको छ। तपाईं अनुमति नसोधी प्रतिलिपि, परिमार्जन, वितरण र प्रयोग गर्न सक्नुहुन्छ।
ब्लुप्रिन्ट मार्फत उत्पादनहरू किनेर सिर्जनाकर्तालाई सहयोग गर्नुहोस् सिर्जनाकर्ता कमिसन विक्रेताले तोकेको, वा यो ब्लुप्रिन्टको नयाँ संस्करण बनाउनुहोस् र आम्दानी बाँड्न आफ्नो ब्लुप्रिन्टमा जडानको रूपमा समावेश गर्नुहोस्।