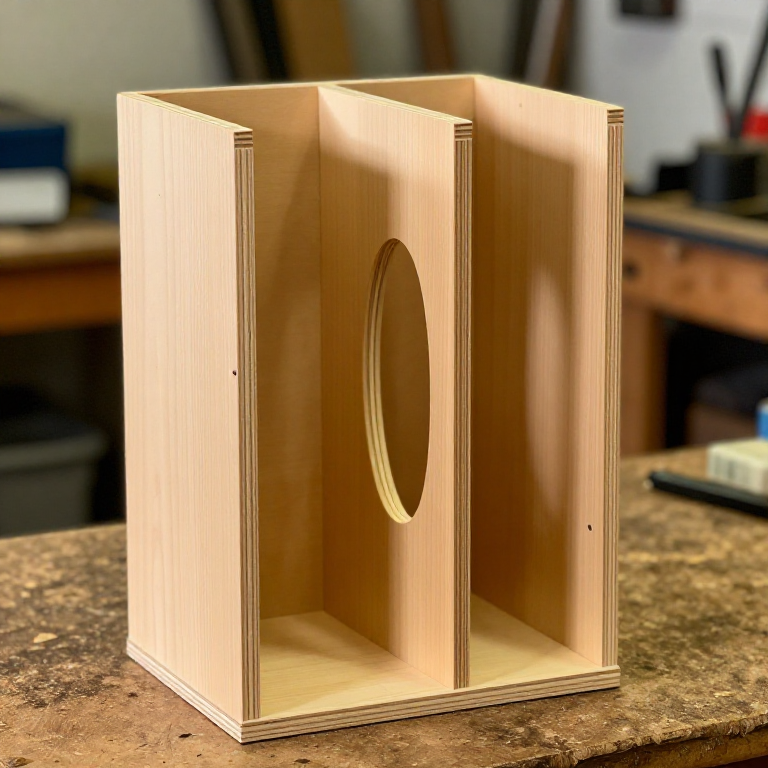


Mitre-Saw Storage Caddy
निर्देशनहरू
Measure the tool, not a drawing
Measure the tool, not a drawing
Measure what the caddy has to hold, at its widest points.
- The saw across its base, and its height with the head locked down.
- A battery pack, plus however many travel with you.
- Anything else that lives with the saw — stops, a square, spare blades.
Add 10 mm clearance to each compartment so things drop in rather than needing to be aimed.
A caddy built to a published cut list rarely fits the tool actually in the shop. Ten minutes with a tape here saves rebuilding it.चाहिने औजार:
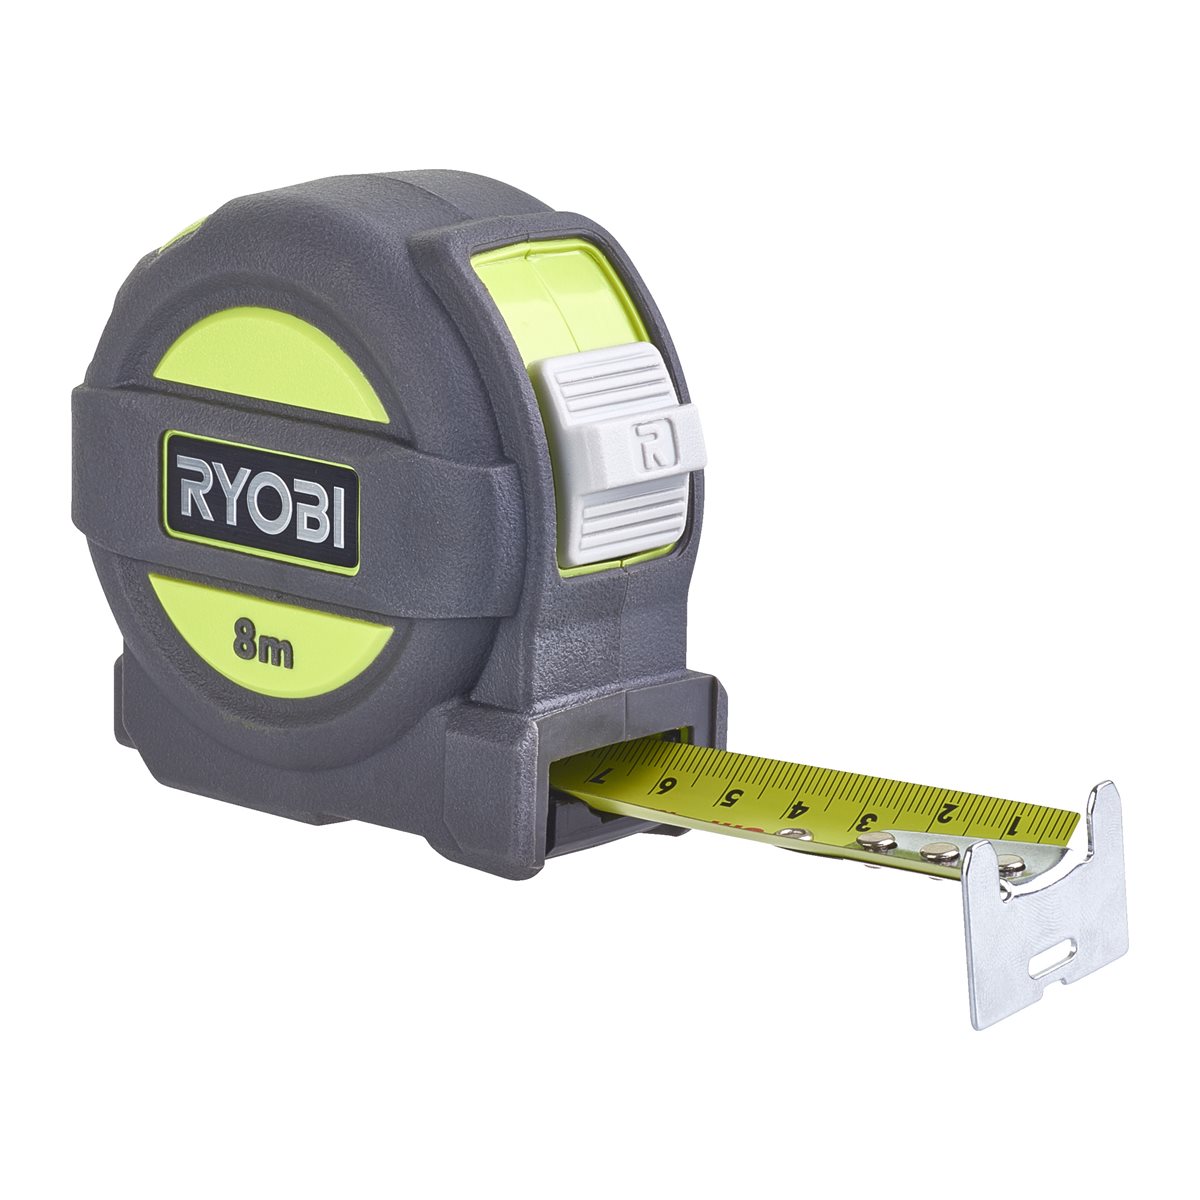 Ryobi RTM8M Tape Measure 8 m
 Hultafors Carpenter's Pencil HB
Cut the base, sides, ends and dividers
Cut the base, sides, ends and dividers
Cut every panel from three-quarter-inch plywood.
- Base, two long sides, two ends, and one central divider that will also carry the handle.
- Check each crosscut against the speed square before you cut, not after.
- Keep the two long sides identical — cut them in one setup.
यस चरणका सामग्री:
 बाल्टिक भुर्जा प्लाइउड1 पाना
चाहिने औजार:
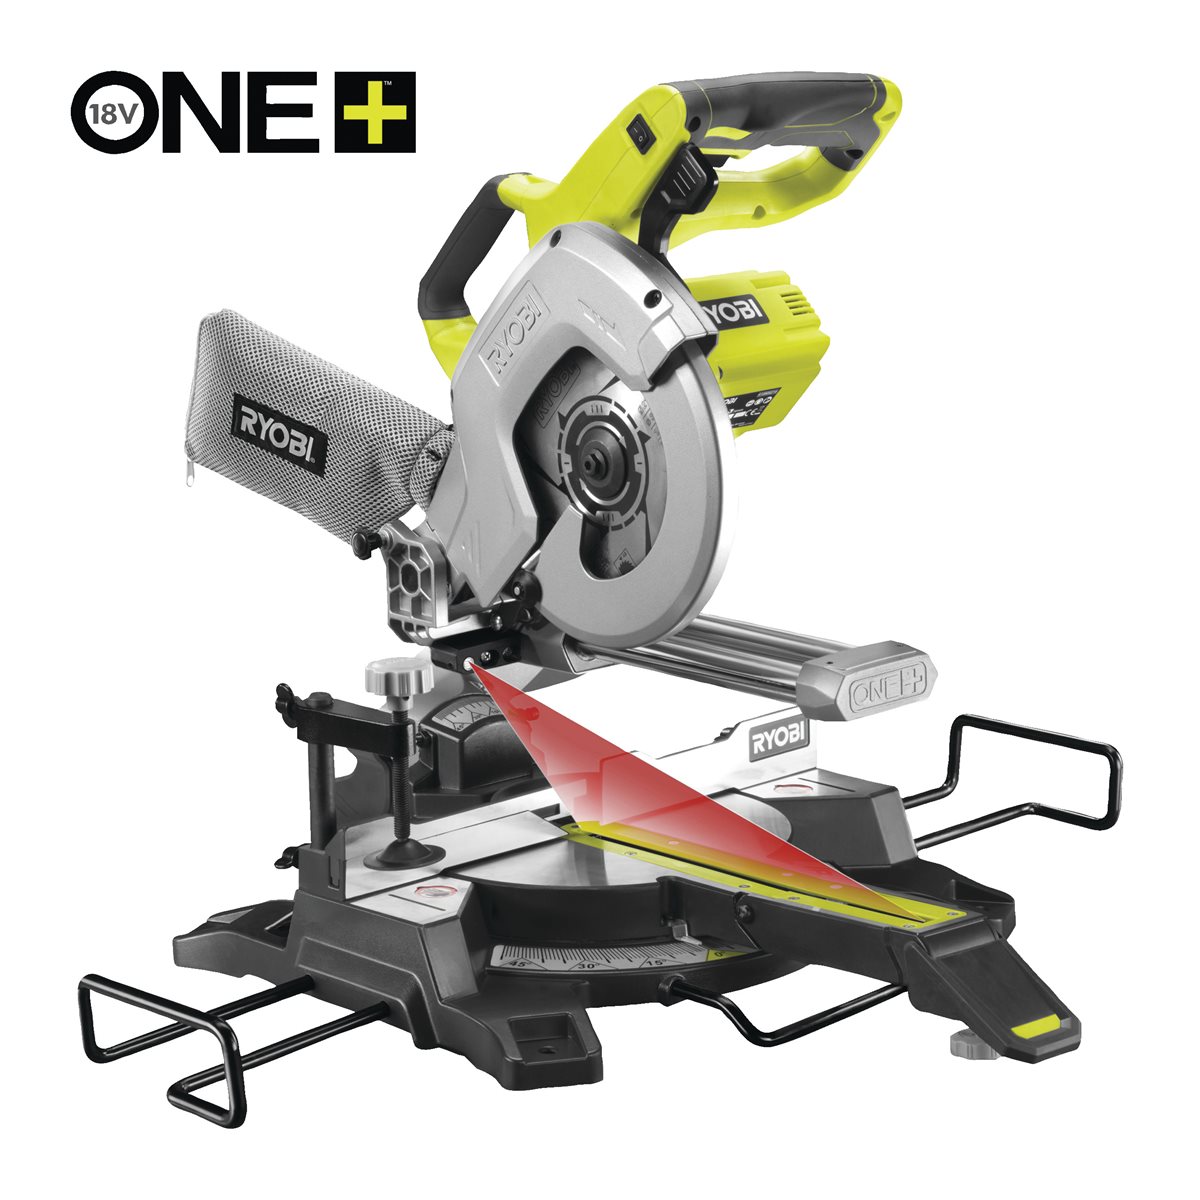 Ryobi ONE+ R18MS216-0 Cordless Mitre Saw 216 mm
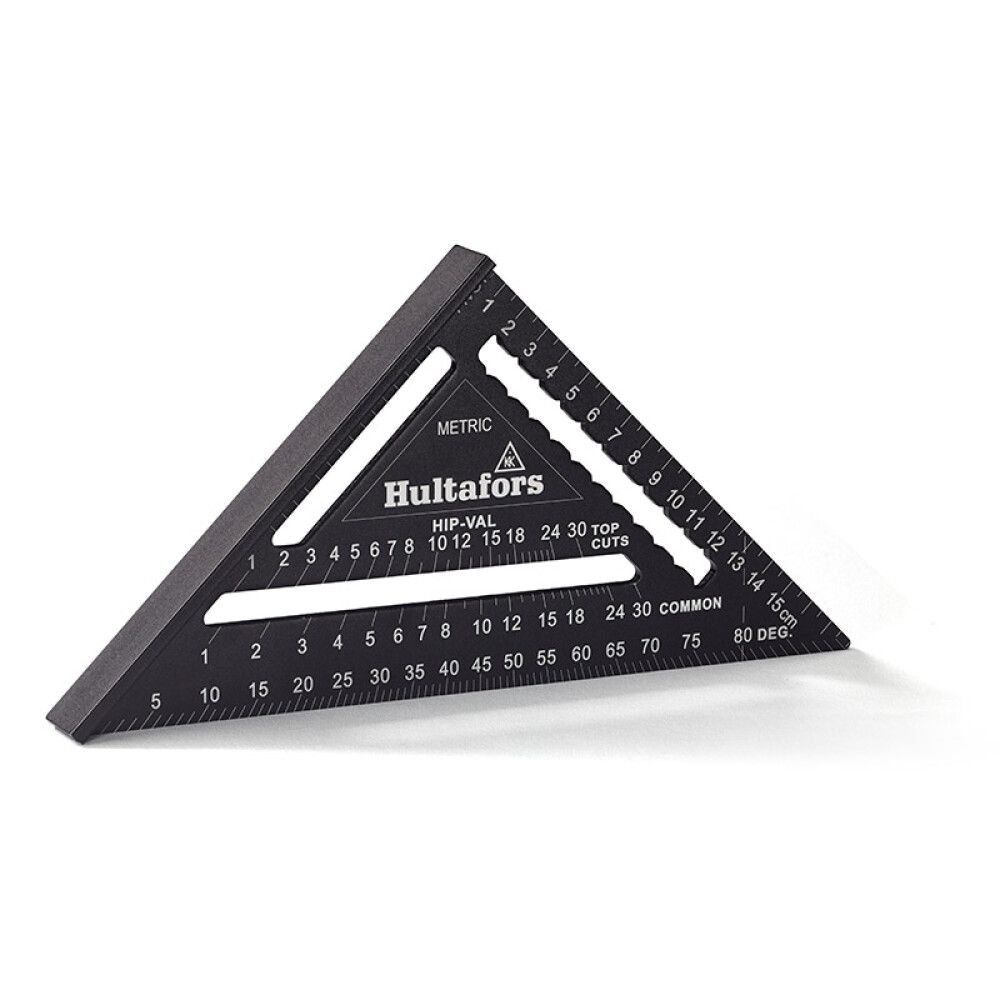 Hultafors MRS 18 Speed Square — Metric
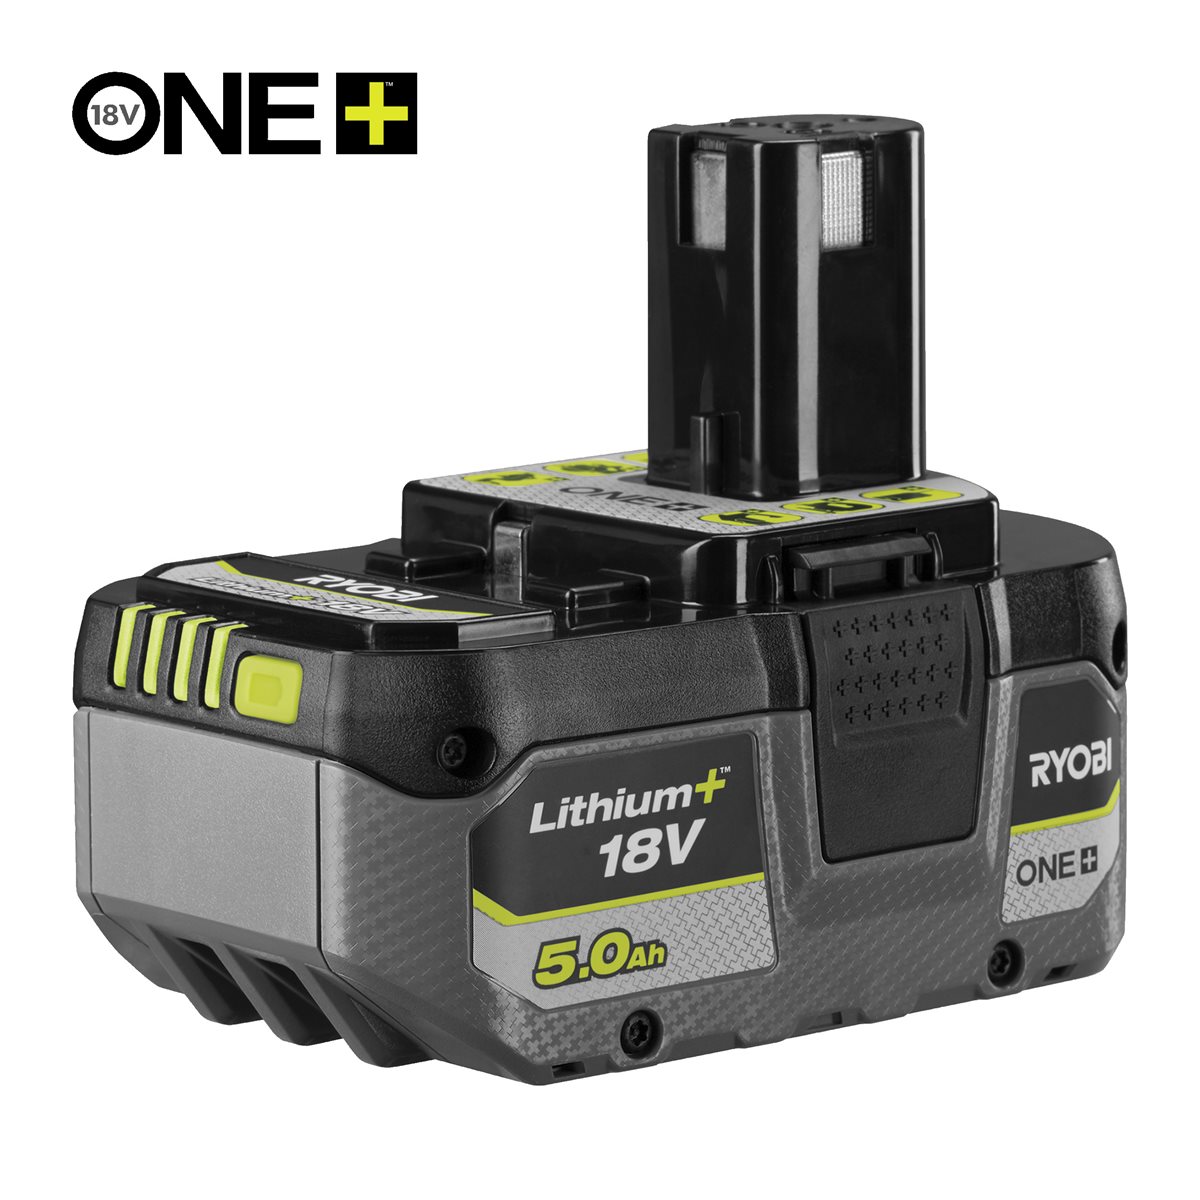 Ryobi ONE+ RB1850X 18V Lithium+ Battery 5.0 Ah
Set the nailer depth on an offcut first
Set the nailer depth on an offcut first
Before touching the real parts, fire three or four brads into a scrap of the same plywood and adjust until the heads sit just below the surface.
- Too deep and the head tears through the face veneer.
- Too shallow and the head stands proud and snags.
- Keep hands well clear of the nose — a brad can deflect inside plywood and exit the side.
यस चरणका सामग्री:
 18-गेज x 1" ब्र्याड किला40 टुक्रा
चाहिने औजार:
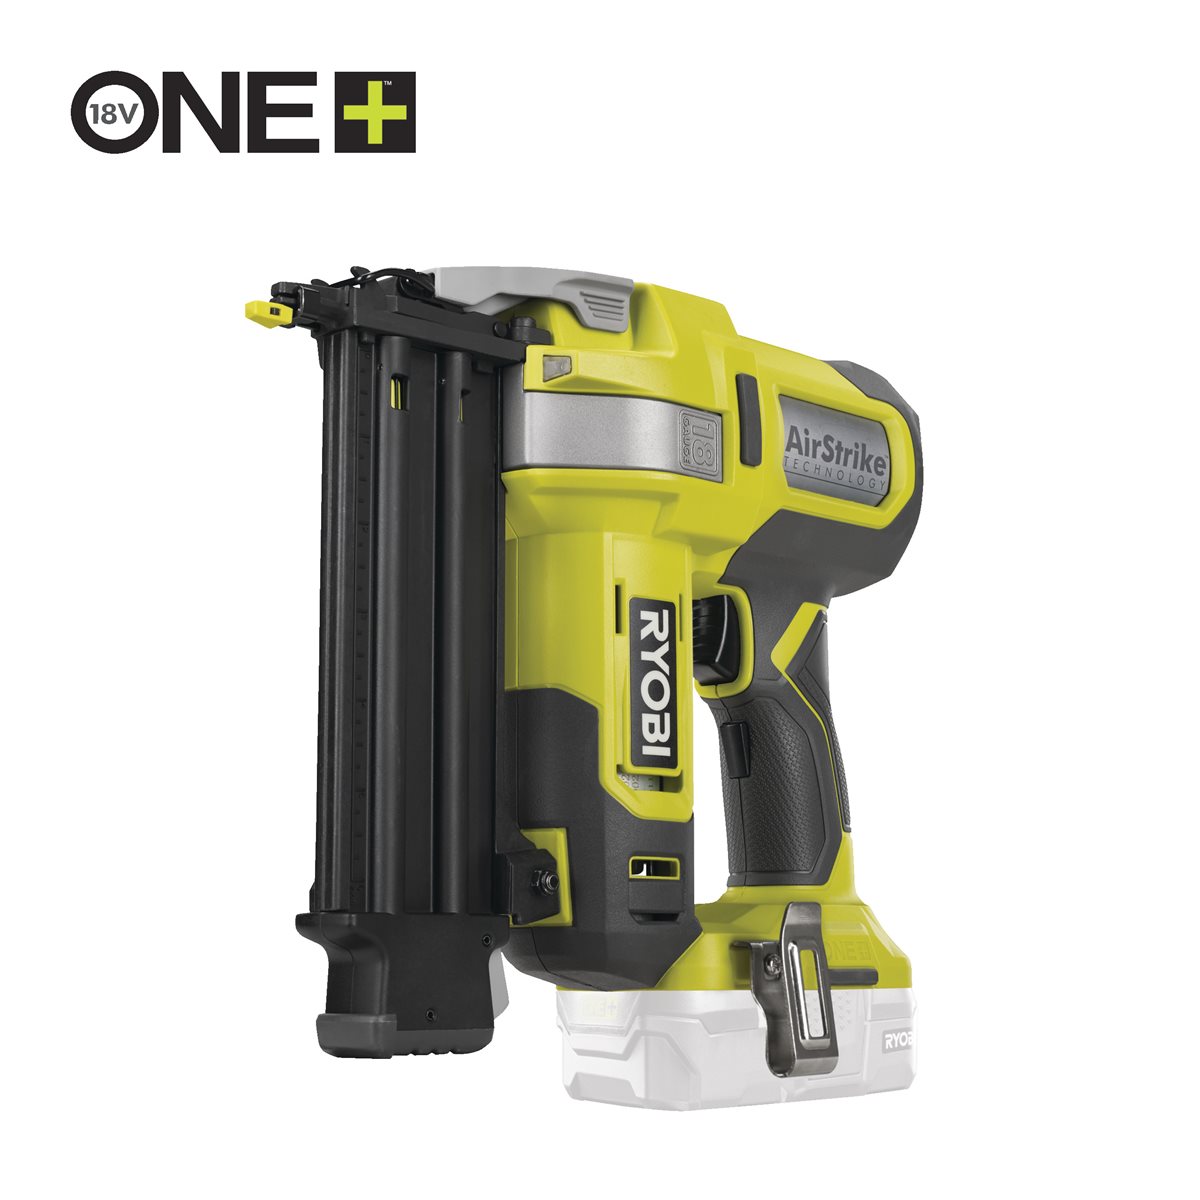 Ryobi ONE+ R18GN18-0 Cordless Brad Nailer
Glue and nail the carcass
Glue and nail the carcass
Assemble base, sides and ends.
- Run a bead of glue on each mating face and spread it thin.
- Hold the parts square and fire brads through the sides into the ends.
- Check the diagonals before the glue grabs — equal diagonals mean square.
यस चरणका सामग्री:
 PVA काठको गोन्द1 बोतल
चाहिने औजार:
Ryobi ONE+ R18GN18-0 Cordless Brad NailerFit the divider to the tool, then glue it
Fit the divider to the tool, then glue it
Dry-fit the divider with the saw and batteries actually in the caddy.
- Stand the saw in place and slide the divider until each compartment holds its contents without slack.
- Mark the divider position on the base with the pencil.
- Only then glue and nail it home.
चाहिने औजार:
Ryobi ONE+ R18GN18-0 Cordless Brad NailerCut the handle opening and round it well
Cut the handle opening and round it well
Cut a hand-sized opening in the top of the central divider — about 110 × 30 mm with rounded ends.
- Drill a starter hole inside the waste, then cut the opening with the jigsaw.
- Sand the opening smooth and round the edges generously, top and bottom.
यस चरणका सामग्री:
 गिट्टी कागज1 पाना
चाहिने औजार:
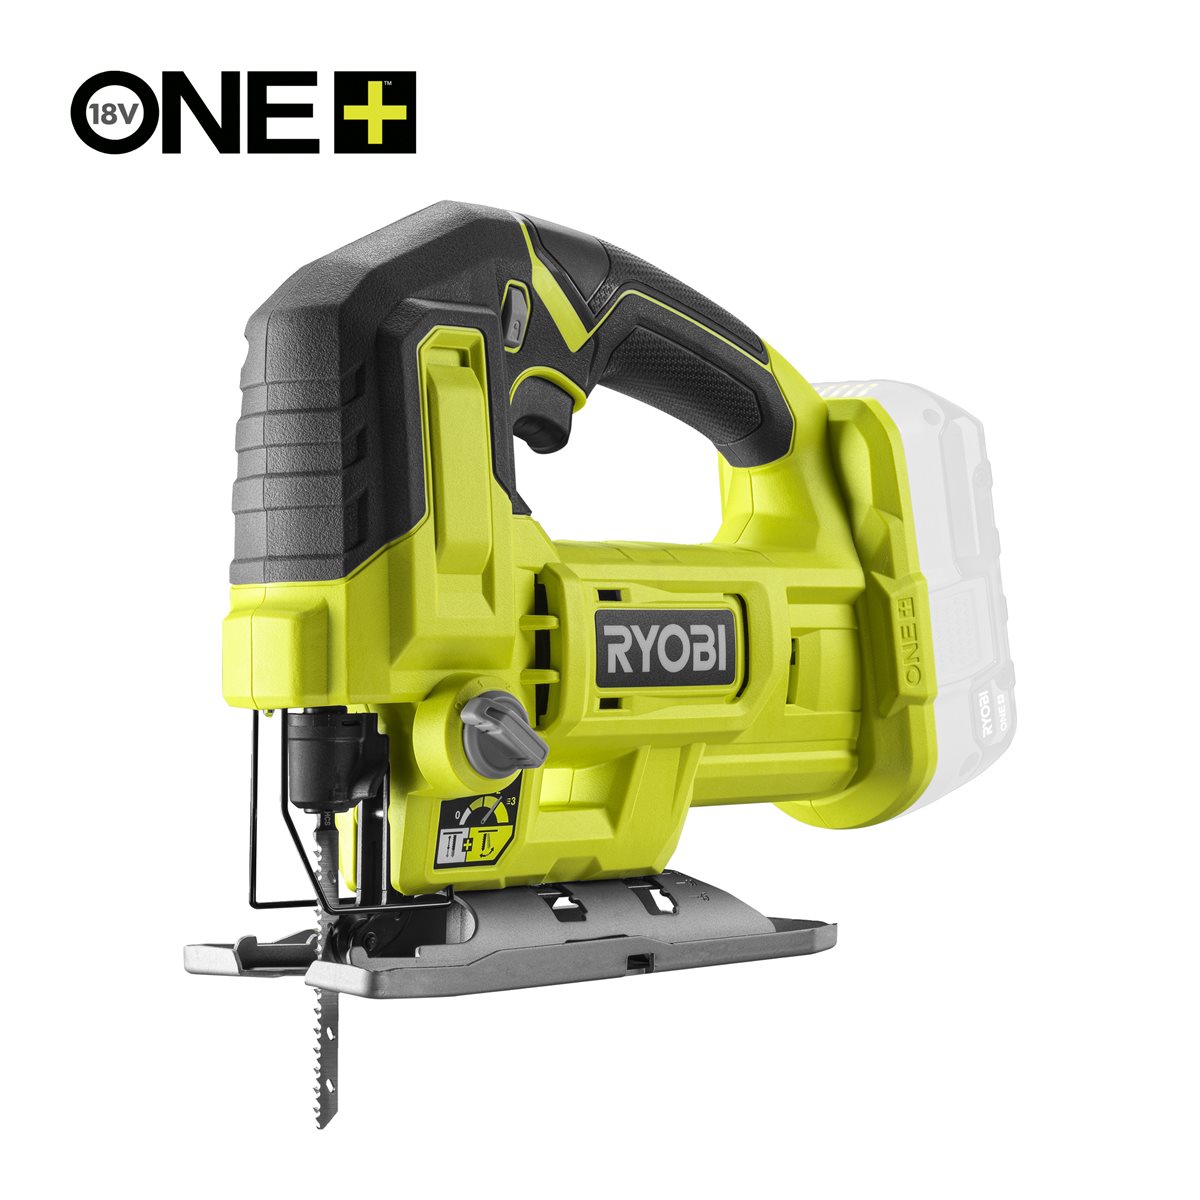 Ryobi ONE+ RJS18-0 Cordless Jigsaw
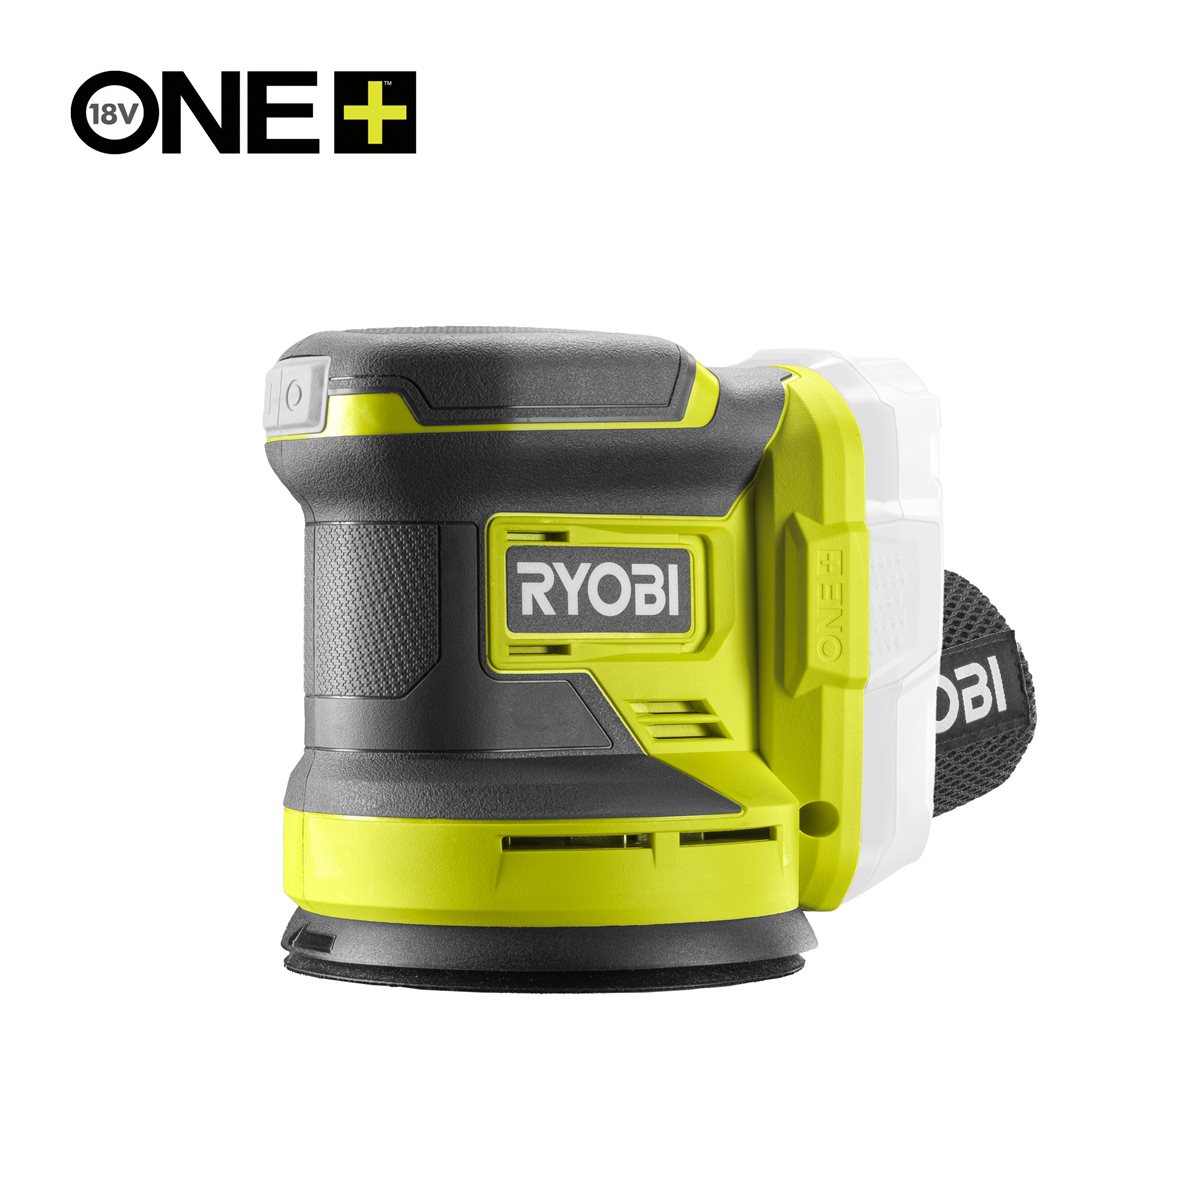 Ryobi ONE+ R18ROSN-0 Cordless Random Orbit Sander
Load it and check the balance
Load it and check the balance
Load the caddy as it will actually travel and lift it by the handle.
- If it tips toward one end, move the heaviest item nearer the handle.
- Re-check that nothing slides when the caddy tilts.
सामग्री
4- 1 पानाप्लेसहोल्डर
- 40 टुक्राप्लेसहोल्डर
- 1 बोतलप्लेसहोल्डर
- 1 पानाप्लेसहोल्डर
आवश्यक उपकरणहरू
8- Ryobi RTM8M Tape Measure 8 m3% कमिसन$24.06
- Hultafors Carpenter's Pencil HB3% कमिसन$1.68
- $459.62
- $27.51
- $149.03
- $321.58
- $126.02
- $126.02
सम्बन्धित ब्लुप्रिन्ट
यी ब्लुप्रिन्टहरूले ज्ञान साझा गर्छन् — प्रविधि, सामग्री वा सिद्धान्त
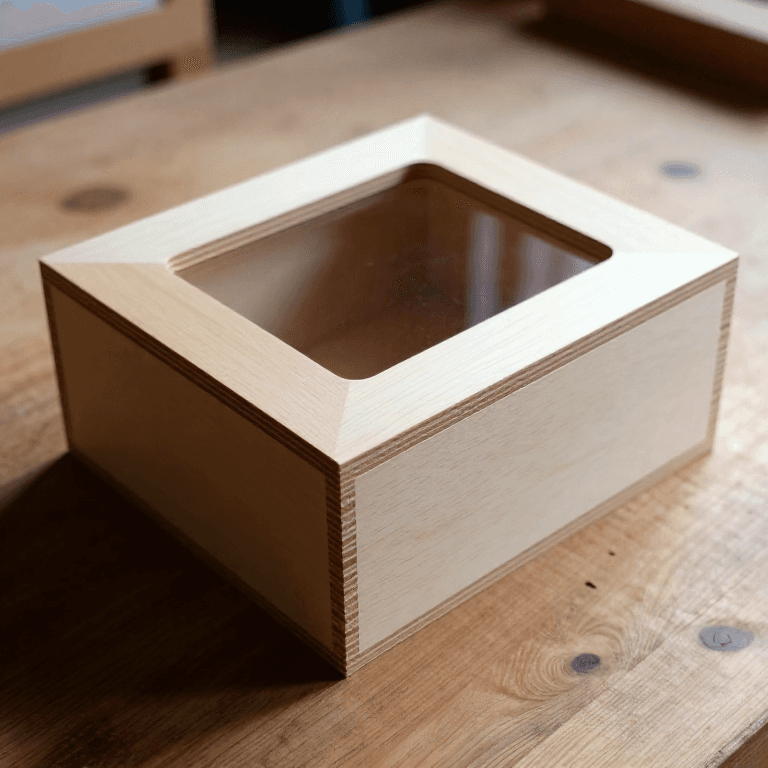
CC0 सार्वजनिक डोमेन
यो ब्लुप्रिन्ट CC0 अन्तर्गत जारी गरिएको छ। तपाईं अनुमति नसोधी प्रतिलिपि, परिमार्जन, वितरण र प्रयोग गर्न सक्नुहुन्छ।
ब्लुप्रिन्ट मार्फत उत्पादनहरू किनेर सिर्जनाकर्तालाई सहयोग गर्नुहोस् सिर्जनाकर्ता कमिसन विक्रेताले तोकेको, वा यो ब्लुप्रिन्टको नयाँ संस्करण बनाउनुहोस् र आम्दानी बाँड्न आफ्नो ब्लुप्रिन्टमा जडानको रूपमा समावेश गर्नुहोस्।