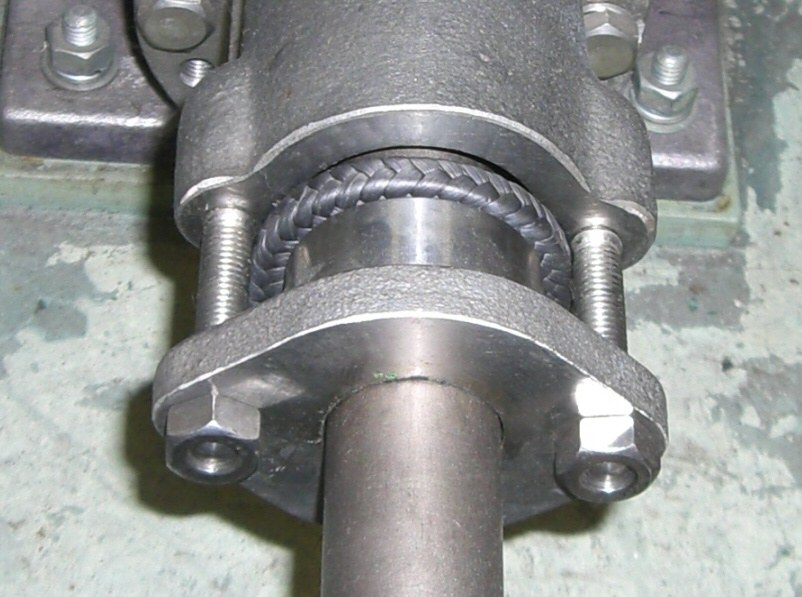


Packing Gland
निर्देशनहरू
Bore the stuffing box
Bore the stuffing box
A recess around the shaft, deep enough for several rings of packing.
- From 40 mm aluminium round bar, cut a body 60 mm long.
- Bore it through at 16.0 mm as the shaft clearance.
- From one end, counterbore to 24 mm diameter and 30 mm deep — this is the stuffing box.
- Cut a shoulder at the bottom of the box, square to the bore.
- Drill and tap two M6 holes in the end face, 180 degrees apart, for the gland studs.
Modern build spec (derived). A 4 mm annular gap between a 16 mm shaft and a 24 mm box takes standard 4 mm square packing cord. Packing is sold by section size, so the gap decides what you can buy — design the box around the cord, not the other way round.
The shoulder at the bottom must be square. A sloping shoulder lets the first ring extrude sideways instead of squeezing inward, and the gland then never seals no matter how hard you tighten it.यस चरणका सामग्री:
 एल्युमिनियमको गोलो डण्डी1 टुक्रा
चाहिने औजार:
 फलाम काट्ने खोल र पाता
 बेन्चको भाइस
 तारविनाको ड्रिल
 ड्रिल टुप्पाको सेट
 रेतीहरूको सेट
 डिजिटल क्यालिपर ६ इन्च
 संयुक्त गुनिया
Cut and fit the packing rings — stagger the joints
Cut and fit the packing rings — stagger the joints
Rings, not a spiral, and each joint turned away from the last.
- Wrap the packing cord round the shaft itself and cut it to make a closed ring with a clean butt joint.
- Cut four rings this way.
- Fit them one at a time, seating each fully before adding the next.
- Rotate each ring 90 degrees relative to the one below so the four joints are spread around the shaft.
Why stagger. Every butt joint is a small leak path. Line four of them up and you have made a channel straight through the packing. Spread at 90 degrees, each joint is blocked by solid packing above and below it.
Cut the rings on the shaft, not by measuring. A ring cut to a calculated length is always slightly wrong, and a ring that is too long buckles inward and grips the shaft hard at one point.यस चरणका सामग्री:
 सुतीको मलमल1 metreएल्युमिनियमको गोलो डण्डी1 टुक्रा
चाहिने औजार:
रेतीहरूको सेटडिजिटल क्यालिपर ६ इन्च वक्र काट्ने आरा
Make the follower and fit the studs
Make the follower and fit the studs
The follower is a loose ring that pushes the packing; the studs pull it in.
- Turn a follower ring: 23.6 mm outside, 16.4 mm bore, 20 mm long.
- Drill two slots or ears in its flange to clear the studs.
- Fit two M6 × 60 studs into the tapped holes from step 1.
- Retain the follower with M6 flat washers × 2 and M6 hex nuts × 2.
- Check the follower slides freely in the box with no rock.
The follower clearances matter in both directions. Too tight on the shaft and the follower itself rubs, which is a bearing you did not intend. Too loose in the box and packing extrudes up past it as you tighten. A few tenths of clearance on each side is right.
Two studs rather than one central screw, because packing must be compressed EVENLY. Tighten them alternately, a flat at a time, exactly as you would a cylinder head.यस चरणका सामग्री:
एल्युमिनियमको गोलो डण्डी1 टुक्रा चेप्टो वासर4 टुक्रा
 छपत्रे नट4 टुक्रा
चाहिने औजार:
तारविनाको ड्रिलड्रिल टुप्पाको सेट छपत्रे साँचोको सेटरेतीहरूको सेटबेन्चको भाइसडिजिटल क्यालिपर ६ इन्च
Find the adjustment — drip rate against drag
Find the adjustment — drip rate against drag
Two competing measurements, and the right answer is between them.
- Fill the body with water and turn the shaft by hand, nuts finger tight.
- Tighten each nut a flat at a time, and after each step count drips per minute AND measure the torque needed to turn the shaft.
- Tabulate: nut position, drips per minute, turning torque.
- Keep going until it stops dripping entirely.
- Now back off until it drips again, and feel the shaft after a minute of turning.
चाहिने औजार:
 रोकघडीछपत्रे साँचोको सेटडिजिटल क्यालिपर ६ इन्च
Why a leaking seal is the right seal, and history
Why a leaking seal is the right seal, and history
Packed glands are ancient by industrial standards and were universal on steam engines, pumps, valves and marine sterntubes. Materials tell the story of the technology: flax and tallow, then asbestos and graphite, and today PTFE, graphite fibre and aramid. The geometry has not changed at all — only what the rings are made of.
The deliberate leak is the design, not a defect. The packing rubs on a turning shaft and that contact makes heat; the small flow of process fluid past the packing carries the heat away and lubricates the interface. Remove the flow and you remove the cooling. A maintenance culture that treats every drip as a fault destroys glands routinely, which is why the instruction on a pump is to adjust to a drip rate rather than to dryness.
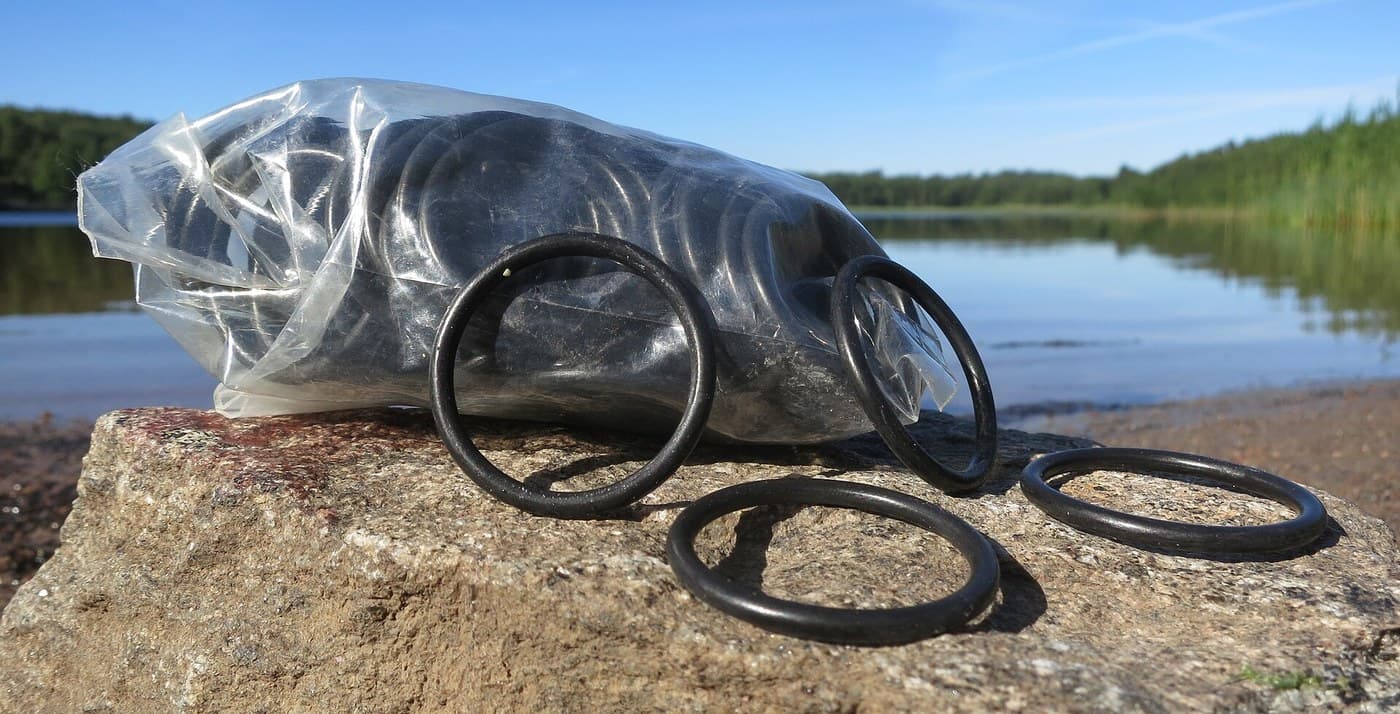
Against its siblings: an O-ring seals statically and completely but cannot tolerate a rotating shaft for long. A lip seal handles rotation with almost no leakage but cannot be adjusted and must be replaced when worn. A mechanical face seal is dry and tight but costs far more and fails suddenly rather than gradually. The packing gland is the only one that can be nursed along by hand, adjusted while running, and repacked with a few pence of cord — which is exactly why it survives on ships and in waterworks where the alternative is a shutdown.
The honest failure mode: packing wears the shaft. A gland run for years will cut a groove where the packing sits, and once grooved, no adjustment seals it. The traditional answer is a renewable shaft sleeve — a sacrificial part, exactly like the shear pin, chosen so the cheap thing wears instead of the expensive one.
सामग्री
4- 1 टुक्राप्लेसहोल्डर
- 1 metreप्लेसहोल्डर
- 4 टुक्राप्लेसहोल्डर
- 4 टुक्राप्लेसहोल्डर
आवश्यक उपकरणहरू
10- प्लेसहोल्डर
- प्लेसहोल्डर
- 1 vendor sell this, none ship to you yetप्लेसहोल्डर
- प्लेसहोल्डर
- प्लेसहोल्डर
- प्लेसहोल्डर
- प्लेसहोल्डर
- प्लेसहोल्डर
- प्लेसहोल्डर
- प्लेसहोल्डर
सम्बन्धित ब्लुप्रिन्ट
यी ब्लुप्रिन्टहरूले ज्ञान साझा गर्छन् — प्रविधि, सामग्री वा सिद्धान्त


CC0 सार्वजनिक डोमेन
यो ब्लुप्रिन्ट CC0 अन्तर्गत जारी गरिएको छ। तपाईं अनुमति नसोधी प्रतिलिपि, परिमार्जन, वितरण र प्रयोग गर्न सक्नुहुन्छ।
ब्लुप्रिन्ट मार्फत उत्पादनहरू किनेर सिर्जनाकर्तालाई सहयोग गर्नुहोस् सिर्जनाकर्ता कमिसन विक्रेताले तोकेको, वा यो ब्लुप्रिन्टको नयाँ संस्करण बनाउनुहोस् र आम्दानी बाँड्न आफ्नो ब्लुप्रिन्टमा जडानको रूपमा समावेश गर्नुहोस्।