कला
सुन्दरता र कल्याण
हस्तकला
संस्कृति र इतिहास
मनोरञ्जन
वातावरण
खाना र पेय
हरित भविष्य
रिभर्स इन्जिनियरिङ
विज्ञान
खेलकुद
प्रविधि
पहिर्न मिल्ने
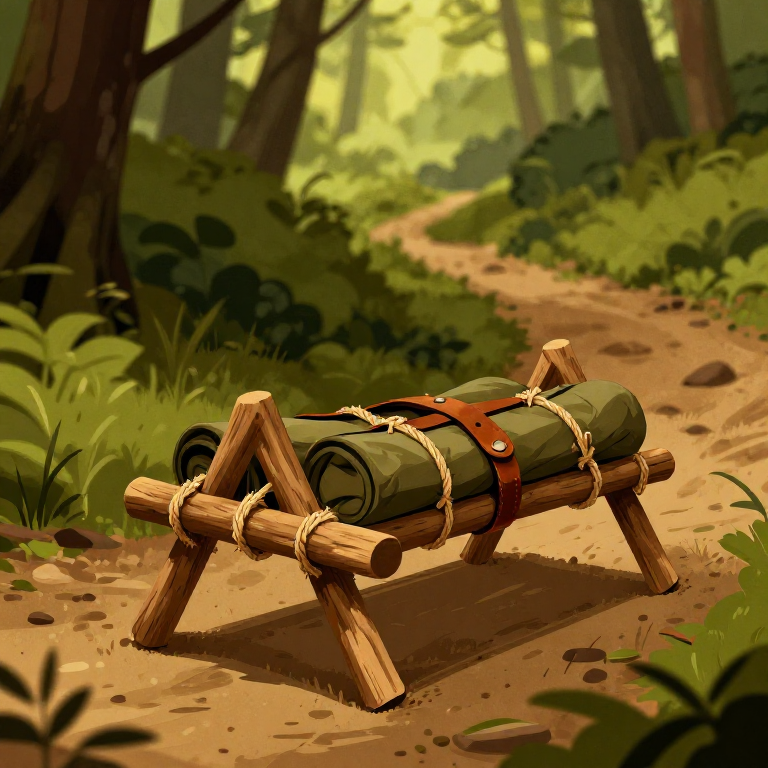
Building a Carrying Frame (Pack Frame) — Wooden Backpack for Heavy Loads
The carrying frame, or pack frame, is one of the most practical inventions in human history — a rigid wooden structure worn on the back that distributes heavy loads across the shoulders and hips instead of concentrating weight on the arms or head. Evidence of pack frames appears in indigenous cultures worldwide: the Otzi Iceman (3300 BCE) carried a U-shaped hazel frame, Native American peoples used elaborate wooden pack boards, and Himalayan porters still use traditional bamboo frames today. The principle is straightforward: two vertical side rails connected by horizontal crossbars create a flat surface against which cargo is lashed, while rawhide shoulder straps and an optional waist strap transfer the load to the skeletal frame of the body. A well-built pack frame allows a person to carry 20 to 30 kg over rough terrain with far less fatigue than carrying the same weight in the arms. This blueprint teaches the construction of a simple H-frame pack using hardwood saplings and rawhide lashing.
मध्यम
3-5 hours
निर्देशनहरू
1
1
Select and Harvest Two Side Rails
Select and Harvest Two Side Rails
Cut two straight hardwood saplings (ash, oak, or hazel) each 90 to 100 cm long and 3 to 4 cm in diameter. These are the vertical side rails that run the length of the wearer's back from hip to above the shoulders. Straightness is critical — any curve concentrates stress and causes the frame to twist under load. Strip the bark with a flint knife and shave off any knots or bumps.
Materials for this step:
 Hardwood Sapling2 टुक्रा
Tools needed:
 Flint Knife
2
2
Cut the Horizontal Crossbars
Cut the Horizontal Crossbars
Cut 3 crossbars from the same hardwood, each 30 to 35 cm long and 2 to 3 cm in diameter. These connect the two side rails and create the flat surface against which loads are secured. The crossbars should be the same species and similar stiffness as the rails. Strip bark and smooth all surfaces — rough bark traps moisture and accelerates rot.
Materials for this step:
Hardwood Sapling3 टुक्राTools needed:
Flint Knife3
3
Notch the Rails for Crossbar Seating
Notch the Rails for Crossbar Seating
Using a flint knife, carve shallow notches (5 mm deep, matching the crossbar diameter) on the inner face of each side rail at three points: 5 cm from the top, at the midpoint (45 cm), and 5 cm from the bottom. The notches prevent the crossbars from sliding and create a flush, flat back surface. Test-fit each crossbar in its notch pair before lashing.
Tools needed:
Flint Knife4
4
Lash the Crossbars with Rawhide
Lash the Crossbars with Rawhide
Soak rawhide strips in water for 15 to 20 minutes until fully pliable. Seat each crossbar into its notch pair and wrap the joint with wet rawhide using a cross-lashing pattern: pass the strip diagonally over the joint in one direction for 4 wraps, then diagonally in the opposite direction for 4 wraps, forming an X pattern. Finish with 2 to 3 frapping turns pulled tight between the two members. As the rawhide dries it shrinks by 10 to 15 percent, creating an extremely rigid joint.
Materials for this step:
 Rawhide Strips6 टुक्रा
5
5
Allow Lashings to Dry Under Tension
Allow Lashings to Dry Under Tension
Prop the assembled frame against a tree or rock in direct sunlight with the crossbars under slight compression — place a heavy stone on the frame to keep all joints tight while the rawhide dries. Drying takes 4 to 8 hours in warm, dry conditions or overnight in humid weather. Do not use the frame until the lashings are completely dry and rigid. Wet rawhide joints will stretch and loosen under load.
6
6
Create the Shoulder Straps
Create the Shoulder Straps
Cut two strips of rawhide each 80 to 90 cm long and 4 to 5 cm wide. These form the shoulder straps. For comfort, fold each strip in half lengthwise and stitch the edges with sinew thread to create a doubled, tubular strap. Alternatively, pad the centre section that rests on the shoulder by wrapping it with a layer of soft hide or fur and stitching it in place.
Materials for this step:
Rawhide Strips2 टुक्रा Sinew Thread1 टुक्रा
Tools needed:
 Bone Awl
7
7
Attach Shoulder Straps to the Top Crossbar
Attach Shoulder Straps to the Top Crossbar
Loop the top end of each shoulder strap around the top crossbar where it meets the side rail, approximately 3 to 5 cm in from each end. Secure with a lark's head knot, then reinforce by wrapping the connection with a short piece of rawhide. The straps should hang straight down from the top corners — this positions them correctly over the wearer's shoulders when the frame is worn upright.
Materials for this step:
Rawhide Strips2 टुक्रा8
8
Attach Shoulder Straps to the Bottom Crossbar
Attach Shoulder Straps to the Bottom Crossbar
Thread the bottom end of each strap through a hole punched in the side rail just above the bottom crossbar, or loop it around the bottom crossbar itself. Leave enough slack to adjust the fit — the straps need to be long enough that the frame sits against the upper back with the bottom crossbar resting at the small of the back (lumbar region). Tie off with a secure knot that can still be untied for adjustment.
Tools needed:
Bone Awl9
9
Add a Waist Strap for Stability
Add a Waist Strap for Stability
Cut a cord or rawhide strip 100 to 120 cm long and tie each end to a side rail at the level of the middle crossbar. This waist strap wraps around the wearer's hips and transfers a significant portion of the load weight from the shoulders to the pelvis — the strongest weight-bearing structure in the body. The strap should be snug but not restrictive around the hips.
Materials for this step:
 Cordage1 टुक्रा
10
10
Weave a Cargo Net Between the Crossbars
Weave a Cargo Net Between the Crossbars
Weave a simple net or lattice of cordage between the three crossbars to create a support surface that holds cargo against the frame. Tie vertical cords every 8 to 10 cm between the top and bottom crossbars, then weave horizontal cords through them at 8 to 10 cm intervals. This netting supports bundled goods and prevents small items from slipping through the frame.
Materials for this step:
Cordage2 गाँठा11
11
Test the Frame with a Moderate Load
Test the Frame with a Moderate Load
Load the frame with 10 to 15 kg of gear (stones wrapped in hide make a good test load) and lash the cargo to the frame using cordage passed through the net and around the side rails. Wear the loaded frame for 15 to 20 minutes over varied terrain. Check that the shoulder straps distribute weight evenly, the waist strap prevents swaying, and no lashing joints creak or slip. Adjust strap lengths as needed.
12
12
Reinforce and Weatherproof the Frame
Reinforce and Weatherproof the Frame
After testing, retighten any lashings that loosened during use. Rub the entire wood surface with rendered tallow to waterproof the wood and prevent cracking as it dries and ages. Pay special attention to the lashing joints — tallow seals the rawhide against rain, which would soften and stretch the bindings. A well-maintained pack frame lasts for years of regular use and can carry loads up to 30 kg.
Materials for this step:
 Tallow50 ग्राम
सामग्री
6- 5 टुक्राप्लेसहोल्डर
- 10 टुक्राप्लेसहोल्डर
- 1 टुक्राप्लेसहोल्डर
- 1 टुक्राप्लेसहोल्डर
- 2 गाँठाप्लेसहोल्डर
- 50 ग्रामप्लेसहोल्डर
आवश्यक उपकरणहरू
2- प्लेसहोल्डर
- प्लेसहोल्डर
Connected Blueprint Materials
सम्बन्धित ब्लुप्रिन्ट
यी ब्लुप्रिन्टहरूले ज्ञान साझा गर्छन् — प्रविधि, सामग्री वा सिद्धान्त
Related blueprints
Other builds that share materials, tools, or techniques with this one.
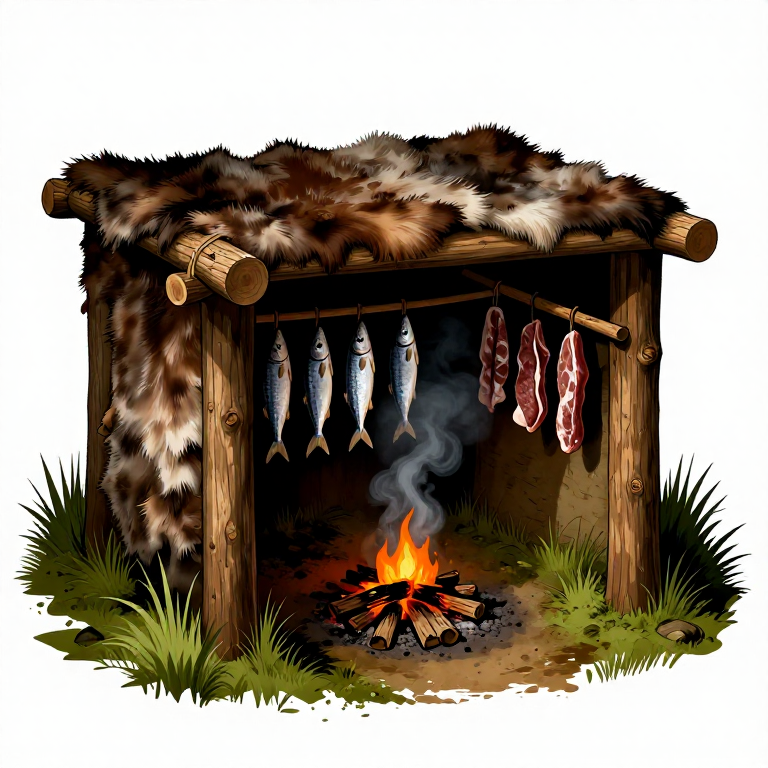
Building a Prehistoric Smokehouse — Semi-Permanent Pole Frame for Meat and Fish Preservationsurvival
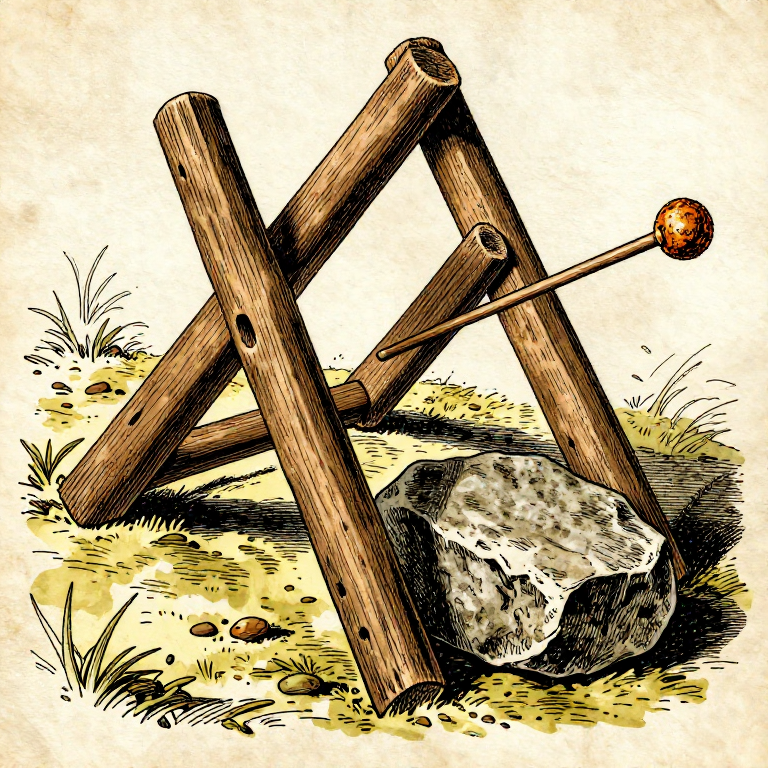
Building a Figure-4 Deadfall Trap — Stone Weight Trigger Mechanismsurvival
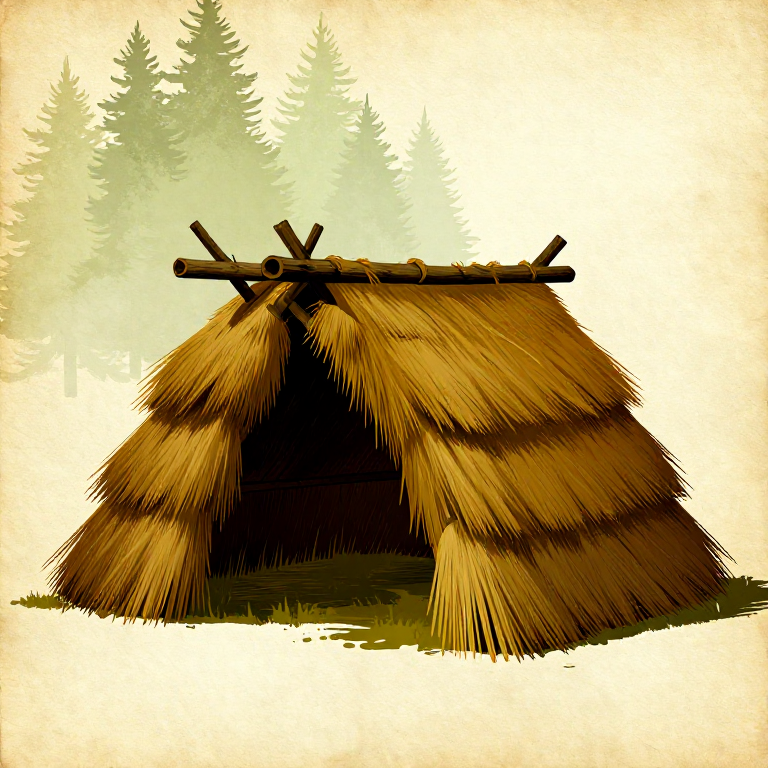
Building a Thatched Lean-To Shelter — Basic Wind and Rain Protectionsurvival

Making a Leather Sling — The Shepherd's Projectile Weaponsurvival
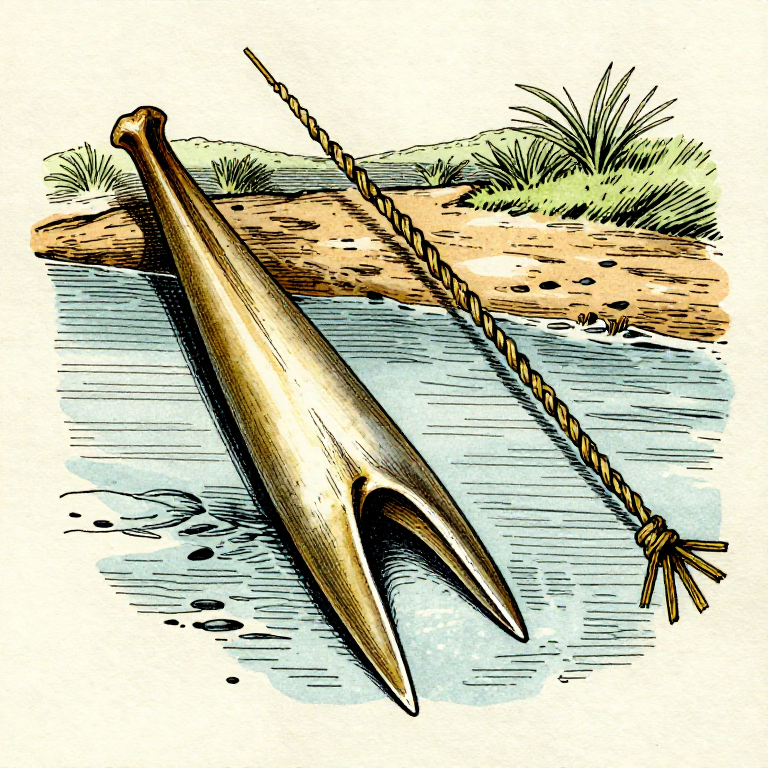
Making a Bone Fish Gorge — The Oldest Fishing Devicesurvival
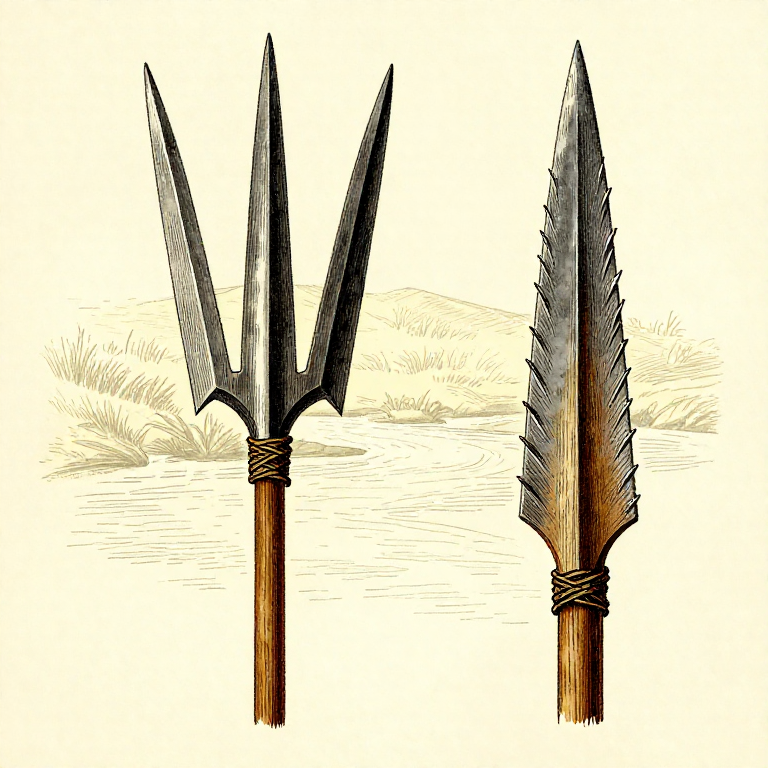
Making a Fishing Spear (Leister) — Multi-Pronged Fish Gigsurvival
CC0 सार्वजनिक डोमेन
यो ब्लुप्रिन्ट CC0 अन्तर्गत जारी गरिएको छ। तपाईं अनुमति नसोधी प्रतिलिपि, परिमार्जन, वितरण र प्रयोग गर्न सक्नुहुन्छ।
ब्लुप्रिन्ट मार्फत उत्पादनहरू किनेर सिर्जनाकर्तालाई सहयोग गर्नुहोस् सिर्जनाकर्ता कमिसन विक्रेताले तोकेको, वा यो ब्लुप्रिन्टको नयाँ संस्करण बनाउनुहोस् र आम्दानी बाँड्न आफ्नो ब्लुप्रिन्टमा जडानको रूपमा समावेश गर्नुहोस्।