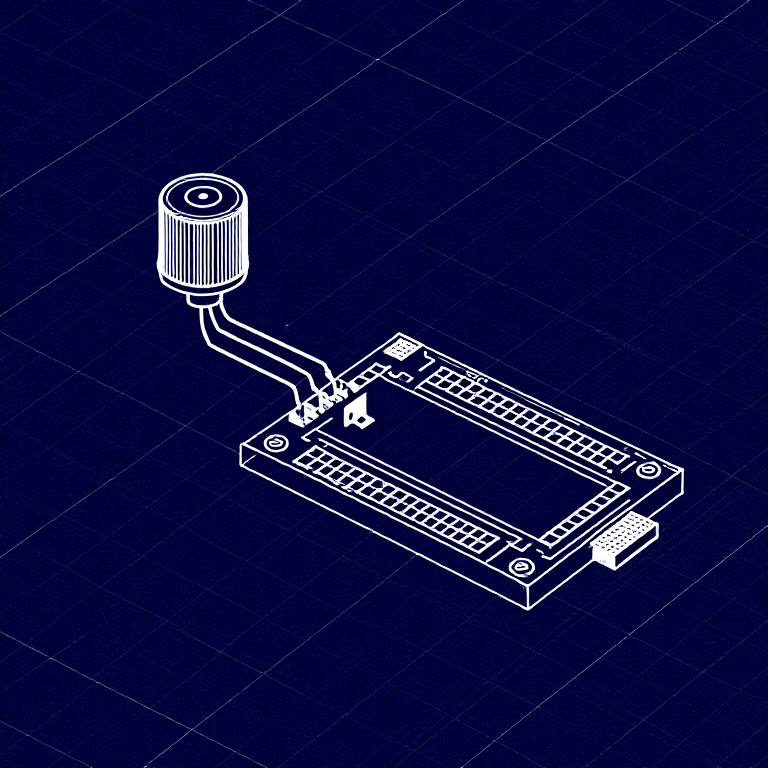

Reading a Potentiometer — SIK Circuit 2
निर्देशनहरू
Parts & Introduction
In this experiment you'll use a potentiometer (a variable resistor with a knob) to control how fast an LED blinks. This introduces analogRead() — reading voltage levels between 0 and 5V as values from 0 to 1023.
Parts Needed
- 1x Arduino Uno + USB cable
- 1x Breadboard
- 1x Potentiometer (10K)
- 1x LED (any color)
- 1x 330Ω Resistor
- 6x Jumper Wires
Materials for this step:
SparkFun Inventors Kit - V3.21 किट
Arduino Uno R31 टुक्रा
Breadboard1 टुक्रा
Potentiometer (10K)1 टुक्रा
5mm LED1 टुक्रा
330 Ohm Resistor1 टुक्रा
Jumper Wires6 टुक्राTools needed:
Hardware Hookup
Hardware Hookup
Wiring Instructions
- Place the potentiometer in the breadboard. It has three pins.
- Connect the left pin to GND and the right pin to 5V (or vice versa).
- Connect the middle pin (wiper) to Analog Pin A0.
- Place an LED in the breadboard. Connect the positive leg (longer) to Digital Pin 13.
- Connect the negative leg (shorter) through a 330Ω resistor to GND.
- Connect the 5V and GND rails on the breadboard to the Arduino.
Materials for this step:
Potentiometer (10K)1 टुक्रा
5mm LED1 टुक्रा
330 Ohm Resistor1 टुक्रा
Breadboard1 टुक्रा
Jumper Wires6 टुक्राArduino Code
Arduino Code
Open the Arduino IDE and upload the following sketch to your Arduino board.
Materials for this step:
Arduino Uno R31 टुक्राTools needed:
Test & Experiment
Test & Experiment
What You Should See
The LED blinks faster or slower as you turn the potentiometer knob. At one extreme it blinks very fast, at the other it blinks slowly.
Troubleshooting
- Sporadically working: The potentiometer pins may not be making good contact. Press it firmly into the breadboard.
- Not working: Make sure the wiper (middle pin) goes to Analog pin 0, not Digital pin 0.
- LED not lighting: LEDs only work in one direction. Flip it around.
Experiments to Try
- Open the Serial Monitor and print the
sensorValueto see the raw numbers (0-1023). - Use
map()to convert the sensor range to a brightness range and control LED brightness withanalogWrite().
सामग्री
7- $105.00
- 1 टुक्राप्लेसहोल्डर
- प्लेसहोल्डर
- $3.00
Required Equipment
Equipment this kind of build typically needs — buy from any maker below.
- CriticalSoldering Iron·
Helping Hands Soldering Stand
Solder Tip Tinner and Cleaner
SparkFun Solder-able Breadboard - Mini
Soldering Iron
Solder Wire
Soldering Flux Paste (50g, Rosin-Based) - RecommendedBreadboard·
JST to Breadboard Jumper (3-pin)
Breadboard - Translucent Self-Adhesive (Clear)
Solderless Breadboard 830 Points (3-Pack)
SparkFun Solder-able Breadboard - Mini
Breadboard Power Supply USB - 5V/3.3V
Breadboard - RecommendedDust Mask / Respirator·
Full-Face Gas Mask (ABEK multi-gas cartridge)
Dust Mask
Venetian Mask Blank (Papier-Mache)
Full-Face Respirator
Respirator Fit Test Kit
Respirator with Acid Gas Cartridge - RecommendedMultimeter·
Multimeter Tweezer Probes
Digital Multimeter - Basic
Digital Multimeter Pro
Multimeter
Digital Multimeter (Auto-Range, True RMS)
Digital Multimeter - RecommendedSafety Glasses·
Safety Sign (Caution/Warning)
Splash-Proof Safety Goggles
Reflective Safety Vest Kit (DIY)
Chemical Splash Goggles
Safety Netting for Rockfall
Steel-Toed Safety Boots - RecommendedWire Strippers·
Wire Strippers
Wire Stripper & Crimping Tool (AWG 10-22)
Wire Stripper - RecommendedWork Gloves·
Boxing Gloves (Training)
Leather Gauntlet Gloves
Cotton Gloves
Welding Gloves
Heavy-Duty Gloves
Leather Work Gloves - OptionalFire Extinguisher·
ABC Fire Extinguisher
Fire Extinguisher - OptionalFirst Aid Kit·
First Aid Kit
Mountain First Aid Kit (Altitude)
Workshop First Aid Kit
Bow Release Aid - OptionalHelping Hands / Third Hand·
Helping Hands Soldering Stand
Helping Hands
PCB Holder Helping Hands (with Magnifier)
Helping Hands (Third Hand)
You can swap these in
Can't get one of the materials? Swap it for an equivalent — these work just as well.
- Instead of Arduino Uno R3, try:
Prototyping Shield for Arduino Uno (3-Pack)
Arduino Uno R3 Board
Arduino Uno - Instead of 5mm LED Assortment Kit (300pcs, 5 Colors), try:
WS2812B NeoPixel LED Strip (1m, 60 LEDs)
Diffused LED - 10mm
RGB LED Strip 5050 (5m, Non-Addressable)
LilyPad Tri-Color LED - Instead of Potentiometer, try:
Digital Potentiometer - 10K
SoftPot Membrane Potentiometer - 100mm
SoftPot Membrane Potentiometer - 50mm - Instead of Resistor 330 Ohm 1/6 Watt PTH - 20 pack, try:
Resistor 10K Ohm 1/6th Watt PTH - 20 pack
AVR ISP Shield - PTH Kit
Recommended for this build
Products makers often use with builds like this one.
Resistor 10K Ohm 1/6th Watt PTH - 20 packUsed together and in similar builds
Push Button - 33mmFrequently used with this build's materials
PhotoresistorUsed in similar builds
Diode KitFrequently used with this build's materials
SoftPot Membrane Potentiometer - 50mmUsed in similar builds
LED - RGB Diffused Common Cathode - 5mmUsed together and in similar builds
BC547 NPN Transistor (50-Pack)Frequently used with this build's materials
Servo MotorFrequently used with this build's materialsRelated blueprints
Other builds that share materials, tools, or techniques with this one.


CC0 सार्वजनिक डोमेन
यो ब्लुप्रिन्ट CC0 अन्तर्गत जारी गरिएको छ। तपाईं अनुमति नसोधी प्रतिलिपि, परिमार्जन, वितरण र प्रयोग गर्न सक्नुहुन्छ।
ब्लुप्रिन्ट मार्फत उत्पादनहरू किनेर सिर्जनाकर्तालाई सहयोग गर्नुहोस् सिर्जनाकर्ता कमिसन विक्रेताले तोकेको, वा यो ब्लुप्रिन्टको नयाँ संस्करण बनाउनुहोस् र आम्दानी बाँड्न आफ्नो ब्लुप्रिन्टमा जडानको रूपमा समावेश गर्नुहोस्।




