
Driving a Servo Motor — SIK Circuit 8
निर्देशनहरू
Parts & Introduction
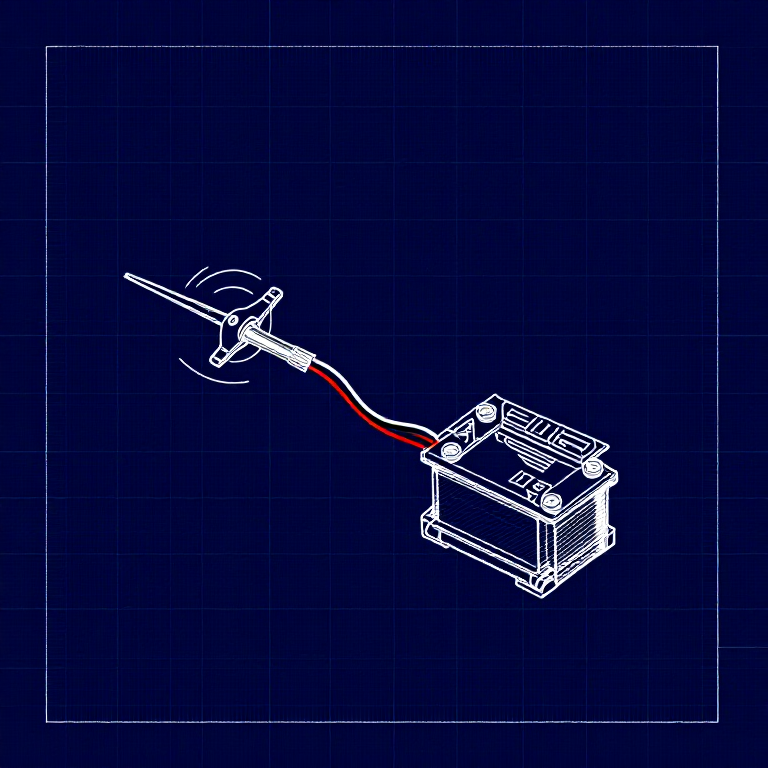
A servo motor can be precisely positioned between 0 and 180 degrees. Unlike a regular motor that just spins, servos hold their position — making them perfect for robotics, pan/tilt mechanisms, and control surfaces. This experiment introduces the Servo library.
Parts Needed
- 1x Arduino Uno + USB cable
- 1x Breadboard
- 1x Servo Motor (with 3-pin header)
- 8x Jumper Wires
The servo has three wires: Red (power), Black (ground), White (signal).
Materials for this step:
SparkFun Inventors Kit - V3.21 किट
Arduino Uno R31 टुक्रा
Breadboard1 टुक्रा
Servo Motor1 टुक्रा
Jumper Wires3 टुक्राTools needed:
Hardware Hookup
Hardware Hookup
Wiring Instructions
- Connect 3 jumper wires to the servo's female 3-pin header for breadboarding.
- Connect the Red wire to 5V.
- Connect the Black wire to GND.
- Connect the White wire (signal) to Digital Pin 9.
Power Note: Servos draw significant current. If the servo twitches and the Arduino resets, use a wall adapter instead of USB power, or power the servo from a separate 5V supply.
Materials for this step:
Servo Motor1 टुक्रा
Jumper Wires3 टुक्राArduino Code
Arduino Code
Open the Arduino IDE and upload the following sketch to your Arduino board.
Materials for this step:
Arduino Uno R31 टुक्राTools needed:
Test & Experiment
Test & Experiment
What You Should See
The servo quickly moves to 90°, 180°, and 0° (1 second each), then slowly sweeps from 0° to 180° and back.
Troubleshooting
- Servo not moving: Even with colored wires, it's easy to plug a servo in backwards. Check connections.
- Twitching/resetting: The servo draws too much power from USB. Use a wall adapter or separate power supply.
Experiments to Try
- Add a potentiometer (from Circuit 2) to control servo position with a knob.
- Change the step size and delay to experiment with speed and smoothness.
- Build a simple pan/tilt mechanism with two servos.
सामग्री
5- $105.00
- 1 टुक्राप्लेसहोल्डर
Required Equipment
Equipment this kind of build typically needs — buy from any maker below.
- CriticalSoldering Iron·
Helping Hands Soldering Stand
Solder Tip Tinner and Cleaner
SparkFun Solder-able Breadboard - Mini
Soldering Iron
Solder Wire
Soldering Flux Paste (50g, Rosin-Based) - RecommendedBreadboard·
JST to Breadboard Jumper (3-pin)
Breadboard - Translucent Self-Adhesive (Clear)
Solderless Breadboard 830 Points (3-Pack)
SparkFun Solder-able Breadboard - Mini
Breadboard Power Supply USB - 5V/3.3V
Breadboard - RecommendedDust Mask / Respirator·
Full-Face Gas Mask (ABEK multi-gas cartridge)
Dust Mask
Venetian Mask Blank (Papier-Mache)
Full-Face Respirator
Respirator Fit Test Kit
Respirator with Acid Gas Cartridge - RecommendedMultimeter·
Multimeter Tweezer Probes
Digital Multimeter - Basic
Digital Multimeter Pro
Multimeter
Digital Multimeter (Auto-Range, True RMS)
Digital Multimeter - RecommendedSafety Glasses·
Safety Sign (Caution/Warning)
Splash-Proof Safety Goggles
Reflective Safety Vest Kit (DIY)
Chemical Splash Goggles
Safety Netting for Rockfall
Steel-Toed Safety Boots - RecommendedWire Strippers·
Wire Strippers
Wire Stripper & Crimping Tool (AWG 10-22)
Wire Stripper - RecommendedWork Gloves·
Boxing Gloves (Training)
Leather Gauntlet Gloves
Cotton Gloves
Welding Gloves
Heavy-Duty Gloves
Leather Work Gloves - OptionalFire Extinguisher·
ABC Fire Extinguisher
Fire Extinguisher - OptionalFirst Aid Kit·
First Aid Kit
Mountain First Aid Kit (Altitude)
Workshop First Aid Kit
Bow Release Aid - OptionalHelping Hands / Third Hand·
Helping Hands Soldering Stand
Helping Hands
PCB Holder Helping Hands (with Magnifier)
Helping Hands (Third Hand)
You can swap these in
Can't get one of the materials? Swap it for an equivalent — these work just as well.
- Instead of Arduino Uno R3, try:
Prototyping Shield for Arduino Uno (3-Pack)
Arduino Uno R3 Board
Arduino Uno - Instead of Servo Motor, try:
Vibration Motor Assortment
SG90 Micro Servo Motor (5-Pack)
Marine Brushless Motor
Vibration Motor
Stepper Motor - 125 oz.in (200 steps/rev)
Stepper Motor - 68 oz.in (400 steps/rev)
DC Motor
DC Gear Motor 6V (4-Pack with Wheels) - Instead of Breadboard, try:
Solder-able Breadboard
Recommended for this build
Products makers often use with builds like this one.
Resistor 330 Ohm 1/6 Watt PTH - 20 packUsed together and in similar builds
BC547 NPN Transistor (50-Pack)Used together and in similar builds
Diode KitUsed together and in similar builds
5mm LED Assortment Kit (300pcs, 5 Colors)Used together and in similar builds
Flex Sensor 2.2 InchUsed together and in similar builds
Resistor 10K Ohm 1/6th Watt PTH - 20 packUsed together and in similar builds
Relay ModuleUsed in similar builds
Temperature SensorUsed in similar buildsRelated blueprints
Other builds that share materials, tools, or techniques with this one.


CC0 सार्वजनिक डोमेन
यो ब्लुप्रिन्ट CC0 अन्तर्गत जारी गरिएको छ। तपाईं अनुमति नसोधी प्रतिलिपि, परिमार्जन, वितरण र प्रयोग गर्न सक्नुहुन्छ।
ब्लुप्रिन्ट मार्फत उत्पादनहरू किनेर सिर्जनाकर्तालाई सहयोग गर्नुहोस् सिर्जनाकर्ता कमिसन विक्रेताले तोकेको, वा यो ब्लुप्रिन्टको नयाँ संस्करण बनाउनुहोस् र आम्दानी बाँड्न आफ्नो ब्लुप्रिन्टमा जडानको रूपमा समावेश गर्नुहोस्।



